How To Tell If Pumpkin Pie Is Done
Pumpkin pie is done when the edges are set, the center gently jiggles, and a thermometer near the center reads about 175°F to 180°F.
Continue Reading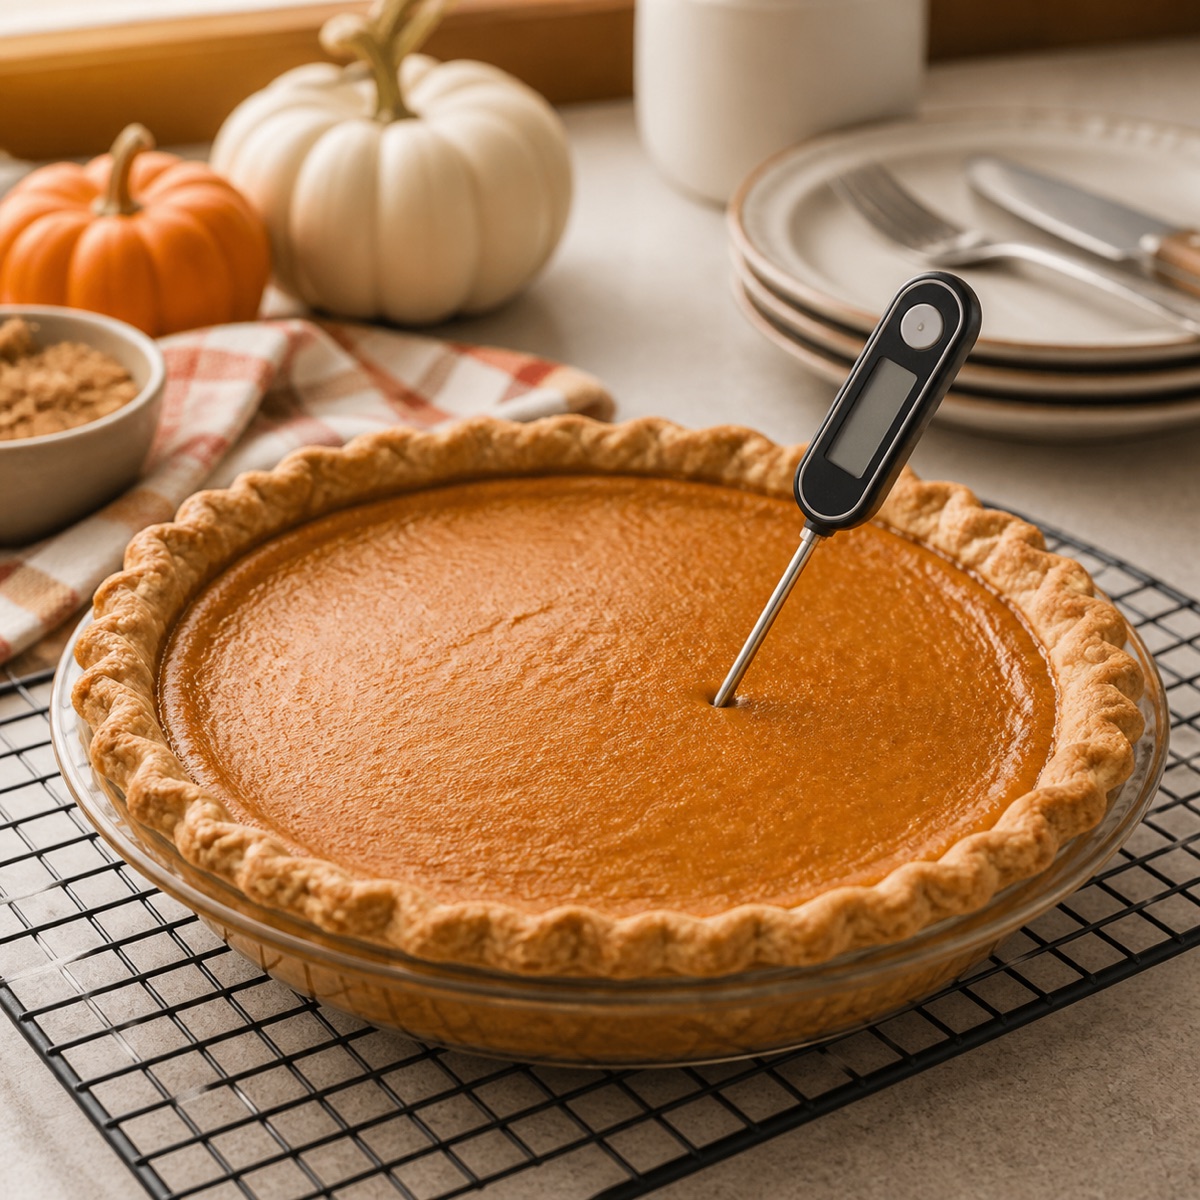
Pumpkin pie is done when the edges are set, the center gently jiggles, and a thermometer near the center reads about 175°F to 180°F.
Continue Reading
You can air fry bakeable cookie dough, but raw dough safety still matters. Use moderate heat, keep parchment secured, and only eat dough raw if it is labeled edible.
Continue Reading
Sugar free gelatin dessert is usually low in sugar and calories, but it is not automatically healthy. Check the label for sweeteners, total carbs, colors, sodium, and serving size.
Continue Reading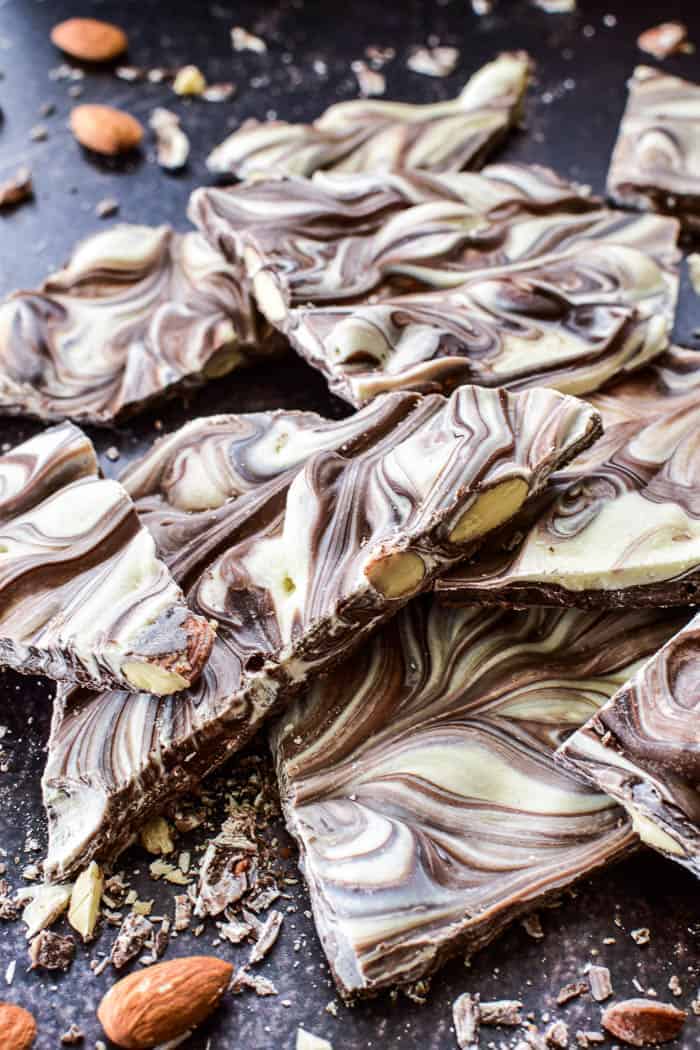
Almond bark is a chocolate substitute made with vegetable oils instead of cocoa butter. It can be bought in packages, blocks, or round discs where candy and baking supplies are sold. Almond bark can…
Continue Reading
The article discusses the growing trend of frozen cupcakes as a convenient and easy option for consumers. Frozen cupcakes are effectively pre baked and then frozen, allowing customers to thaw and decorate them as…
Continue Reading
Good ice cream toppings add contrast: crunch, sauce, fruit, salt, acidity, or warmth. Keep perishable toppings cold and serve sauces cleanly.
Continue Reading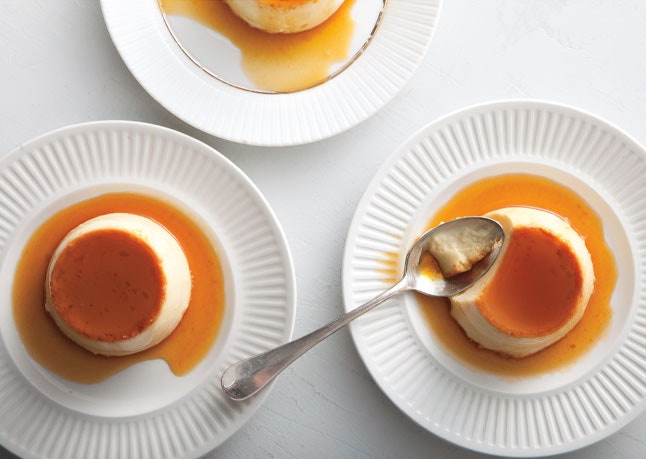
flan pan cream caramel Instant Pot flan Latin American dessert Honduras recipe pan Instant Pot blender liquid measuring cups mini mitts chef’s knife trivet non stick fry pan caramel eggs evaporated milk sweetened condensed…
Continue Reading
Title: Philadelphia Cheesecake Bars: Nutritional Information and Variability 1. Each serving of Philadelphia Cheesecake Bars yields approximately 16 servings. 2. Nutrition information provided is an estimation based on the ingredients and cooking instructions given…
Continue Reading
List of unique and relevant information about ‘jamocha shake’: 1. The article provides a recipe for making a copycat version of Arby’s Jamocha Shake. 2. The ingredients include ice cream, coffee, milk, and chocolate…
Continue Reading
Here is the revised list of pertinent information related to the keyword “is Cool Whip dairy free”: Cool Whip contains sodium caseinate, a milk protein, making it unsuitable for those allergic to casein or…
Continue Reading