Pancake Art: Batter Tips, Tools, and Easy Designs
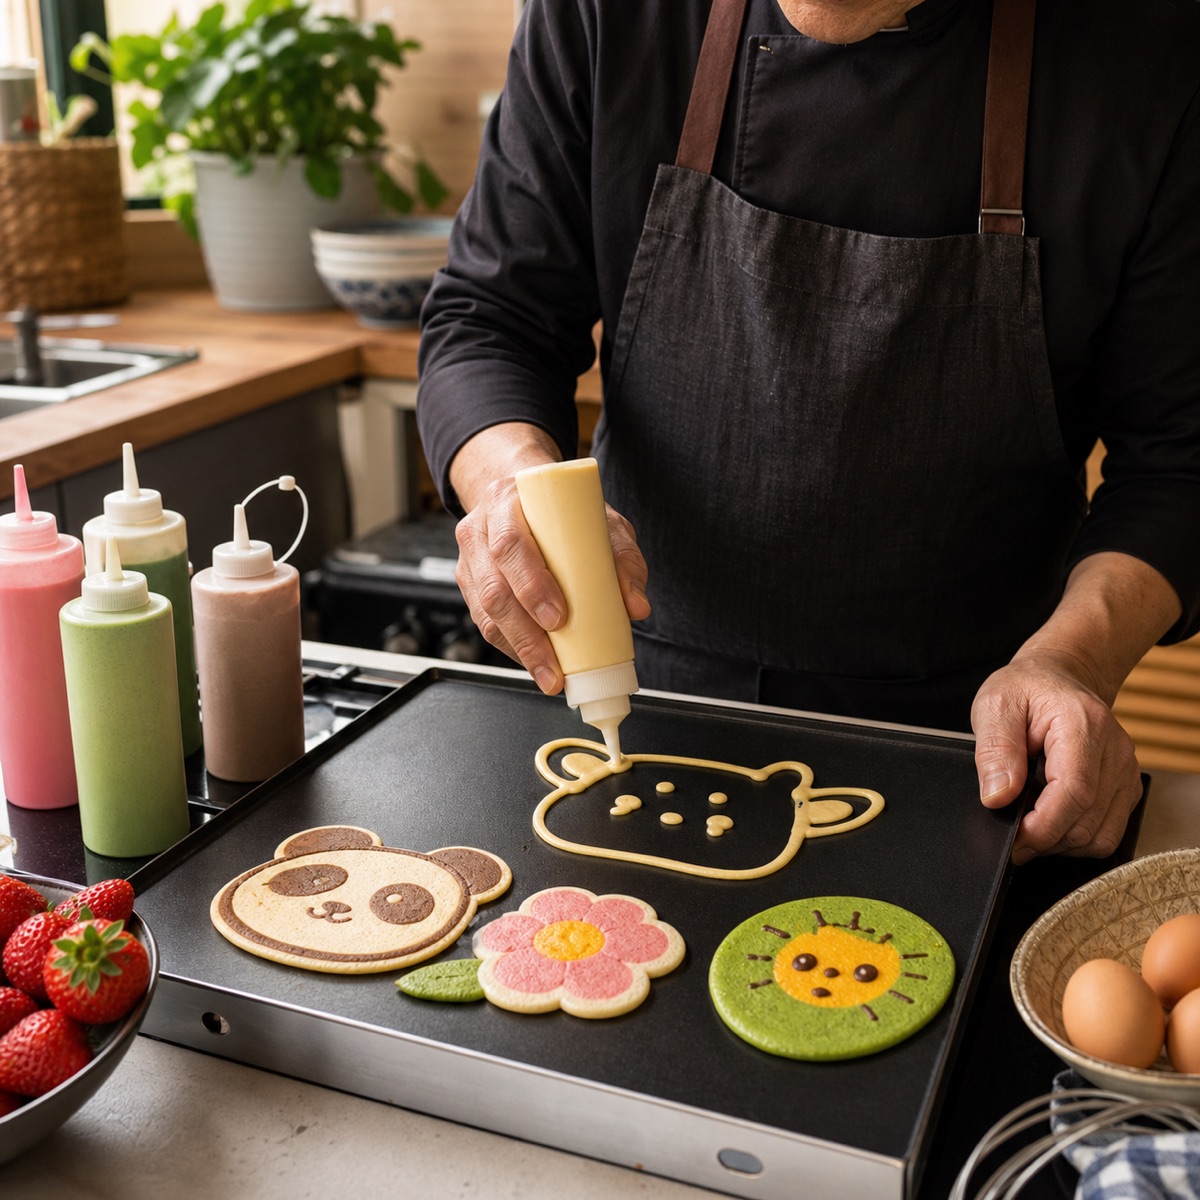
Pancake art works best with smooth batter, squeeze bottles, low to medium heat, and drawing outlines first. Start with letters, hearts, animals, and simple shapes.
Continue ReadingPractical recipes, ingredient ideas, and simple cooking guides for everyday meals and kitchen experiments.
Pancake art works best with smooth batter, squeeze bottles, low to medium heat, and drawing outlines first. Start with letters, hearts, animals, and simple shapes.
Continue Reading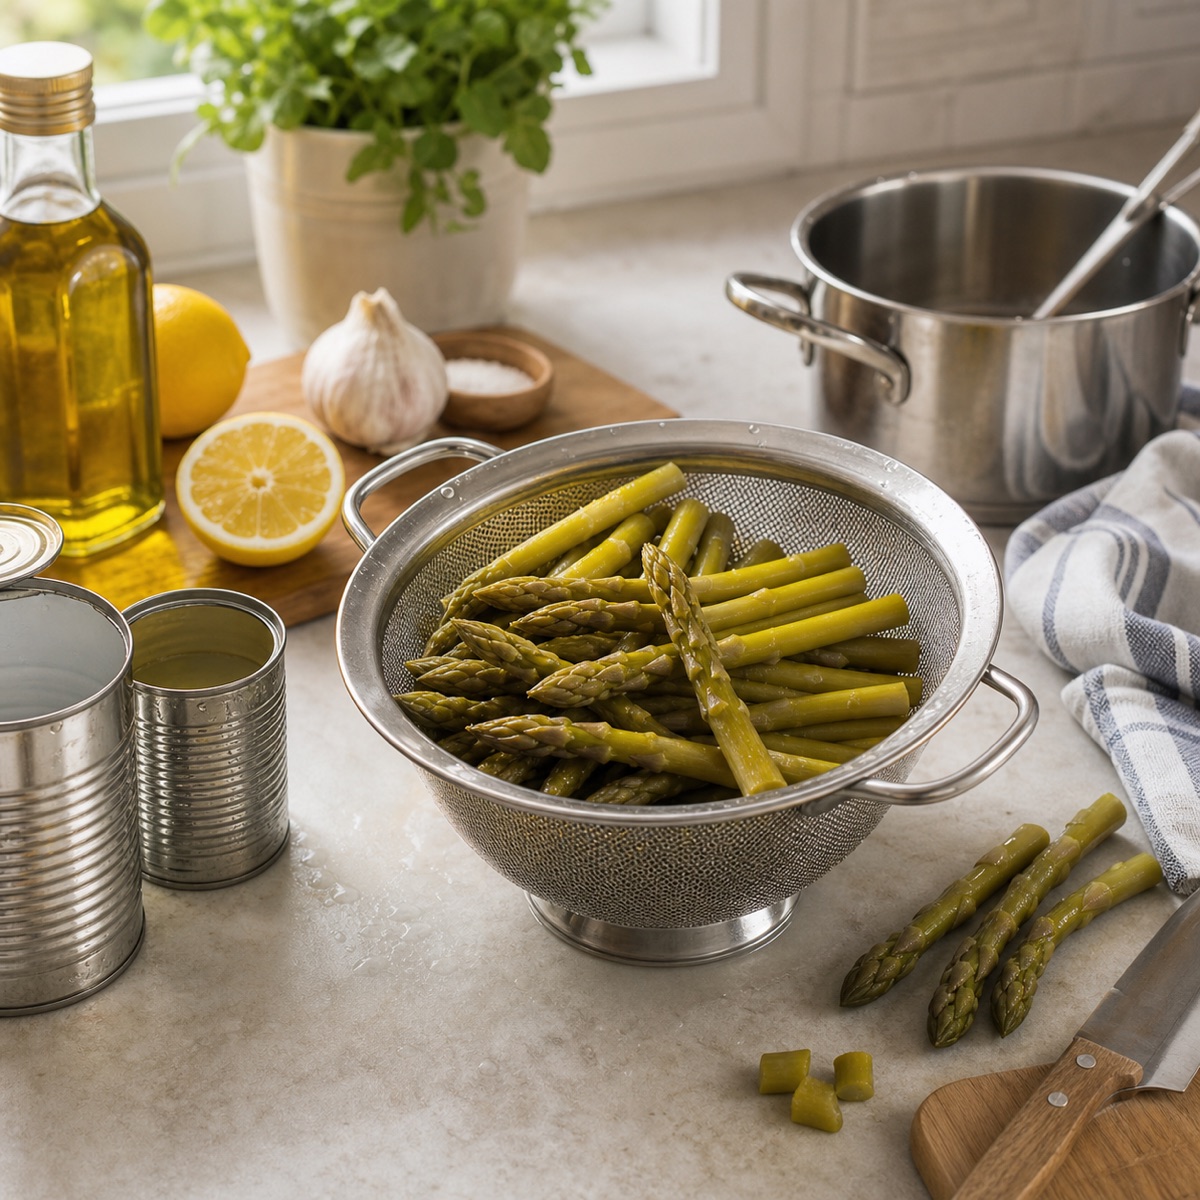
Canned asparagus is already cooked and very tender. Drain it well, heat it gently, and use it in soups, dips, omelets, salads, or quick sides where a softer texture works.
Continue Reading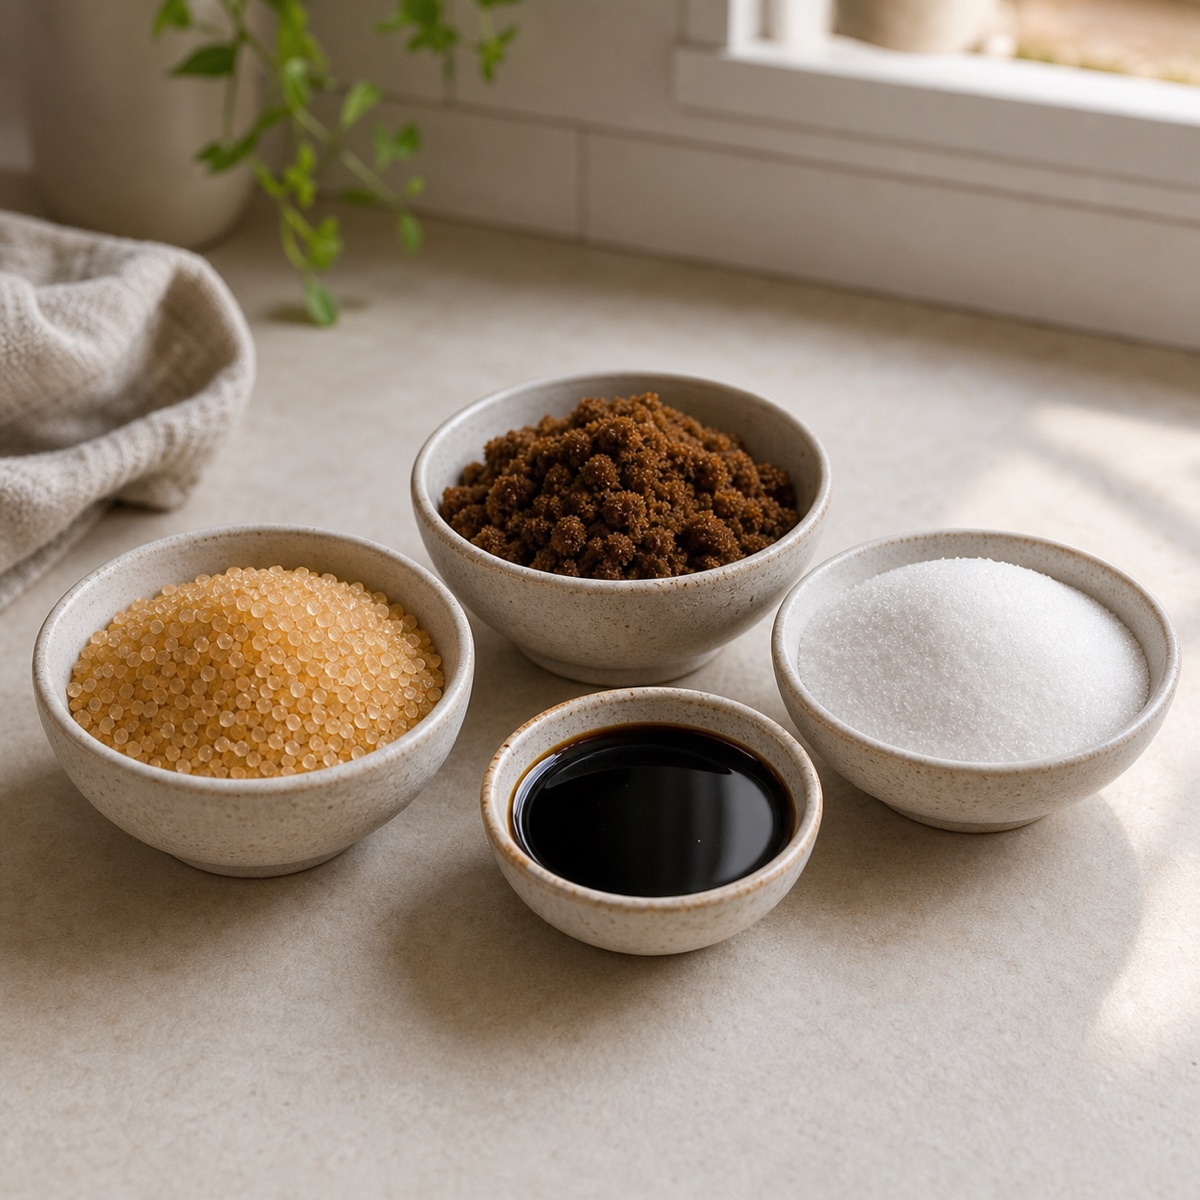
Unrefined sugar keeps more cane molasses than white sugar, giving it darker flavor and more moisture. It is useful in baking, but it still counts as added sugar.
Continue Reading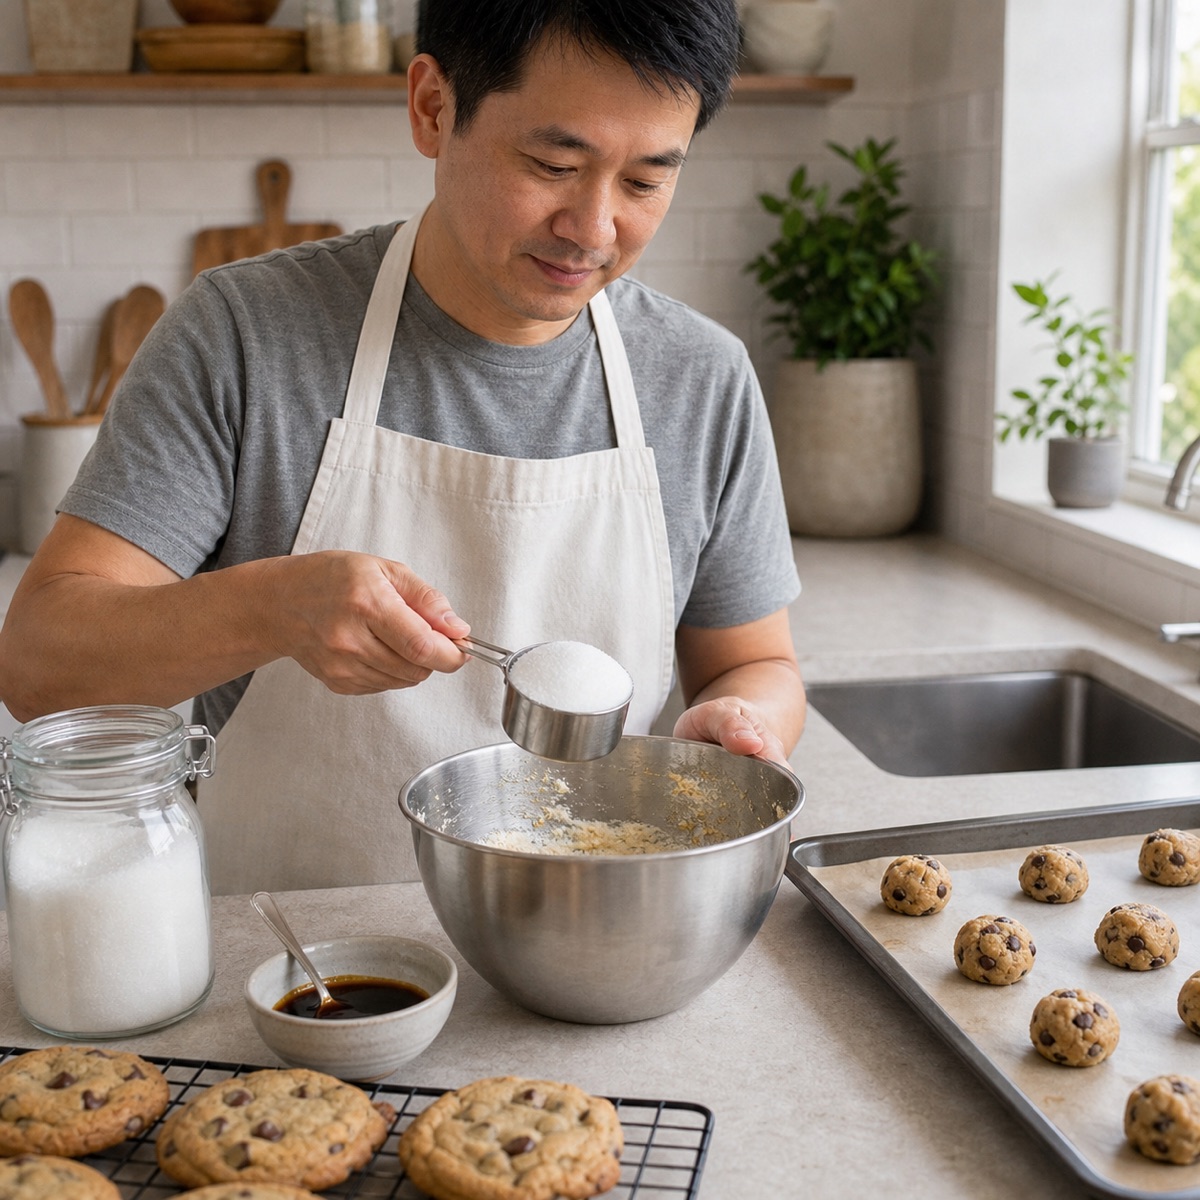
You can make cookies without brown sugar by using white sugar, but the cookies will be lighter, less caramel like, and often crisper. Add molasses for the closest swap.
Continue Reading
You can air fry bakeable cookie dough, but raw dough safety still matters. Use moderate heat, keep parchment secured, and only eat dough raw if it is labeled edible.
Continue Reading
Buche is pork stomach, usually cleaned, simmered until tender, sliced, and finished for tacos or stews. It is chewy, mild when prepared well, and needs careful cleaning, cooking, and leftover handling.
Continue Reading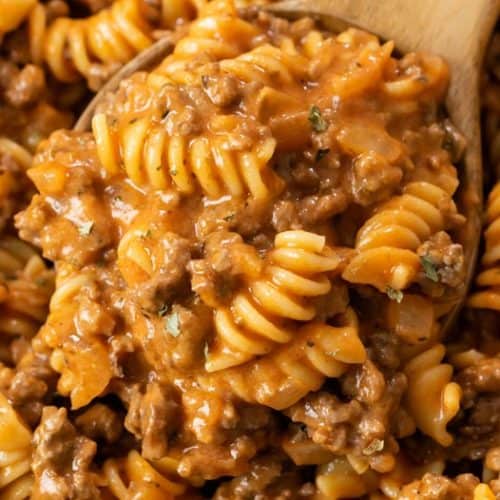
Three ingredient ground beef recipes can be fast and safe when the beef reaches 160 degrees F. Use simple sauces, grains, and vegetables, then refrigerate leftovers promptly.
Continue Reading
The best chai tea depends on how you drink it: loose tea or bags for control, concentrate for speed, and unsweetened blends when you want to manage sweetness yourself.
Continue Reading
The best brandy substitute depends on the recipe. Use apple juice or white grape juice for fruity sweetness, stock plus a little vinegar for savory sauces, and vanilla only in tiny amounts for desserts.
Continue Reading
Jack’s breakfast menu is best checked by location before ordering. Use the official menu to compare biscuits, platters, wraps, sides, prices, nutrition, and allergen details.
Continue Reading