Pancake Art: Batter Tips, Tools, and Easy Designs
Pancake art works best with smooth batter, squeeze bottles, low to medium heat, and drawing outlines first. Start with letters, hearts, animals, and simple shapes.
Continue Reading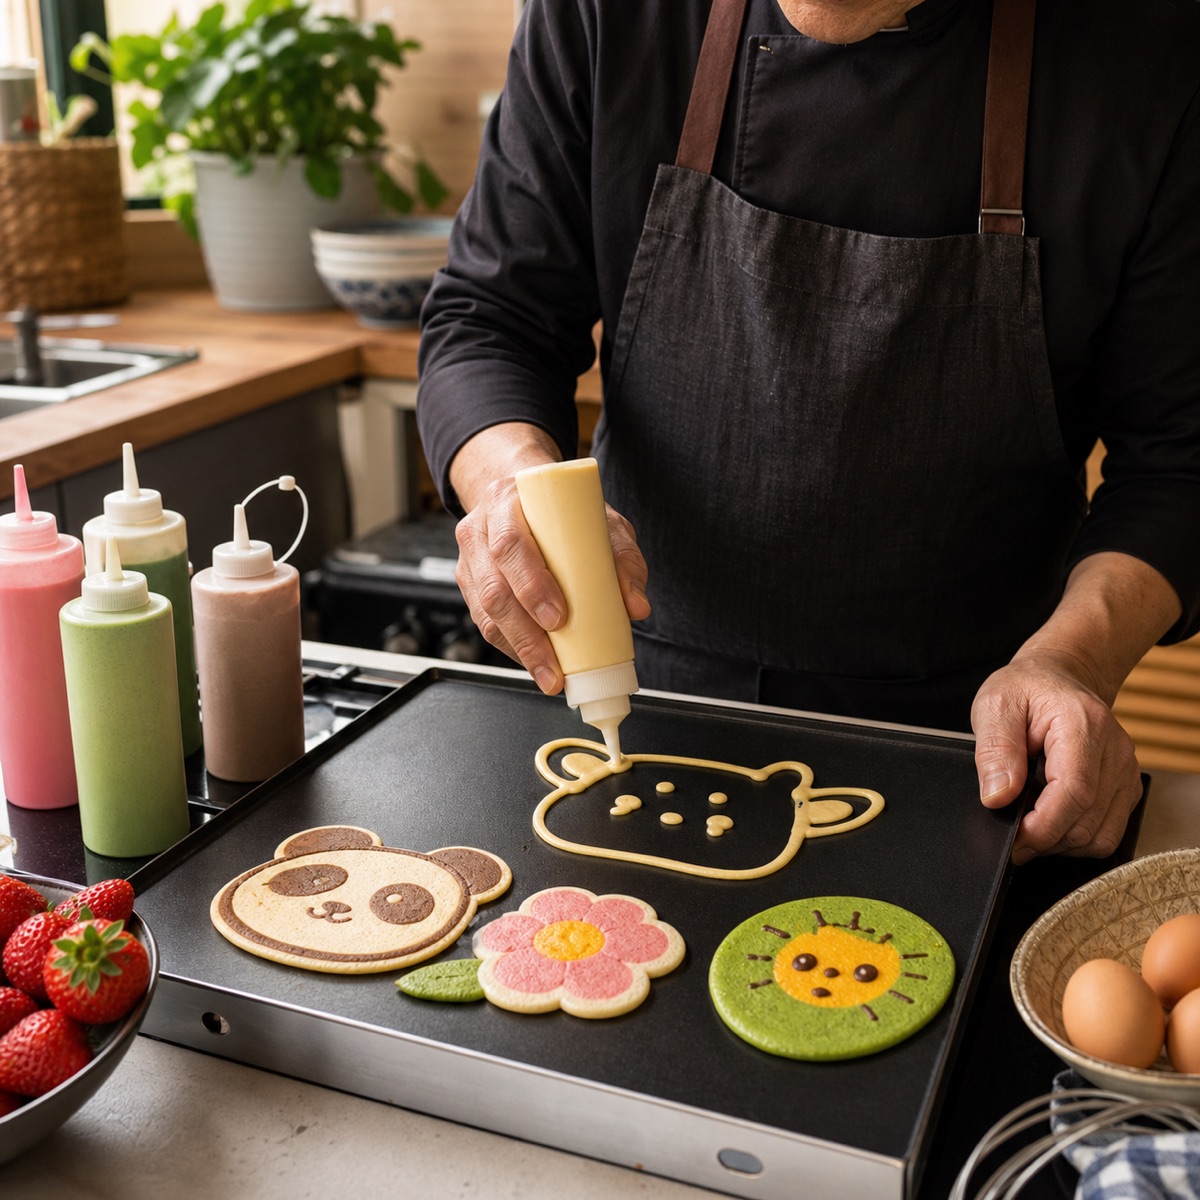
Pancake art works best with smooth batter, squeeze bottles, low to medium heat, and drawing outlines first. Start with letters, hearts, animals, and simple shapes.
Continue Reading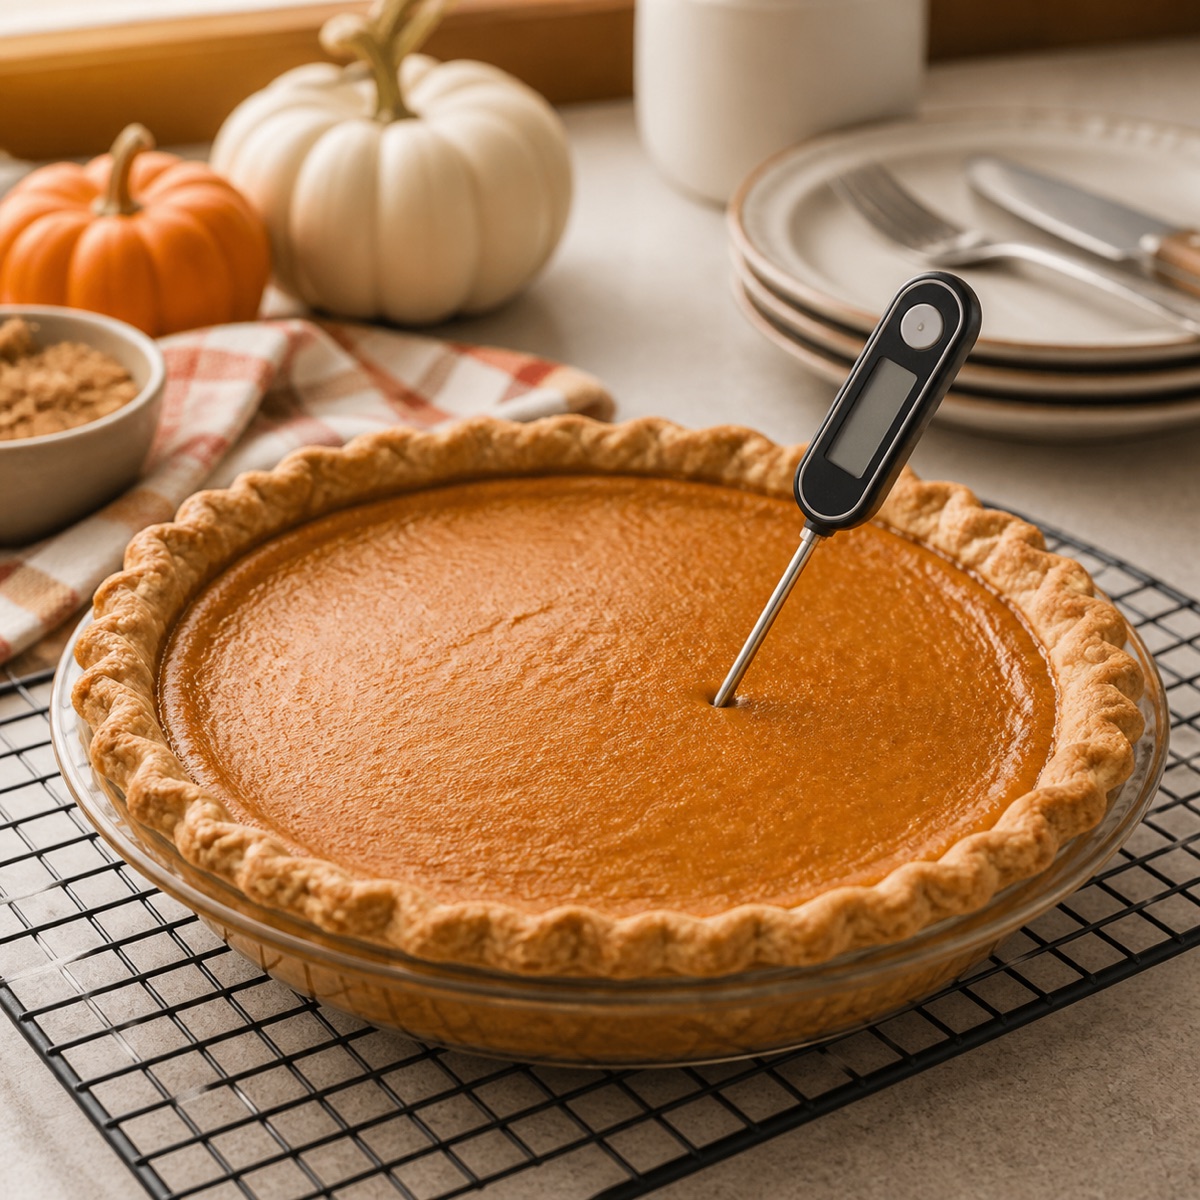
Pumpkin pie is done when the edges are set, the center gently jiggles, and a thermometer near the center reads about 175°F to 180°F.
Continue Reading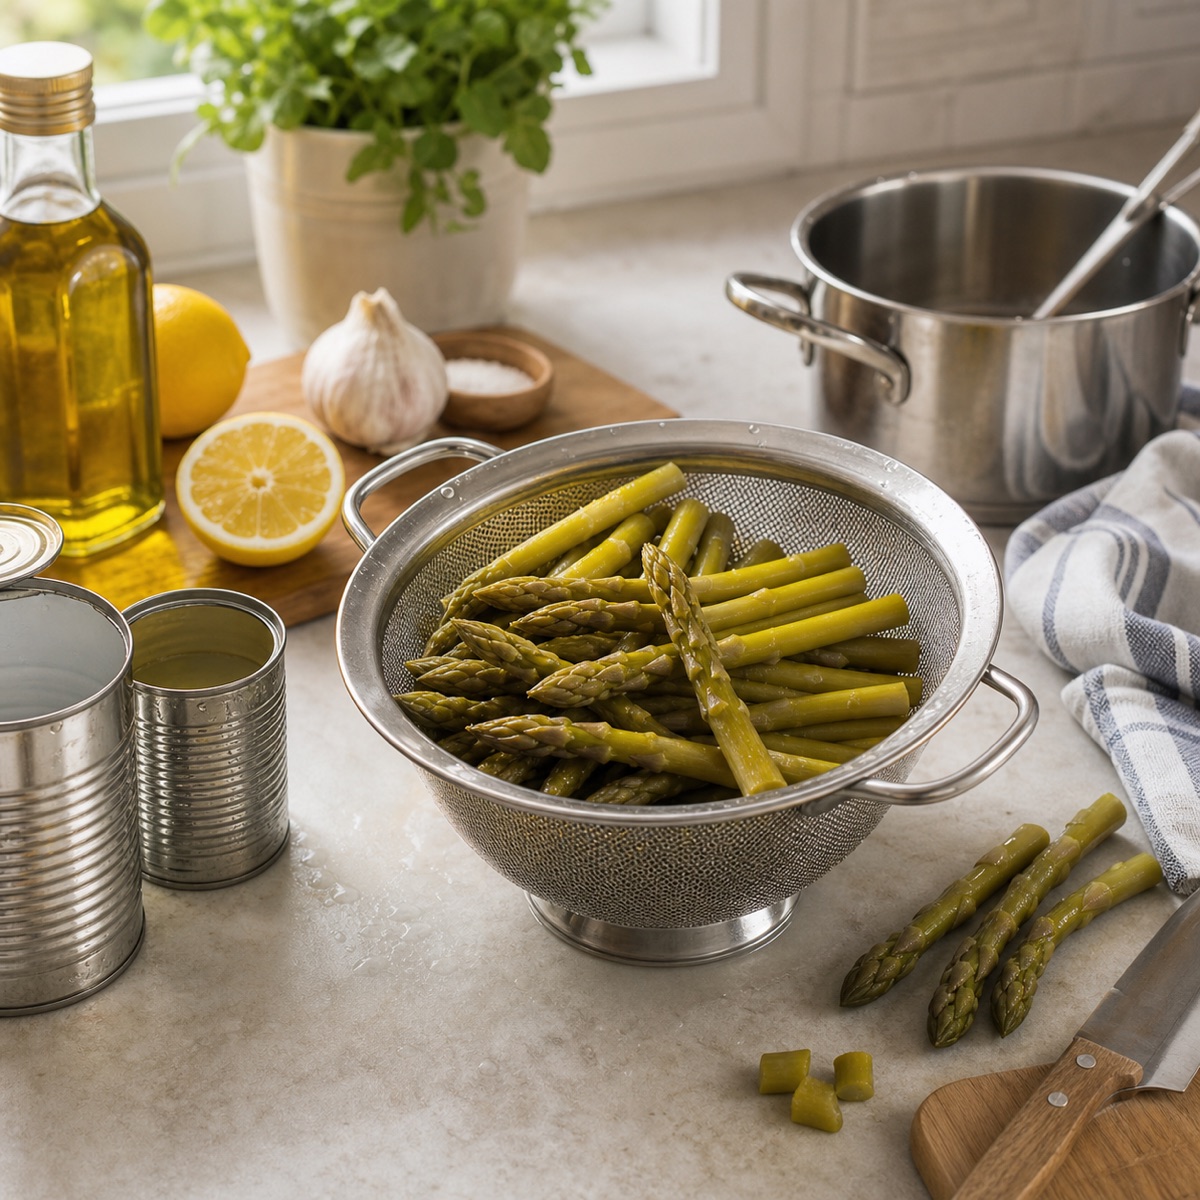
Canned asparagus is already cooked and very tender. Drain it well, heat it gently, and use it in soups, dips, omelets, salads, or quick sides where a softer texture works.
Continue Reading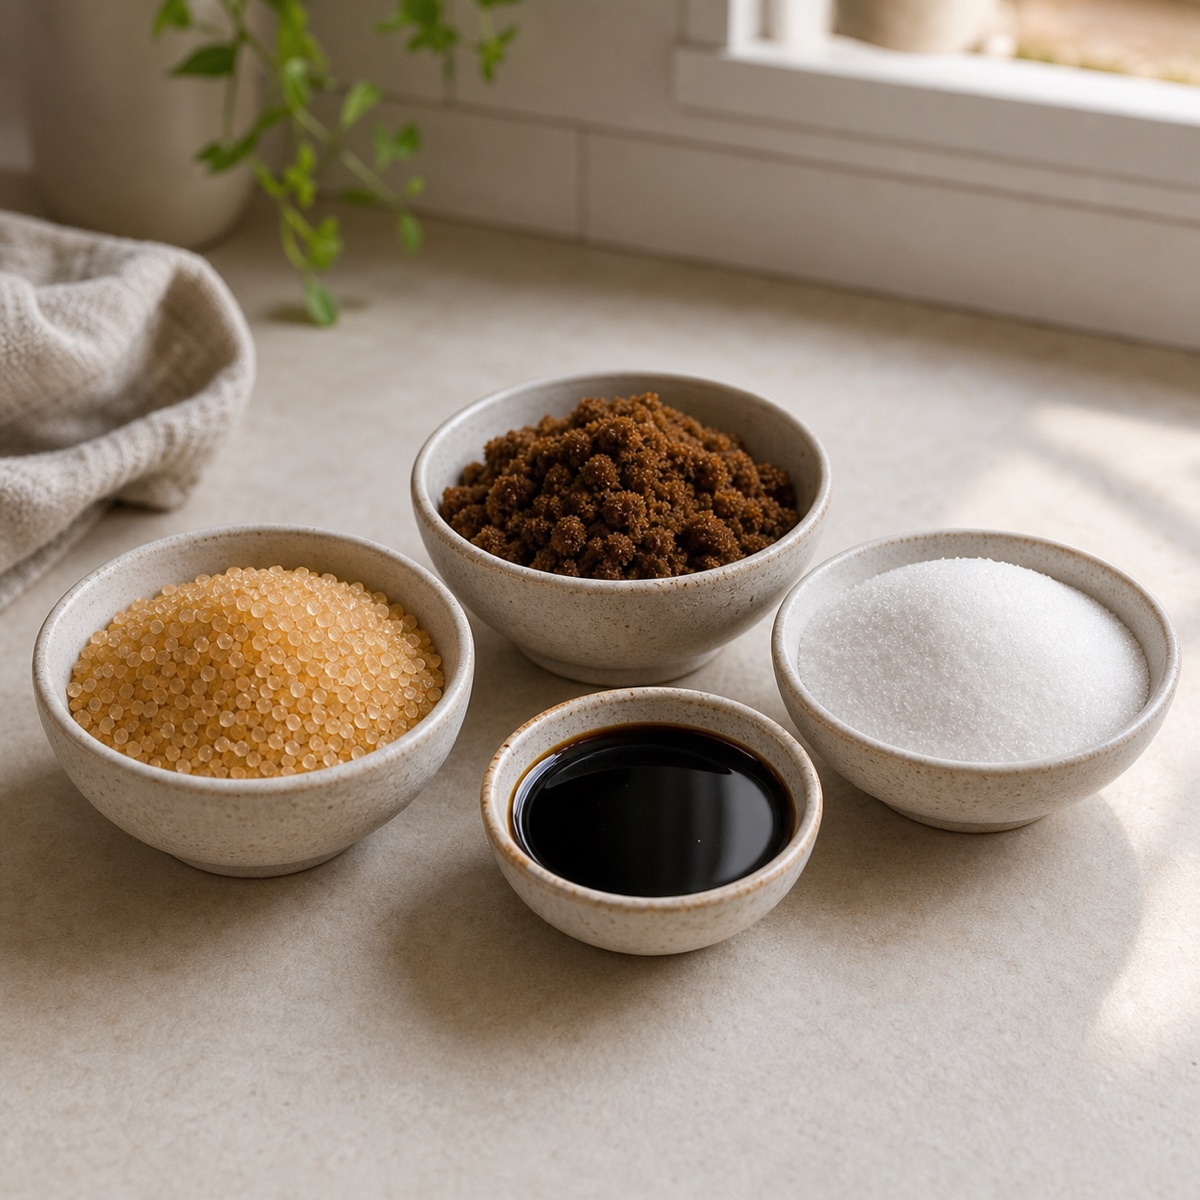
Unrefined sugar keeps more cane molasses than white sugar, giving it darker flavor and more moisture. It is useful in baking, but it still counts as added sugar.
Continue Reading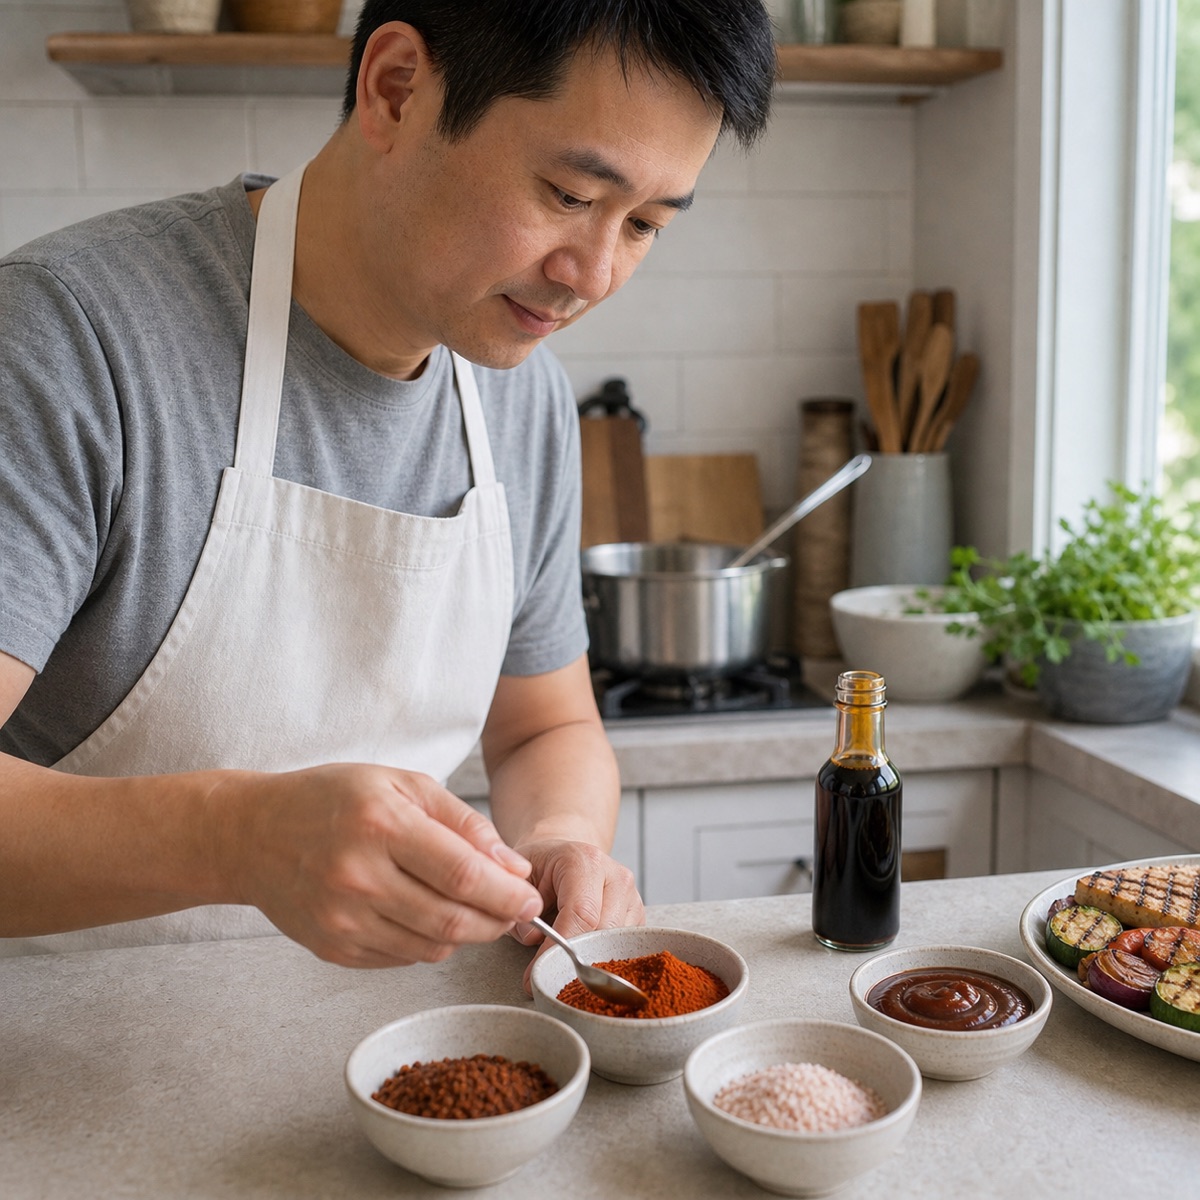
Smoked paprika is the easiest liquid smoke substitute, while chipotle powder adds heat and smoked salt adds both smoke and salt. Start small and taste.
Continue Reading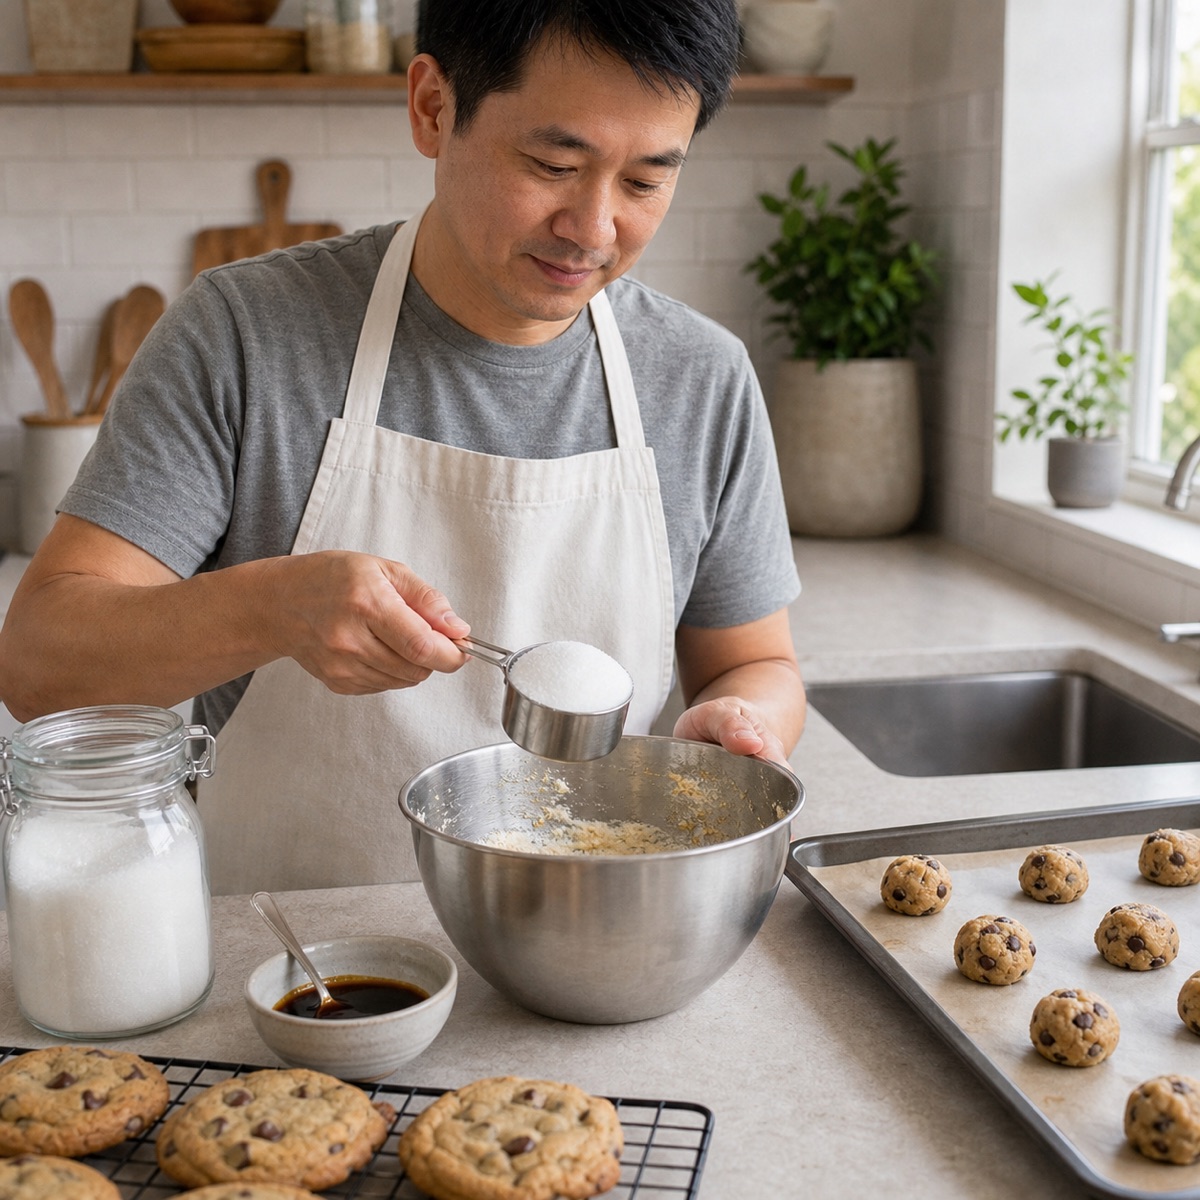
You can make cookies without brown sugar by using white sugar, but the cookies will be lighter, less caramel like, and often crisper. Add molasses for the closest swap.
Continue Reading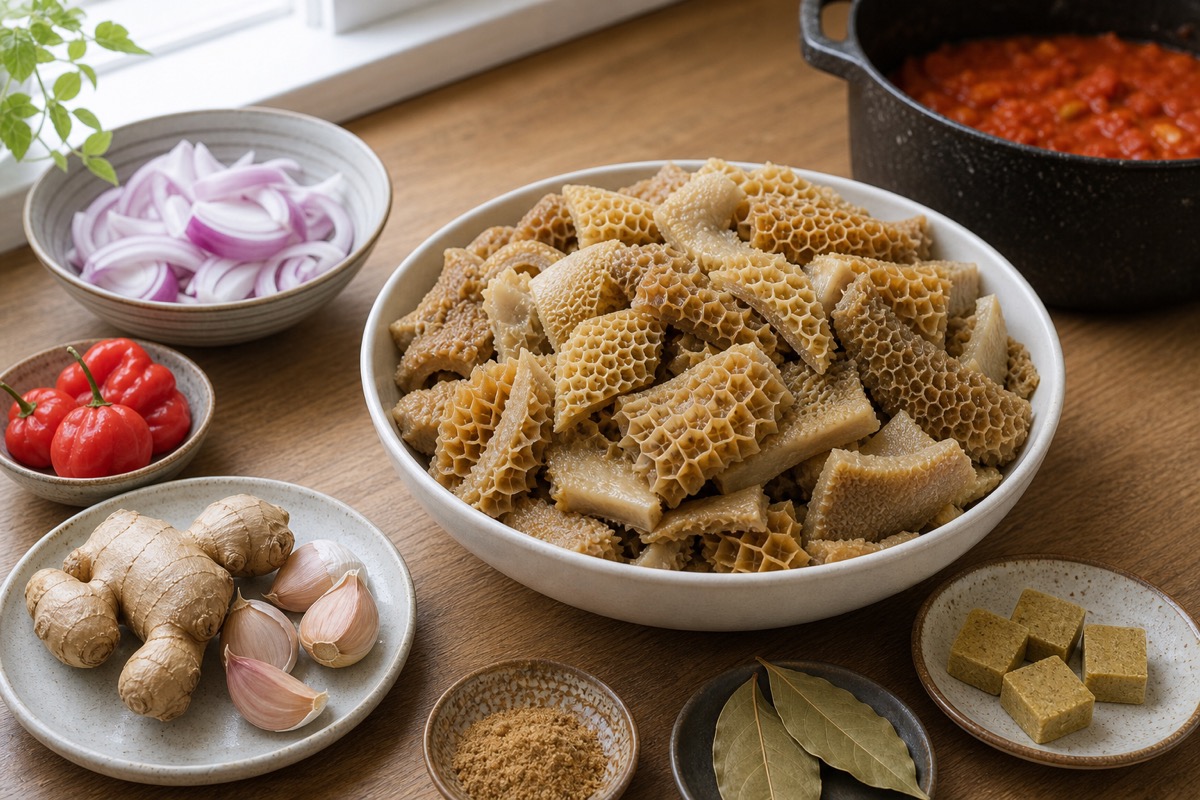
Shaki meat is cow tripe, often used in Nigerian soups, stews, pepper soup, and assorted meat dishes after cleaning and simmering until tender.
Continue Reading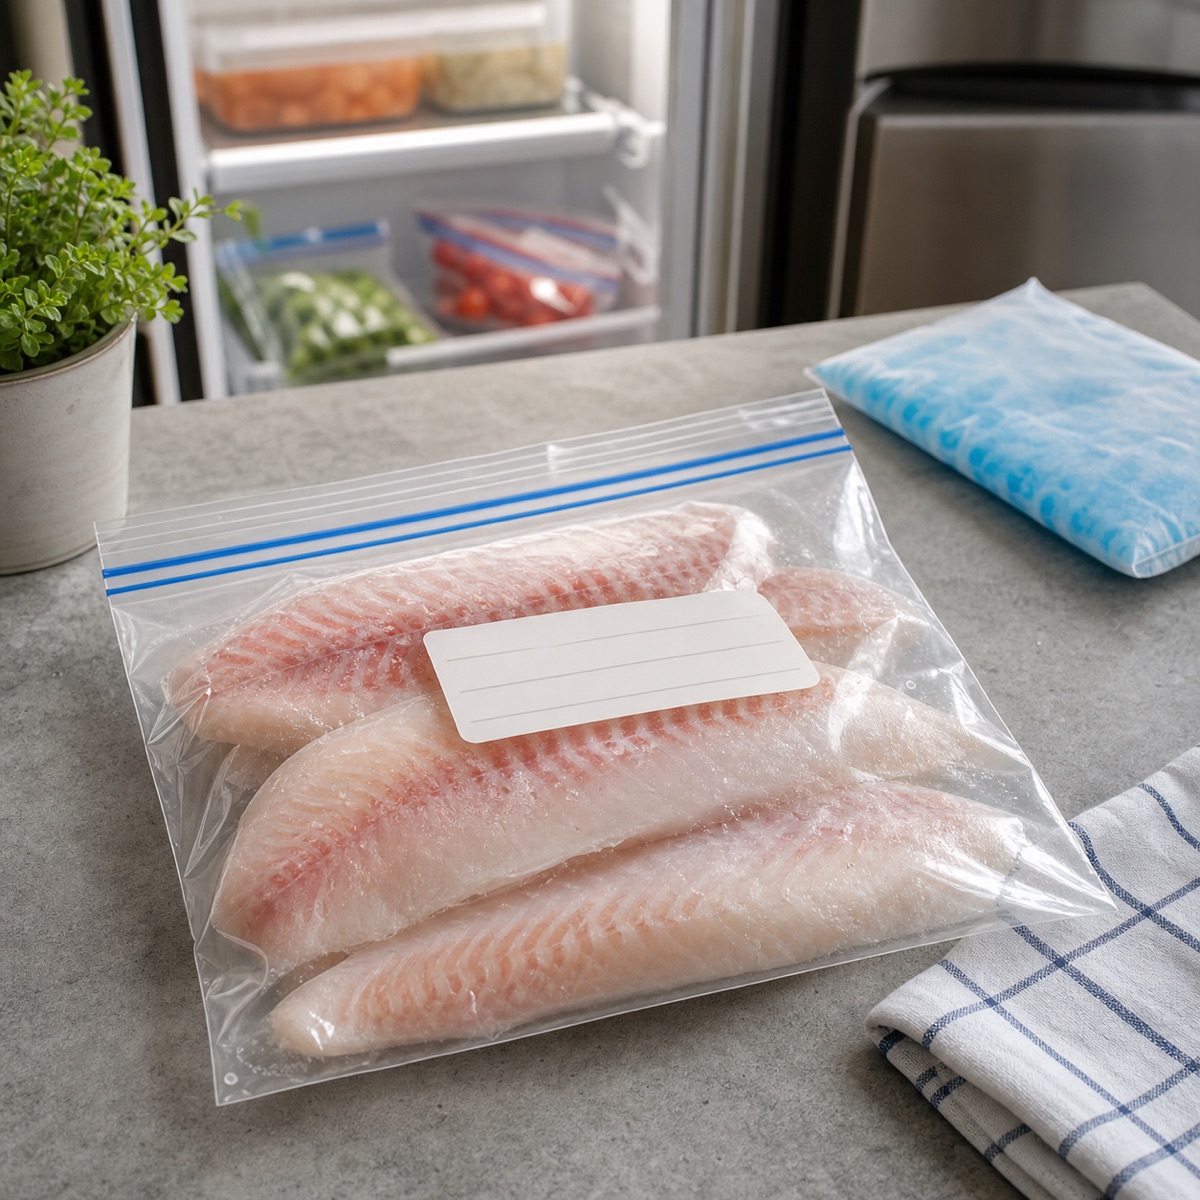
You can refreeze fish if it thawed safely in the refrigerator and stayed cold. Fish thawed in water or the microwave should be cooked first.
Continue Reading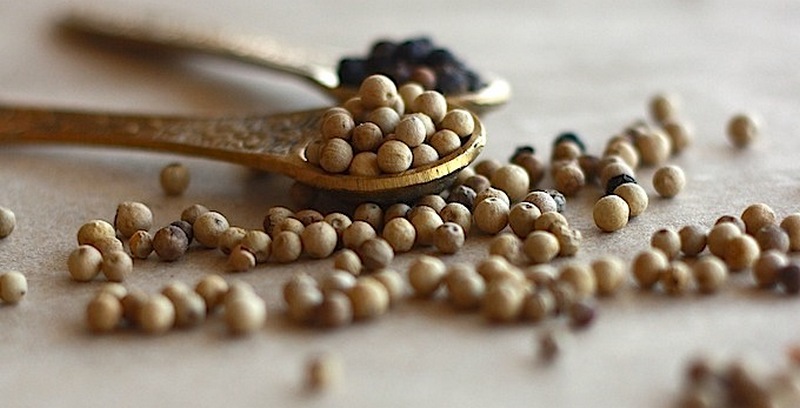
There are white and black peppers and they are grown on the same plant. There is a difference between white and black pepper and that can be found in their processing. However, if you…
Continue Reading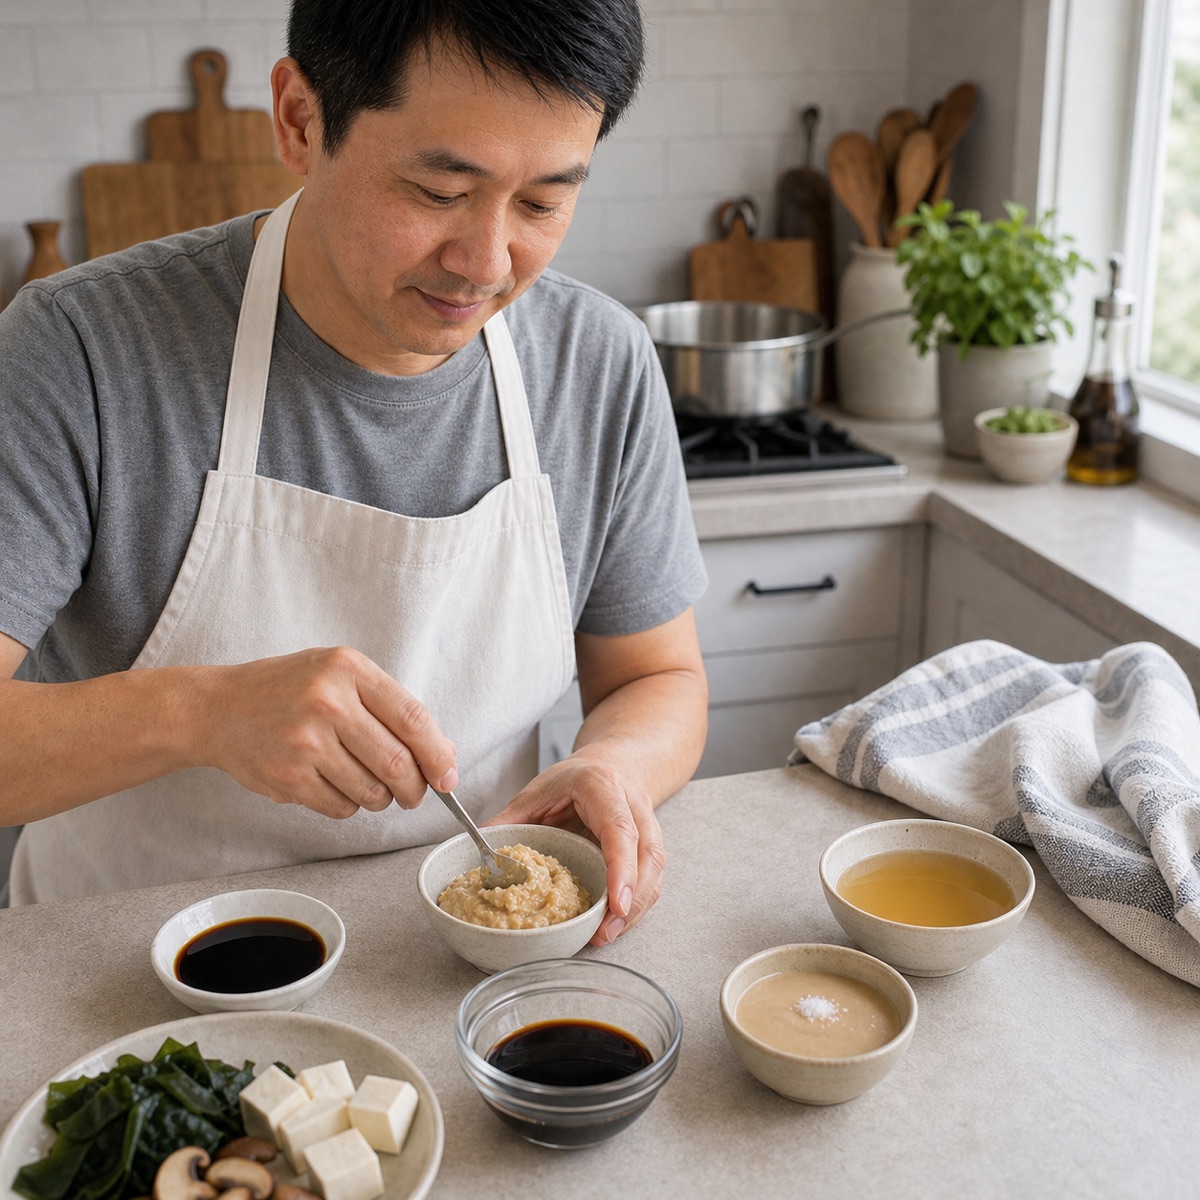
The best white miso substitute depends on the recipe. Use soy sauce or tamari for salty umami, tahini plus salt for creamy body, and fish sauce only in non vegetarian dishes.
Continue Reading