How Long Does Parmesan Cheese Last?
Parmesan lasts longest as a tightly wrapped block. Follow the package date, keep it cold and dry, use grated Parmesan sooner, and discard soft or shredded cheese with mold.
Continue Reading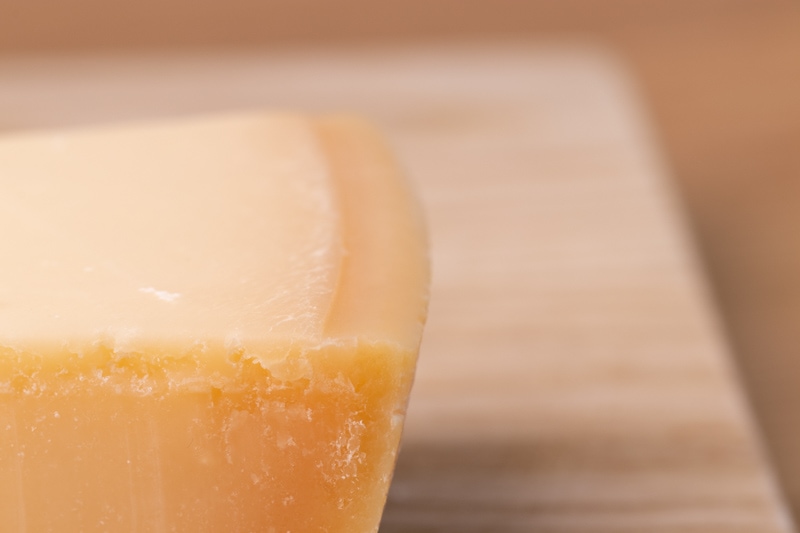
Parmesan lasts longest as a tightly wrapped block. Follow the package date, keep it cold and dry, use grated Parmesan sooner, and discard soft or shredded cheese with mold.
Continue Reading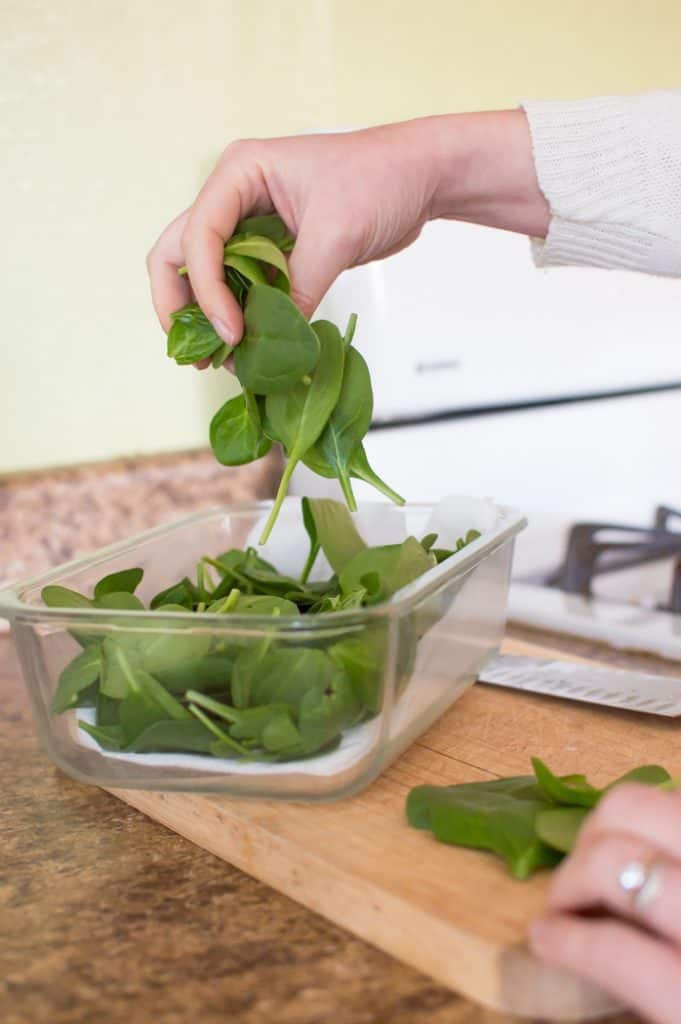
Fresh spinach usually lasts a few days in the fridge once opened, especially if it stays dry and cold. Discard spinach that is slimy, moldy, sour smelling, badly wilted, or stored with uncertain temperature…
Continue Reading
You can refreeze butter if it thawed in the refrigerator and stayed cold. Refreezing mainly affects flavor and texture, not safety, when storage was safe.
Continue Reading
Frozen butternut squash is best roasted from frozen, simmered into soups, or used in casseroles where a softer texture is helpful. Thaw only when the recipe needs dry cubes.
Continue Reading
Store radishes in the refrigerator with the greens removed. Keep the roots in a plastic bag or covered container and use the greens sooner.
Continue Reading
Store grapes unwashed, dry, and refrigerated in a ventilated container. Wash them just before eating, remove spoiled grapes, and freeze clean dry grapes for snacks.
Continue Reading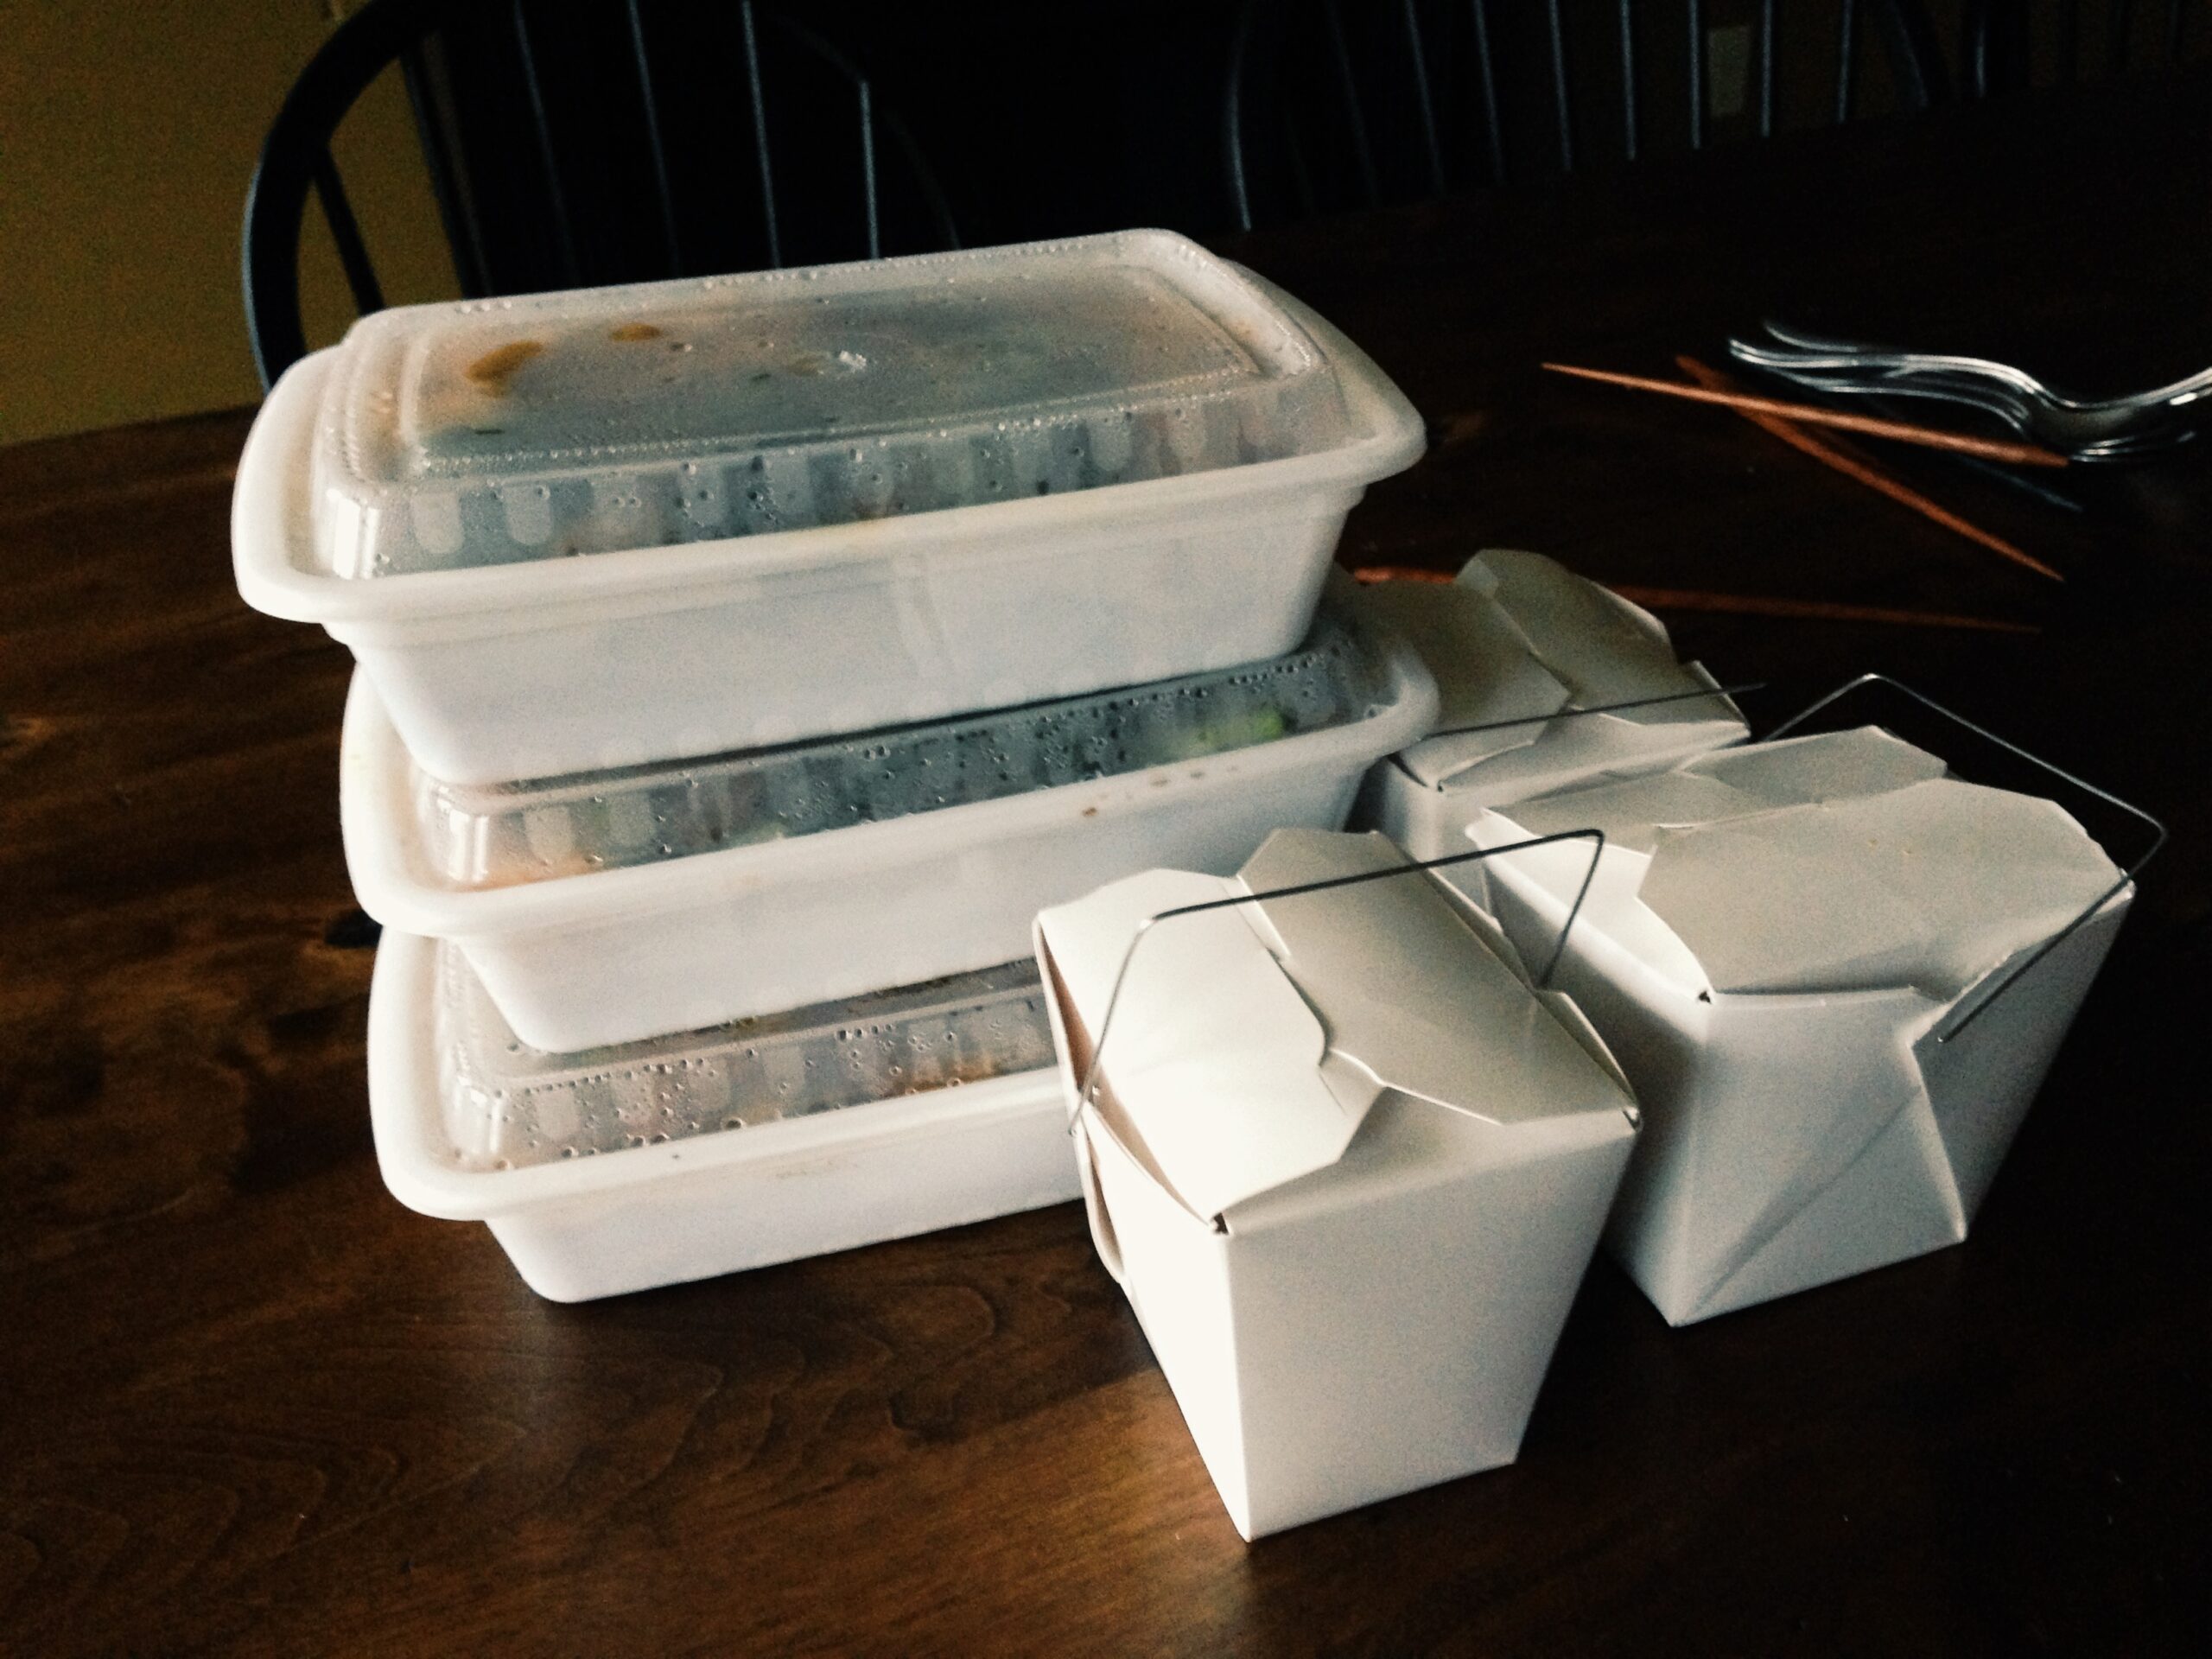
Not every Tupperware style container should go in the microwave. Learn what the microwave safe label means, when to avoid old plastic, and how to reheat food safely.
Continue Reading
Reheat pulled pork gently with a splash of broth, sauce, or cooking juices, and make sure leftovers reach 165 degrees F in the center before serving.
Continue Reading
You can freeze basil, but the leaves soften after thawing. Freeze dry whole leaves or basil and oil cubes, then use them in sauces, soups, pesto, and cooked dishes.
Continue Reading1. Current price: $45.09 2. Material: Clear glass 3. Type: Cooking stovetop pot 4. Features: Dust proof and ergonomic 5. Handle: Designed for easy use 6. Suitable for: Open flames and gas stovetops 7….
Continue Reading