How Long Does Salad Last in the Fridge? Storage Tips and Shelf Life Explained
– Salad is normally good for 1-2 days after opening, but can last in the fridge for up to 5 days if stored properly.
– Greens in packages can be stored in the refrigerator for up to 5 to 6 days, but should be consumed within four days.
– Tuna salad can be refrigerated at 40°F for 3 to 5 days before deteriorating.
– Green salad like caesar salad can last in the fridge for a week without mayonnaise, and 1-2 days with yogurt.
– Fruit salad could stay fresh in the fridge for 3-5 days, but may turn brown if mixed with apples and avocados.
– Chicken salad should be refrigerated for three to five days and kept at 40 degrees or lower for best quality.
– Pasta salad in the fridge could last for 3 to 4 days, with oil-based dressings keeping their fresh quality longer than those with mayonnaise.
– Potato salad, whether store-bought or homemade, keeps in the fridge for 3 to 4 days.
– Egg salad can be eaten within four days if properly stored in a sealed container in the refrigerator.
– Spring blend green salad spoils faster than other types of greens and should be used in 7 to 10 days.
– Macaroni salad lasts three days in the fridge when refrigerated tightly and should not be left out for more than two hours.
– Quinoa lasts five days in the fridge when refrigerated.
– Salad without dressings can be stored in the fridge for up to 10 days.
– Salad with dressings will last 1 to 5 days, depending on the preservation method and the mayo used.
– Extra water can ruin salad, causing it to last only two days.
– Salad with dairy products and cheese can last at least five days in the fridge at a temperature of 41°F.
– Dressed salads with kale, lettuce, and spinach should not be frozen as it can cause wilted leaves.
– Separating salad dressings will help keep salads fresh in the fridge.
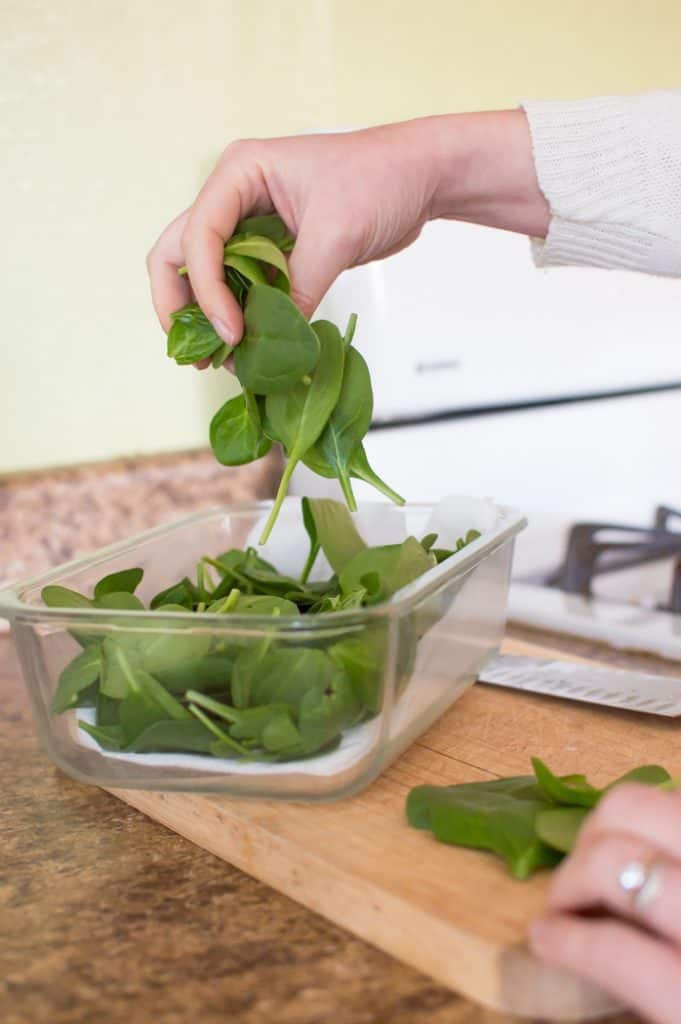
– Storing lettuce in resealable plastic and wrapping salad greens in a dry paper towel can help absorb excess moisture and prolong the shelf life.
– Spoiled salad will have a soggy and slimy texture, a rotten odor, and a harsh, rotten, sour flavor.
– Leftover salad stored in the fridge immediately after opening can last up to 2 days.
– Eating old salad left at a temperature higher than 90°F for two hours is unsafe and may cause food poisoning.
– It is recommended to store salad in an airtight container to avoid contamination.
– To keep salad fresh for five days, it is suggested to separate the mayonnaise from the other ingredients and keep the meat and lettuce in a zip lock or mason jar.
– You can prepare a salad for the week by following the suggested storing method for each ingredient to ensure it lasts longer.
– Salad should be thrown away if the lettuce becomes slimy, watery, or darker than usual.
– Any salad recipe, with or without dressings, can last in the fridge for five days if properly stored and at the right temperature.
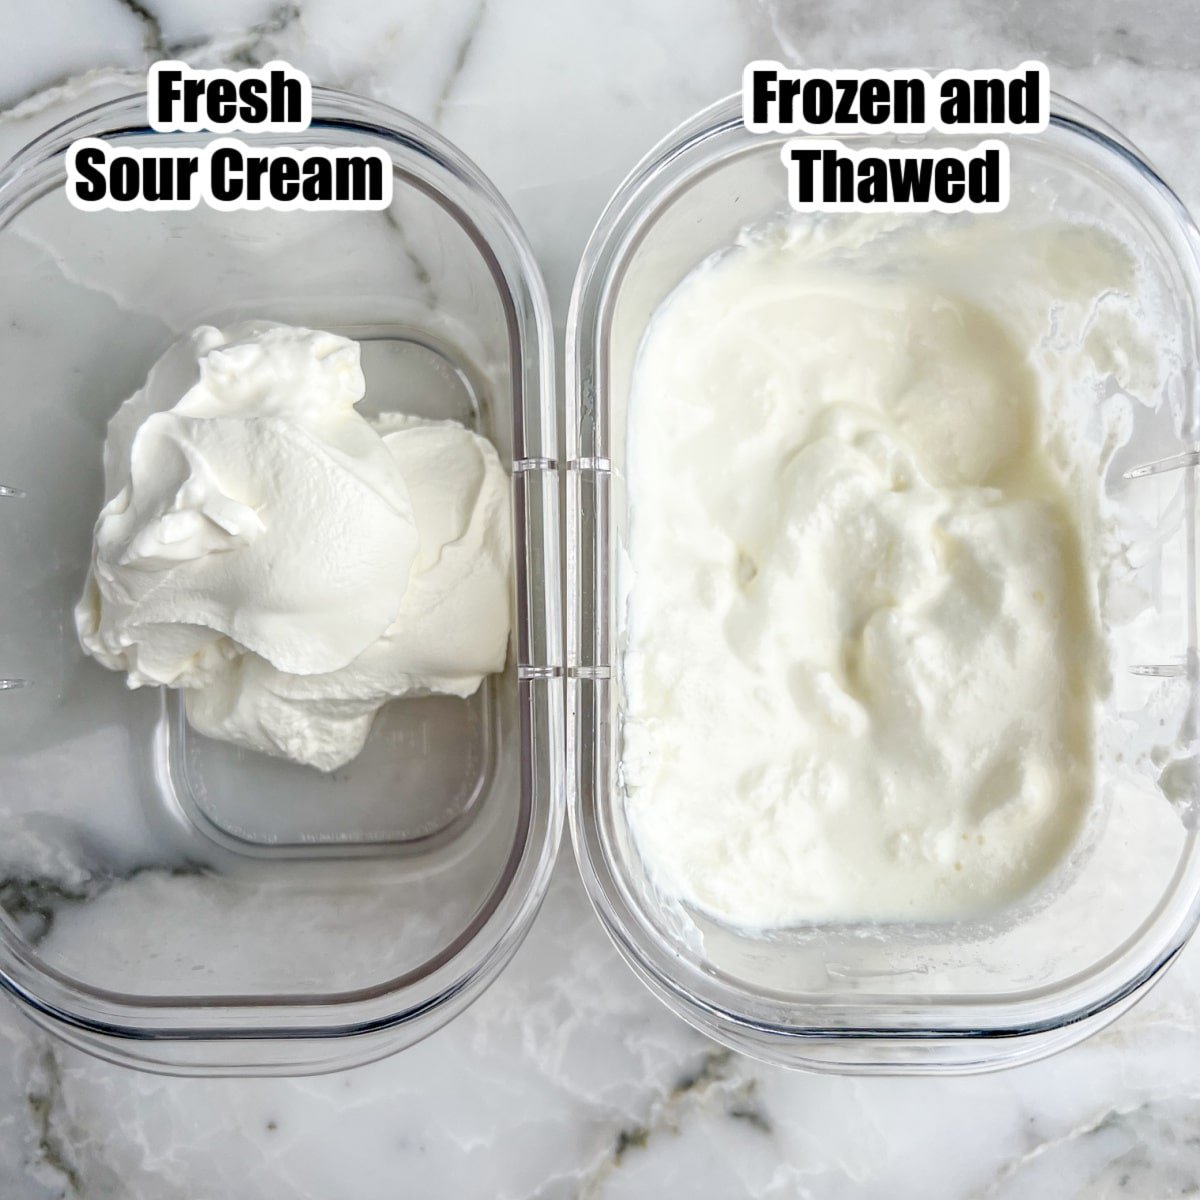
– Storing salad in the freezer is not advisable as it affects lettuce and mayonnaise.