Are you tired of buying expensive dried sage at the grocery store, only to find it lacks the vibrant flavor of fresh herbs?
In this guide, we will unveil the secret to preserving your own sage leaves at home.
Learn the simple yet effective methods of drying sage, ensuring a flavorful addition to all your culinary creations.
how to dry sage
To dry sage, start by rinsing the leaves and patting them dry with a clean towel.
Once dry, gather the leaves and bind them together with a string or rubber band.
Hang the bundled sage upside down in a warm, dry, and well-ventilated area.
Ensure the leaves are not touching each other to prevent mold growth.
Alternatively, place the sage in a paper bag with holes punched in it and allow it to dry for about a week.
The dried sage can be used later in cooking for added flavor and aroma.
Key Points:
- Rinse sage leaves and dry them with a clean towel.
- Bind the dried leaves together with a string or rubber band.
- Hang the bundled sage upside down in a warm, well-ventilated area.
- Prevent mold growth by ensuring the leaves do not touch each other.
- Alternatively, place sage in a paper bag with holes punched in it and dry for about a week.
- Use the dried sage in cooking for flavor and aroma.
how to dry sage – Watch Video
💡
Pro Tips:
1. Sage is traditionally dried by hanging bunches of it upside down in a well-ventilated area. However, an alternative method is to dry sage using a food dehydrator, which can speed up the drying process significantly.
2. In ancient Egyptian culture, sage was highly regarded for its medicinal properties and was often used by priests in religious ceremonies for its purifying effects.
3. Burning dried sage leaves, also known as smudging, is a common practice in many indigenous cultures for spiritual cleansing and purifying the energy of a space, object, or person.
4. Sage contains a compound called thujone, which is also found in absinthe and is known for its psychoactive properties among high concentrations. However, the thujone content in sage is considerably low and does not have any significant psychoactive effects when taken in moderation.
5. Some Native American tribes used sagebrush (a different plant from culinary sage) as a natural toothbrush, as it contains antimicrobial properties that help maintain oral health.
Instructions On Drying Sage Leaves
Sage, a popular herb known for its distinct flavor and aroma, can be dried to extend its shelf life and preserve its flavor for later use. Drying sage leaves is a simple process that can be easily done at home. In this article, we will provide you with a step-by-step guide on how to dry sage leaves without duplication.
Here are the steps to dry sage leaves:
-
Harvest the sage: Pick fresh sage leaves in the morning when the oils are at their peak.
-
Rinse the leaves: Gently wash the sage leaves under cold water to remove any dirt or debris.
-
Dry the leaves: Pat the leaves dry with a clean kitchen towel or paper towel.
-
Remove the stems: Carefully pluck the sage leaves from the stems, discarding the stems.
-
Prepare a drying area: Find a dry, well-ventilated area in your home to hang the sage leaves.
-
Bundle the leaves: Gather a small bunch of sage leaves and tie them together at the stem end with a string or rubber band. Make sure not to overcrowd the bundle.
-
Hang the bundles: Hang the sage bundles upside down in the drying area. Ensure they are spaced out to allow for proper airflow.
-
Wait for the leaves to dry: Leave the sage bundles hanging for about 1-2 weeks, or until the leaves are completely dry and crispy to the touch.
-
Store the dried sage: Once the leaves are dry, remove them from the bundles and store them in an airtight container, away from direct sunlight, heat, and moisture.
Note: Drying sage leaves can also be done using a food dehydrator or oven on low heat, but air drying is the most traditional method.
Pro tip: Crush the dried sage leaves just before using them to release the oils and enhance their flavor.
By following these steps, you can easily dry sage leaves at home and enjoy their flavorful goodness for a long time.
Properly Rinsing And Drying Sage Leaves
Before beginning the drying process, it is essential to ensure that the sage leaves are clean and free from any dirt or impurities. Start by rinsing the leaves under cool running water, gently rubbing them to remove any residue. Once rinsed, carefully pat the sage leaves dry with a clean kitchen towel or paper towels. It is important to remove excess moisture from the leaves to prevent them from molding during the drying process.
Binding Sage Leaves For Drying
After rinsing and drying the sage leaves, the next step is to bind them together.
Here are the steps to follow:
- Gather a small bunch of leaves (around 10-15) and arrange them in a neat, uniform manner.
- Make sure to align the stems at one end.
- Gently tie them tightly using a string or kitchen twine.
- By binding the sage leaves, you will help them maintain their shape and prevent them from scattering during the drying process.
Remember, the key is to keep the sage leaves tightly bound to ensure effective drying.
“Binding the sage leaves will help them maintain their shape and prevent them from scattering during the drying process.”
So, next time you have fresh sage leaves, don’t forget to follow these steps to bind them properly before drying.
Hanging Sage Leaves To Dry
Once the sage leaves are bound together, find a warm, dry place to hang them for drying. Choose a location away from direct sunlight to avoid any potential damage to the leaves. A well-ventilated area with good airflow is ideal for drying sage. You can hang the bound sage leaves upside down from a hook or a clothesline using the string or twine you used for binding. Allow the sage leaves to hang undisturbed for a couple of weeks until they become crisp and dry.
Using A Paper Bag For Sage Drying
If you prefer a different method for drying sage, you can use a paper bag. Place the bound sage leaves inside a paper bag and loosely close the top, leaving some space for air circulation. Make sure to label the bag with the date to keep track of the drying time. Store the bag in a cool, dry place and check on the leaves periodically. The sage leaves should be ready within two to three weeks, depending on the humidity levels in your area.
Sage Leaves For Future Use In Cooking
Once the sage leaves have completely dried, carefully remove them from the string or bag. You will notice that the leaves have become brittle and crumbly. Store the dried sage leaves in an airtight container, away from direct light and heat, to maintain their flavor and aroma for an extended period. Dried sage can be used in various culinary preparations, such as:
- Soups
- Stews
- Sauces
- Marinades
The intense flavor of dried sage can be released by crushing or crumbling the leaves before adding them to your dishes.
In conclusion, drying sage leaves is a straightforward process that can be done at home. By following the instructions outlined above, you can successfully dry sage leaves without duplication and enjoy their longer-lasting flavor in your cooking.
💡
You may need to know these questions about how to dry sage
How do you dry fresh sage naturally?
To naturally dry fresh sage, gather 4-6 stalks and secure them together with string or a rubber band. Hang the bundles in a well-ventilated area such as an attic or porch, ensuring that the leaves are facing downwards. Allow the sage to dry until it becomes brittle, which typically takes some time depending on the environmental conditions. By following these simple steps, you can naturally dry your fresh sage and preserve its aromatic qualities for future use in culinary or medicinal purposes.
Do you have to wash sage before drying it?
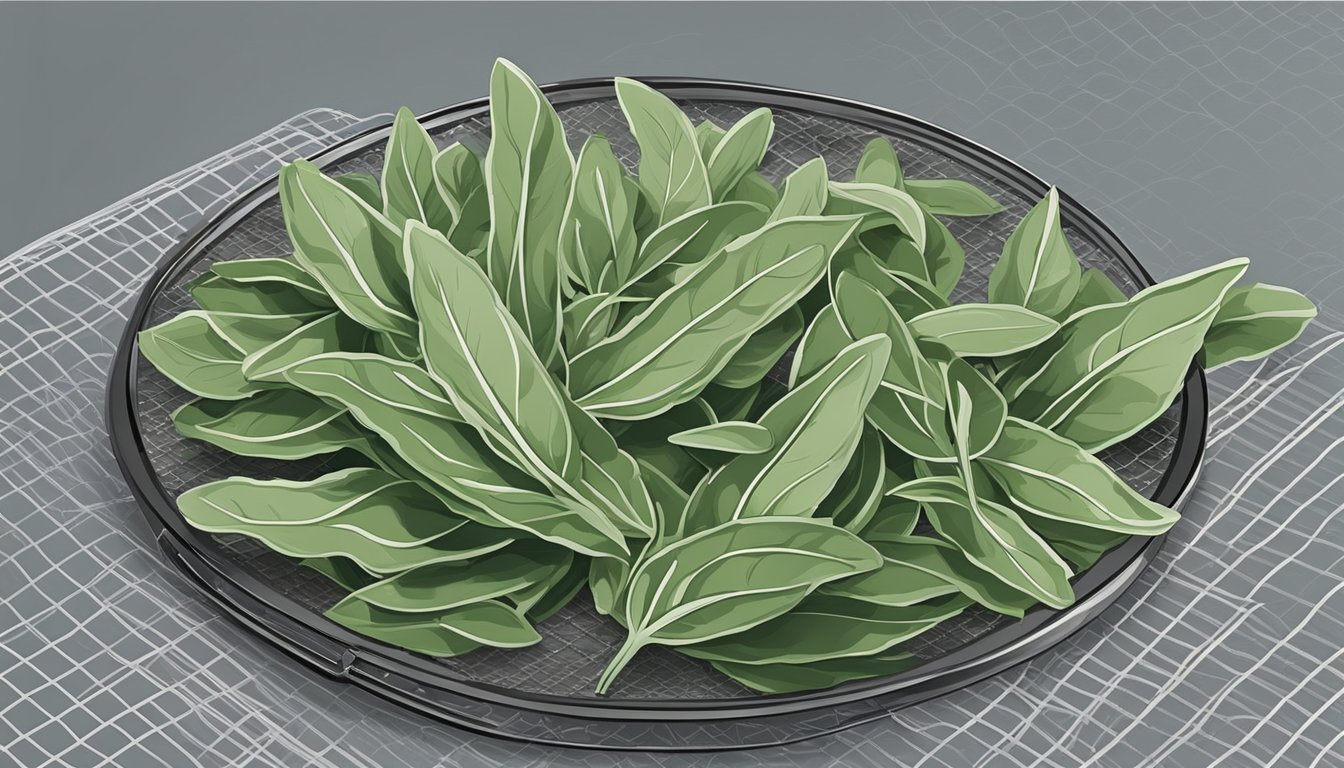
Yes, it is essential to wash sage before drying it to remove any dirt or impurities that may be on the leaves. Rinse the leaves in a bowl of water, ensuring they are thoroughly cleaned. After washing, carefully dry the leaves using a salad spinner or by gently patting them dry between layers of a tea towel or flour sack. Once the leaves are clean and dry, you can proceed with arranging them on the drying racks, making sure they are not touching to allow for proper airflow during the drying process.
Is it better to freeze or dry fresh sage?
While freezing fresh sage preserves its flavor and texture exceptionally well, drying it can also be a great option depending on your preferred culinary application. Freezing sage ensures that it retains its vibrant color, aroma, and taste, making it easily crumble for use in various dishes like stuffing or roasted vegetables. However, for certain recipes that require a more intensified flavor, dried sage can be a favorable choice. Dried sage brings a concentrated and earthy taste to dishes and is often preferred in soups, stews, or spice blends. Ultimately, the choice between freezing or drying fresh sage depends on the specific culinary purpose and personal taste preferences.
How long do you air dry sage?
To properly air dry sage, it typically takes about seven days, although the drying time can vary depending on the weather conditions. It is crucial to choose an appropriate location for drying sage, as laying it on the ground can result in moisture absorption. Therefore, you should opt for a cool and dry area to ensure effective drying.
Reference source
https://www.wikihow.com/Dry-Sage
https://www.alphafoodie.com/how-to-dry-sage-leaves/
https://www.youtube.com/watch?v=aSdjUTqczjM
https://www.youtube.com/watch?v=3JuSismNmOo