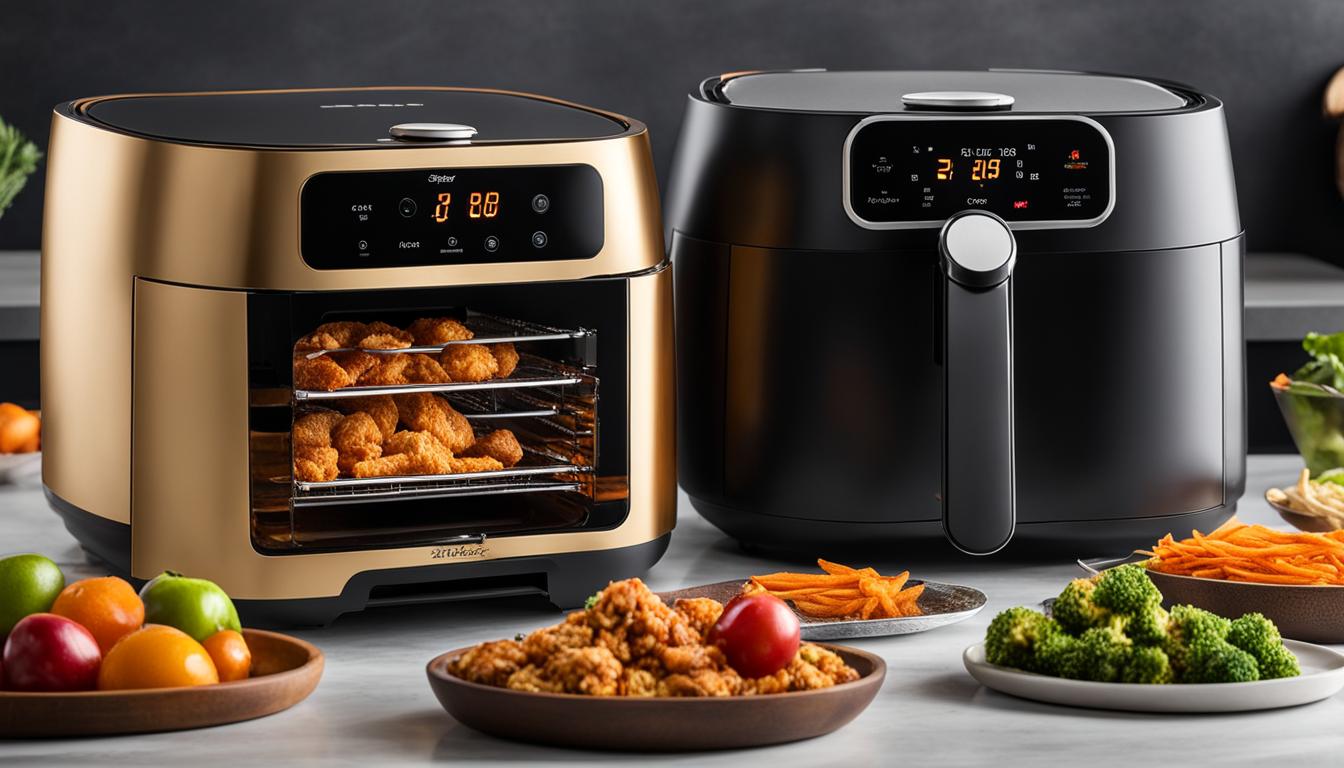
Can You Freeze Cooked Cabbage? Discover Safe Storage

– Cabbage can be frozen and preserved for months
– The flavor of the cabbage remains unchanged, but the texture becomes softer after thawing
– Frozen cabbage should be used in cooked dishes such as sauteed cabbage, boiled cabbage, soups, and stews
– Cut cabbage lasts in the refrigerator for 3 to 5 days
– Cabbage can be blanched before freezing to retain color and texture
– Procedure to freeze cabbage: shred the cabbage, blanch it for 30 seconds to 1 minute, rinse under cold water, pat dry, flash freeze on a baking sheet for 1 hour, transfer to a container or bag, seal, and mark a “Use by” date 3 months in the future
– Frozen cabbage can be used directly from the freezer in cooked dishes, but not in salads or coleslaw.
– It is recommended to use frozen cabbage within 3 to 6 months, as the flavor may degrade over time.
– Cabbage is a nutritious and inexpensive vegetable that can be enjoyed raw or cooked. It is a source of vitamin C and fiber, low in calories and fat, and contains antioxidants and phytochemicals.
– Different types of cabbage are available in Canada throughout the year, including green cabbage for soups and stews, purple cabbage for pickled dishes and salads, and Napa cabbage for stir-frying.
– Local cabbage can be purchased at grocery stores or farmer’s markets to support local farmers. When buying cabbage, choose firm and heavy heads with fresh and crisp-looking leaves.
– Cabbage can be stored in the refrigerator for up to two weeks, and cooked cabbage should be refrigerated and used within 3-5 days.
– Fresh or cooked cabbage can also be frozen for 10-12 months.
– To cook cabbage, remove outer leaves and shred it before microwaving, pickling, baking, steaming, stir-frying, or boiling.

Continue Reading

Can You Freeze Factor Meals? A Comprehensive Guide

– Factor Meals are meal replacements designed to be eaten in place of traditional meals
– They are packed with nutrients and vitamins
– Factor Meals can be frozen
– The best way to freeze them is to wrap them in foil and then place them in a freezer bag
– They can last for up to three months in the freezer
– When ready to eat, remove from the freezer and thaw in the fridge before heating up
– Factor Meals should be placed in a sealable freezer bag to prevent freezer burn
– Wrapping the meal in foil before placing it in the freezer bag can prevent leaking and damage
– Factor Meals may not be as crispy after freezing compared to fresh from the oven
– It is recommended to consume Factor Meals within three months of freezing for the best taste and texture
– Tips for freezing factor meals include portioning out the meals into single servings, labelling each meal with the date it should be thawed by, not refreezing once thawed, and using the best by date as a guide
– Freezing all factor meals at once is recommended to avoid forgetting about meals
– To thaw frozen factor meals quickly, the microwave can be used
– The plastic wrap or packaging should be removed before placing the frozen meal in the microwave
– The frozen meal should be placed in a microwavable bowl or container and covered with parchment paper
– The microwave should be set at 50% power for heating the frozen meal
– Meal prepping with Factor meals is a convenient way to save time throughout the week and still eat nutritious food
– Some Factor meals may require stirring or flipping during cooking
– Make sure containers are clean before storing cooked foods to prevent bacterial growth
– When freezing leftovers from cooked Factor meals, wrap them tightly to prevent freezer burn
– Perishable foods should not be left out at room temperature for more than two hours to prevent bacterial multiplication
– Containers used for storage should have tight-fitting lids to prevent air exposure and spoilage

Continue Reading

How to Dry Parsley: Simple Methods for Preservation

– Drying parsley at home preserves the flavor better than store-bought dried parsley.
– The key is to keep the drying temperatures low, around 95 degrees Fahrenheit, to preserve the oils and flavor.
– The preferred method for drying parsley is using a dehydrator, but there are other methods as well.
– One alternative method is to hang the parsley upside down in a dark, cool place with air movement, such as a garage, using a fan to circulate the air.
– Another alternative method involves laying the parsley in a single layer on a window screen or baking rack and placing it in a car windshield to dry with the heat of the day.
– The possibility of using an oven for drying is mentioned, but it depends on whether the oven can go low enough without burning the herbs or evaporating their oils.
– The step-by-step process includes choosing healthy leaves with a few inches of stem, washing and drying the parsley, and then proceeding with the chosen drying method. The article provides instructions on how to dry parsley. It suggests patting the leaves dry on a towel or letting them air dry if needed. The parsley should then be spread out on the trays of a dehydrator or tied in a bundle to hang for sun drying. The drying process can take a few hours with a good dehydrator or up to a week or longer depending on conditions. It is important for the leaves to be completely dry and brittle with no bending or flexibility.
– Dried herbs should be stored in an airtight container, with glass jars being recommended over plastic. The herbs should be stored away from light and heat, as heat can break down the oils in the herbs. Dried herbs can last at least a year without going bad, although they may lose their flavor over time.
– When cooking with dried herbs, it is important to use about half the amount of dried herbs compared to fresh herbs that a recipe calls for, as dried herbs have a concentrated flavor.
– Sauces or condiments that heavily rely on fresh herbs, like pesto or chimichurri sauces, may not turn out well with dried herbs. It is suggested to make these sauces with fresh herbs and freeze them for better results.
– The article also provides recipe ideas to use dried herbs, including a Sausage and Lentil Stew, Zucchini Lasagna Roll Ups, and Homemade pasta sauce.

Continue Reading

Discover the Hidden Wonders of Kahm Yeast: A Fascinating Exploration of Natural Fermentation

– Kahm yeast is a wild-yeast strain that forms a layer on top of a ferment.
– It may trap air bubbles below the surface.
– Kahm yeast is not harmful and is safe to eat.
– Kahm yeast is a term used to describe harmless yeasts that can develop on fermenting fruits and vegetables when the pH reaches a certain level.
– It consists of multiple species of yeast such as Pichia, Hansenula, Debaryomyce, Mycoderma, and Candida.
– The appearance of Kahm yeast includes a white film or pellicle on the surface of the ferment, a smooth or crepe paper appearance with no fuzz, and no growth below the surface of the brine.
– Prevention is the best solution for dealing with Kahm yeast, and using an airlock fermentation jar is recommended.
– Kahm yeast is a type of yeast that requires oxygen to grow and is commonly found on the surface of fermented foods.
– It can affect the flavor and smell of the ferment.
– To prevent the growth of kahm yeast, it is suggested to use an airlock fermentation jar to remove oxygen, use enough salt to inhibit yeast growth, keep all fruits and vegetables fully submerged in the ferment, encourage a rapid start fermentation by chopping produce into smaller pieces, and keep equipment clean and sanitary.
– If kahm yeast appears in a ferment, it is harmless but may alter the taste and smell.
– Options include skimming off the yeast and finishing the ferment or starting again.
– Consuming the ferment quickly is recommended as kahm yeast may recur and further affect the flavor over time.

Continue Reading