How to Reheat Lasagna in the Microwave Safely
Reheat lasagna in the microwave covered, with a little moisture, and check that the center reaches 165 F before eating.
Continue Reading
Reheat lasagna in the microwave covered, with a little moisture, and check that the center reaches 165 F before eating.
Continue Reading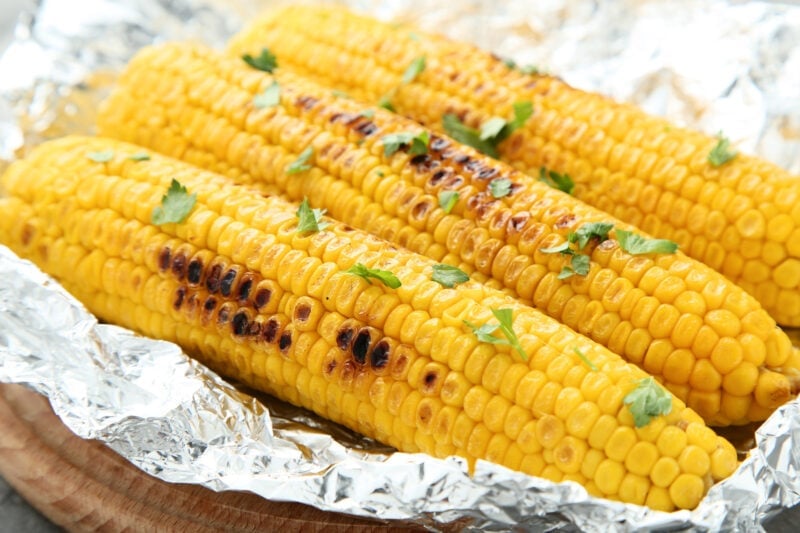
Reheat corn on the cob until it is fully hot, using the microwave, oven, boiling water, grill, or air fryer. Keep cooked corn refrigerated, use leftovers within 3 to 4 days, and reheat leftovers…
Continue Reading
The best way to reheat a Bloomin Onion style fried onion is in an air fryer or oven so the coating can crisp again.
Continue Reading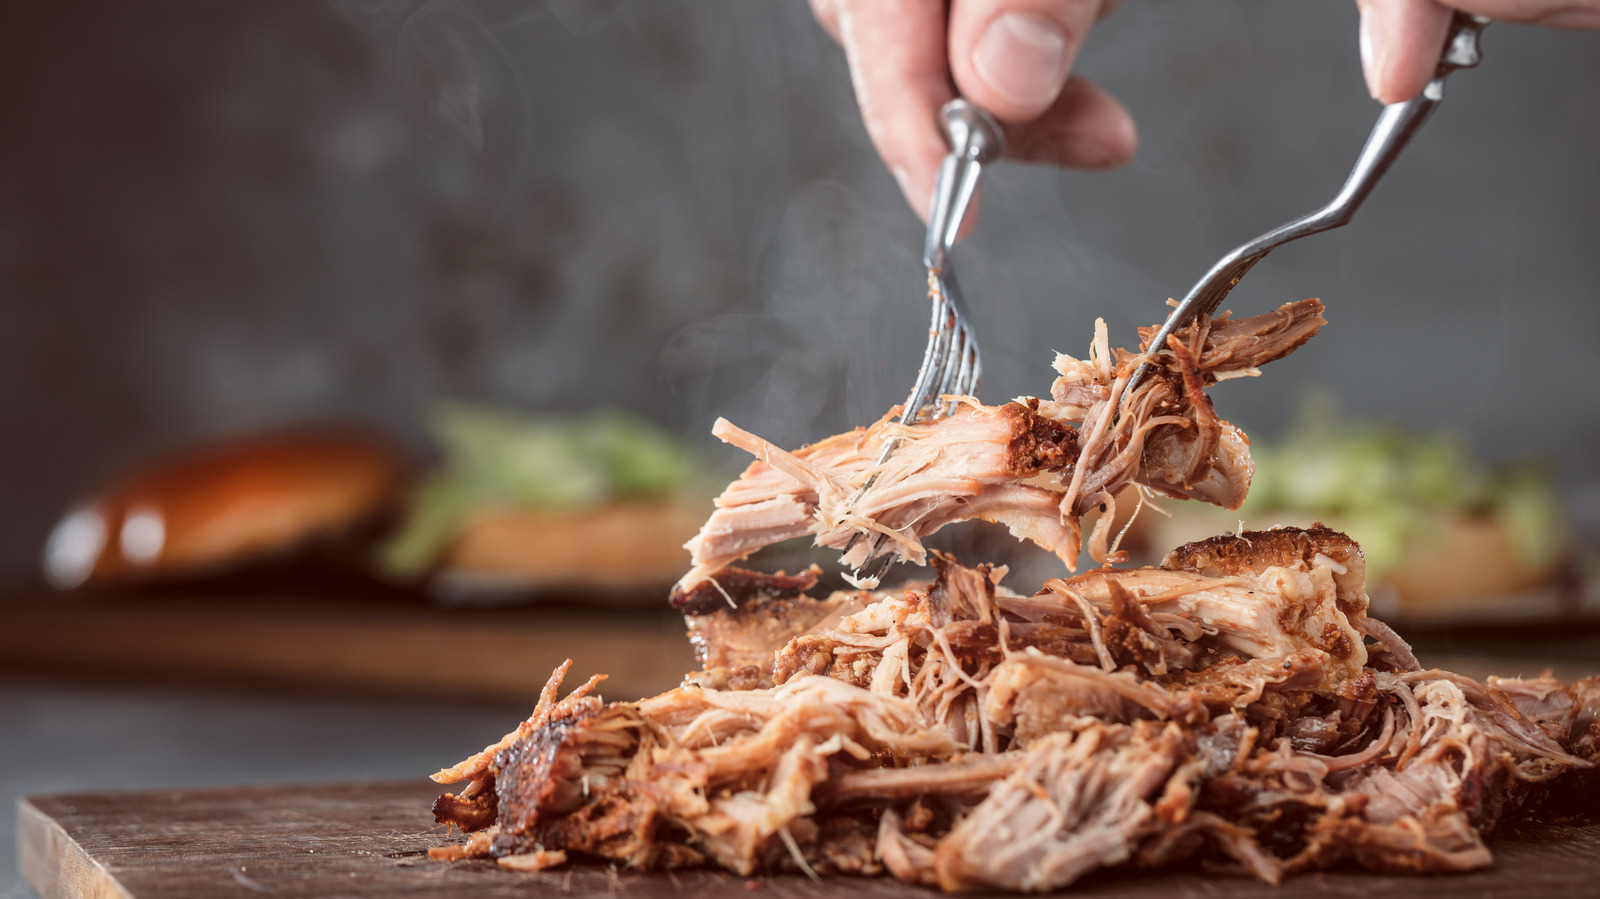
Pulled pork is a common barbecue dish, typically made from the shoulder of a pig. It is usually smoked low and slow and cooked until tender in a low oven or slow cooker. Pulled…
Continue Reading
Most packaged hot dogs are fully cooked, but cold hot dogs are not always the safest choice. Reheat until steaming hot for higher risk eaters or uncertain handling.
Continue Reading
To reheat rice in a rice cooker, use safely refrigerated rice, add a small splash of water, run the reheat or cook setting, and heat until the rice is hot throughout.
Continue Reading
The best way to reheat tacos is to warm the filling separately, refresh the tortilla or shell, and add cold toppings after reheating.
Continue Reading
Reheat fried rice only if it was cooled and refrigerated safely. Heat it until hot throughout, about 165 degrees F, and discard rice that sat out too long.
Continue Reading
The best way to reheat wings is the oven or air fryer when you want crisp skin, while a skillet can work for smaller batches.
Continue Reading
Cooked tamales usually last 3 to 4 days in the refrigerator. Cool them promptly, store covered, and reheat leftovers to 165 degrees F.
Continue Reading