Sweet Savings: Candy Buffet Ideas on a Budget Your Guide to Affordable and Delicious Treats!

– The article provides tips for creating a candy buffet on a budget.
– Candy buffets can be expensive, with some costing over $1,000.
– The author shares their experience of creating a candy buffet for 40+ people for under $100.
– The first step is to determine the colors for the candy buffet.
– Buying candy in certain colors after relevant holidays can save money.
– The next step is to determine the amount of candy needed, with a rule of thumb of 8 oz. (1 cup) per guest.
– Bulk candy is recommended for cost savings, with 5 lb. bags being easy to calculate.
– Supplies needed for the candy buffet include candy in different varieties, sizes, and colors, as well as vases, bowls, and other containers.
– Suggestions for items needed include plastic scoops, tongs, buffet signs, and candy bags or boxes.
– The author recommends purchasing vases from the Dollar Tree or checking local thrift stores for containers.
– It is advised to borrow containers from family, friends, and neighbors to save on costs.
– Candy can be purchased from Amazon, Oriental Trading, or local stores like Winco.
– Other inexpensive options for packaging candy include favor boxes or clear cello bags with curling ribbon.
– The author shares a breakdown of their own candy buffet cost, which totaled under $100 for over 40 guests.
– Candy buffets are a popular option for events as they are customizable and versatile.
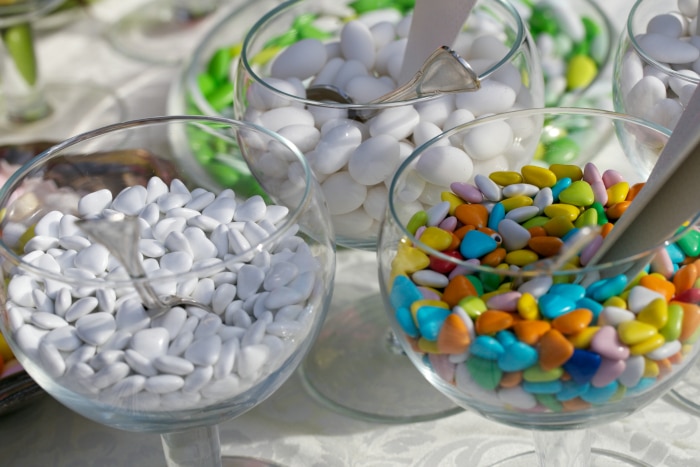
– Color scheme is an important decision for candy buffets, with options including monochromatic, black and white, rainbow, pastels, and saturated colors.
– Tips for candy buffets include being cautious of brightly colored candies that can melt and stain, using clear dishware to display the candy, and mixing candies of different shades for visual interest.
– It is recommended to purchase about eight ounces of candy per guest and to buy candy in bulk for cost-effectiveness.
– Types of candy commonly used in buffet include gummy candy, lollipops, “filler” candy (chocolate balls), taffy, candy-coated chocolate gems, rock candy, gumballs, twisted marshmallows, malt balls, and extras like cake and coconut snowballs.
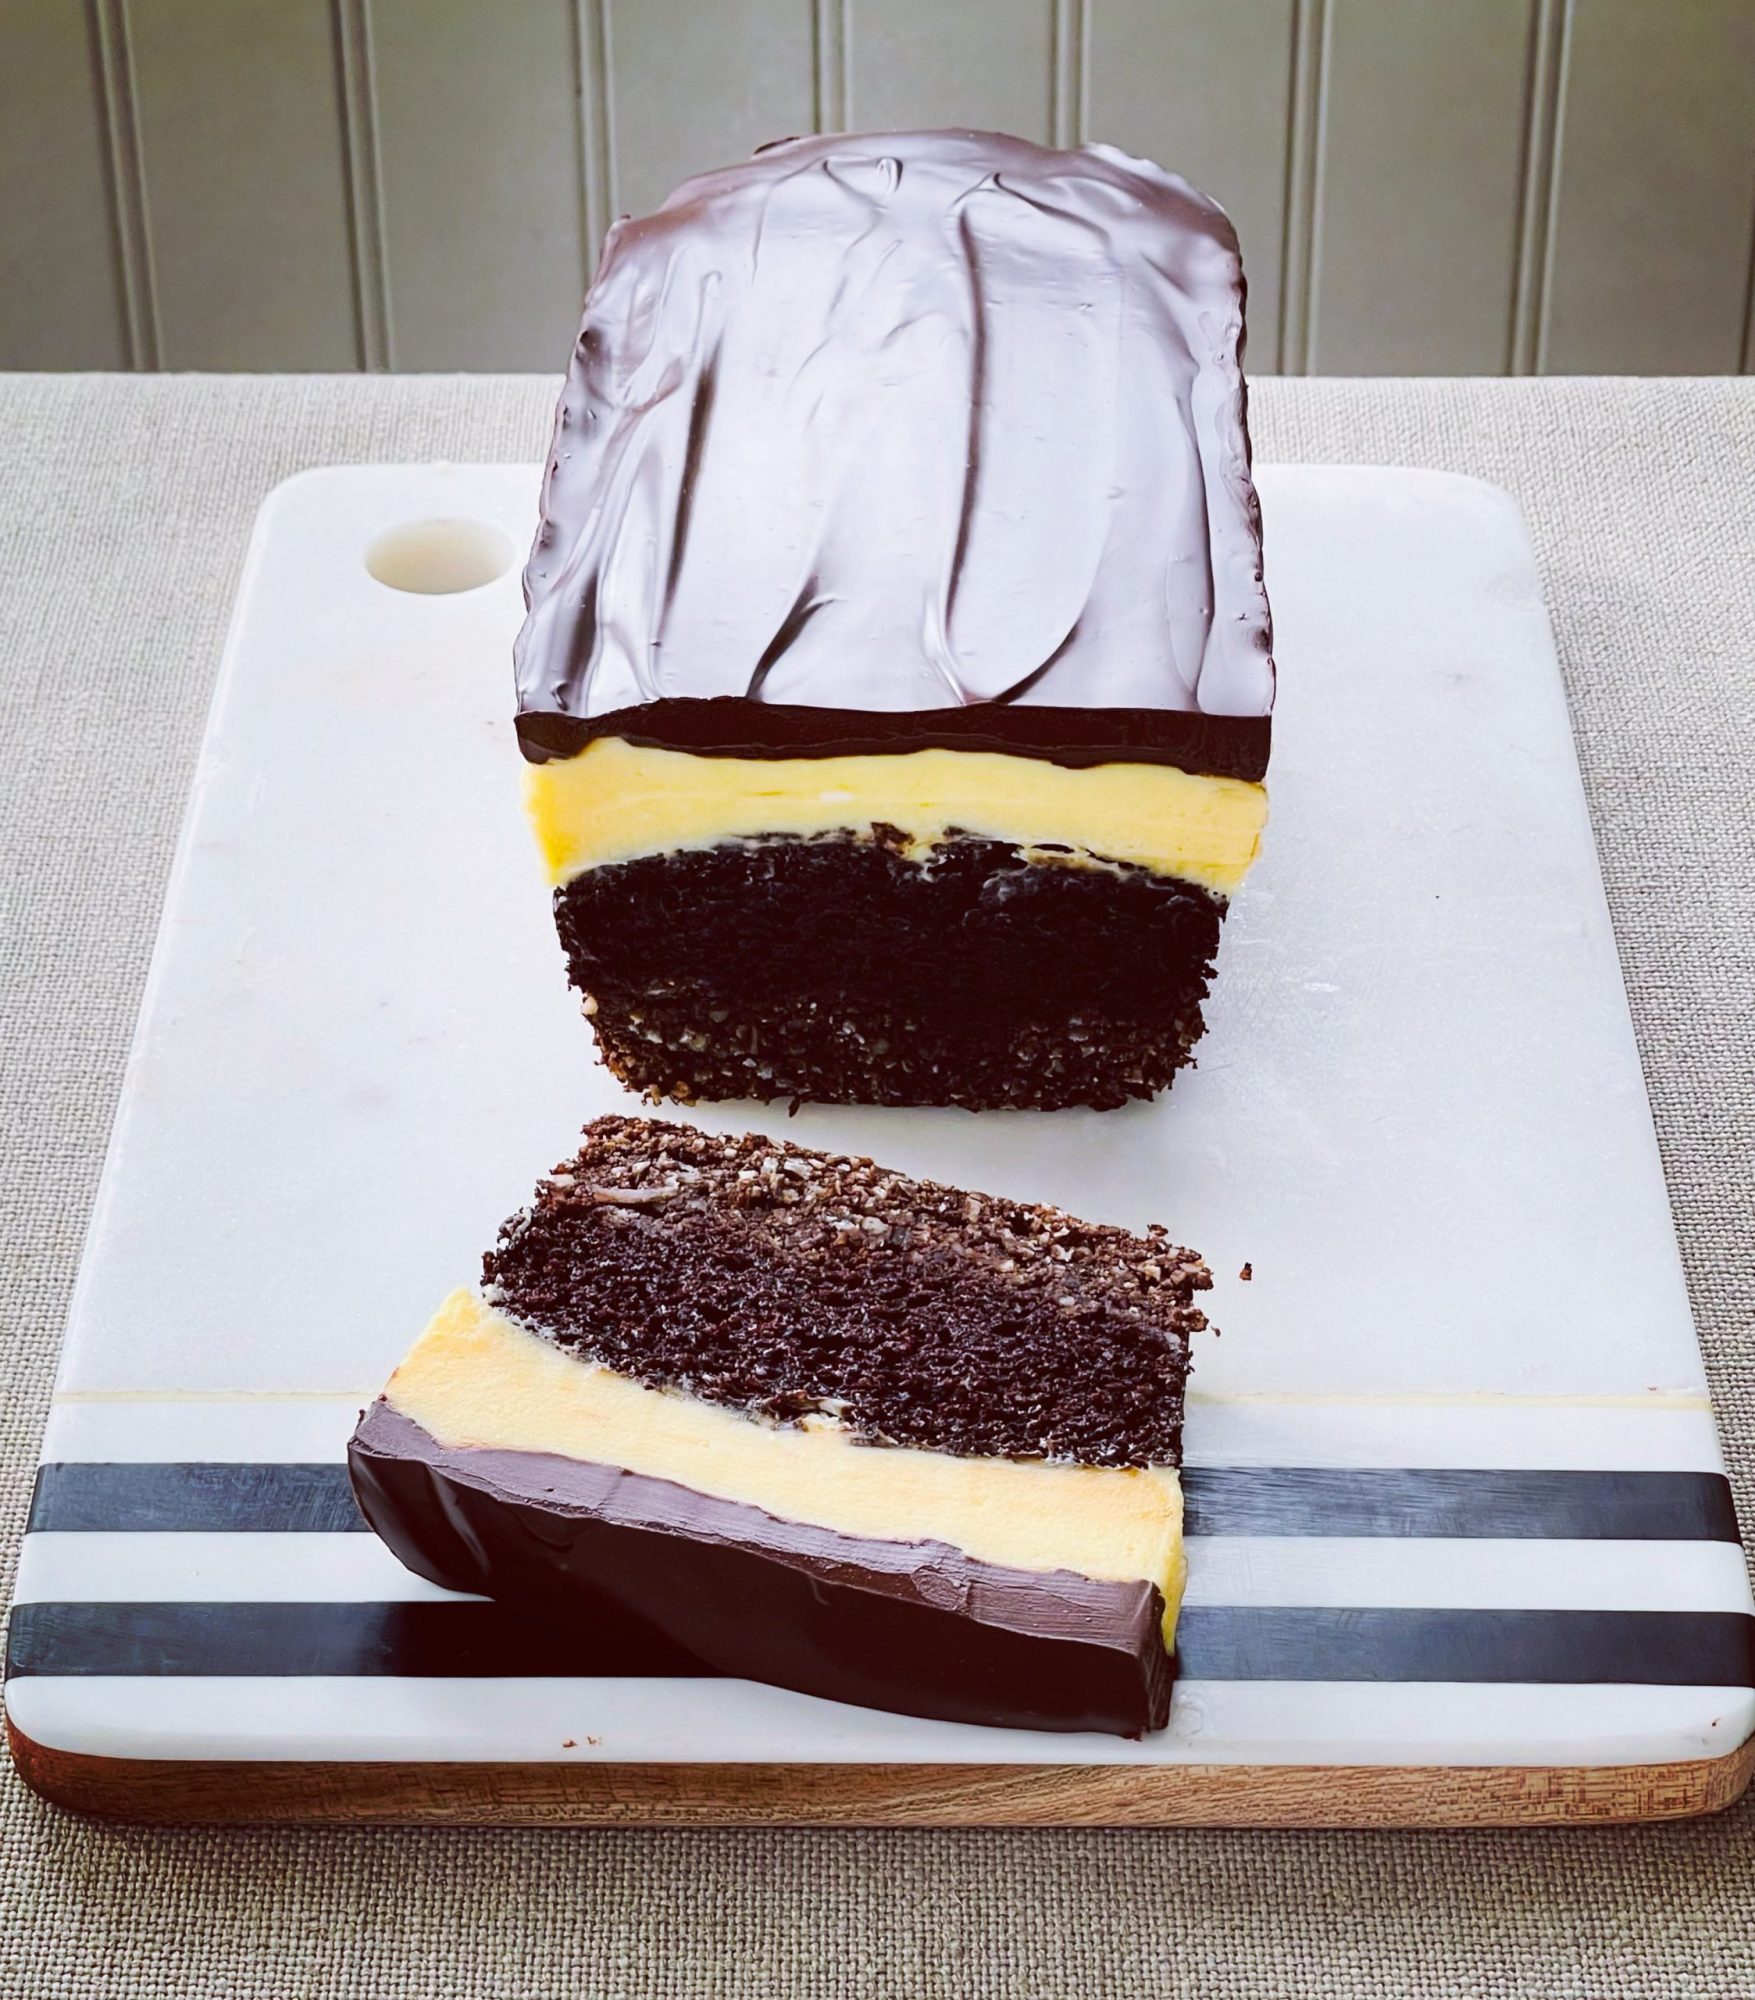
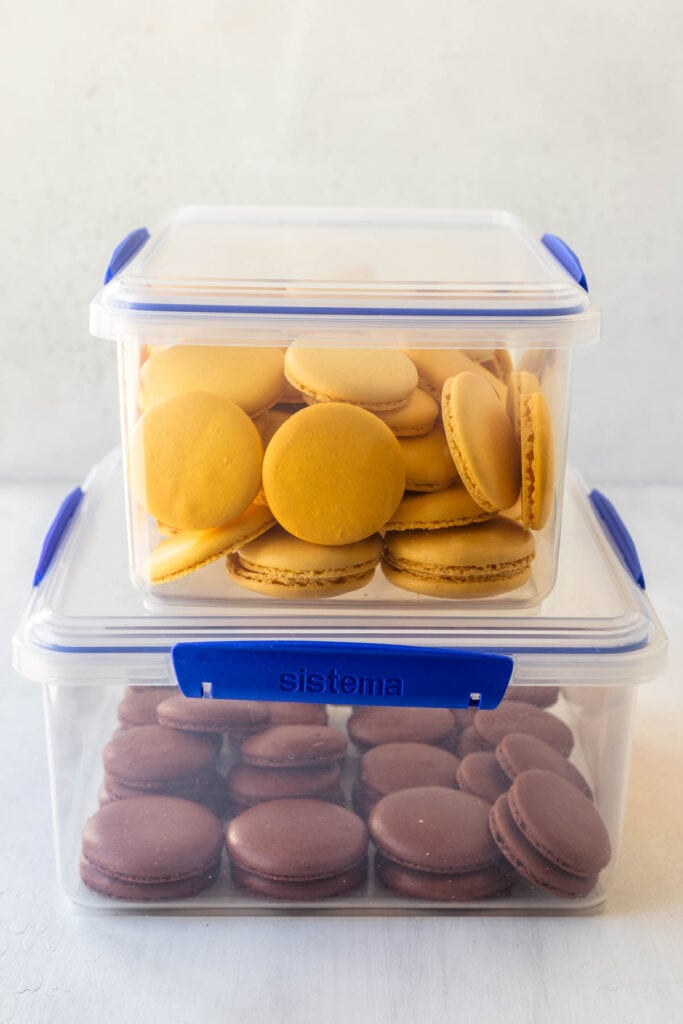
– The article suggests adding a small cake to the display and keeping candy fresh by delaying shipment until right before the party and storing it in a cool location.
– It recommends using colorful bowls, cellophane bags, or Chinese-style takeout boxes for guests to put their candy in.
– The article mentions that there are no strict guidelines for how the candy buffet should look and that using jars, bowls, and trays of different sizes can create an appealing display.
– It suggests using a sturdy table and a tablecloth, preferably in a color that matches the candy.
– A backdrop in coordinating colors and pedestals to elevate containers are also recommended.
– The article suggests using a variety of containers such as mason jars, vases, bowls, trays, and cake stands to add visual interest.
– Symmetry can be maintained by using the same type of storage containers on either side of the buffet.
– This article provides some tips and ideas for creating a candy buffet on a budget.
– It suggests elevating one container of candy to create a point of interest and encourages mixing candy in different containers.
– Filler candy can be used at the bottom of larger containers to make it easier to reach other candy.
– Tall containers and containers with narrow mouths should be avoided to ensure easy access.
– Using glass containers is recommended for their aesthetic appeal, but breakable servingware may not be suitable if there are children or clumsy adults present.
– Hygiene is important, so it is best to set up the candy buffet in a way that minimizes guest contact.
– Tongs and candy scoops can be provided for guests to serve themselves and smaller serving implements are preferable to prevent excessive sugar consumption.
– Additional decorations such as confetti, ribbons, garlands, and plush animals can be added to the buffet table, but it is important to not overdo it.
– The article concludes by suggesting candy and chocolate gifts as a perfect centerpiece for a candy buffet.

Continue Reading

Mochi Cookies: A Delightful Fusion of Eastern and Western Flavors

– Mochi stuffed chocolate chip cookies
– Cheongwoo Choco Chip
– Store-bought version
– Homemade mochi
– Glutinous rice flour
– Cornstarch
– Sugar
– Milk
– Butter
– Microwave method for making mochi
– Mixing butter into mochi
– Stuffing mochi into chocolate chip cookie dough
– Importance of mixing butter for soft mochi
– Shaping cookie dough around mochi
– Using gloves when working with mochi
– Kneading mochi for softer texture
– Enjoying cookies warm with melty chocolate and gooey mochi
– Storing cookies in an airtight container at room temperature
– Warming cookies up in the microwave
– Soft and chewy treats
– Flour
– Baking soda
– Salt
– Brown sugar
– White sugar
– Egg
– Vanilla
– Chocolate
– Recipe for making mochi
– Mixing rice flour, cornstarch, sugar, and milk
– Microwaving mochi mixture
– Butter mixed into mochi
– Instructions and tips for making mochi cookies
– Butter in dough keeps mochi soft after baking
– Dividing mochi into balls
– Flattening cookie dough and wrapping around mochi
– Best enjoyed slightly warm
– Delicious and life-changing cookies for soft and chewy treat lovers
– Marshmallows’

Continue Reading

Can You Use a Blender as a Food Processor? Understanding the Differences for Optimal Kitchen Efficiency

– Can you use a blender as a substitute for a food processor?
– Differences between blenders and food processors
– The shapes and functions of blenders and food processors
– Foods that are best made in a food processor
– Functions that blenders can perform
– Factors to consider when buying a blender (size, speed, power, attachments, and price)
– Factors to consider when buying a food processor (capacity, functions, attachments, and price)
– The versatility of blenders in the kitchen
– The prevalence of blenders in households
– Comparison of blades in blenders and food processors
– Tasks that blenders are better suited for (smoothies, soups, milkshakes)
– Tasks that food processors are better suited for (doughs, slicing, grinding)
– The option of a hybrid blender and food processor appliance (Nutribullet Magic Bullet Kitchen Express)
– Comparison of lid features in blenders and food processors

Continue Reading

Is cheesecake a cake or a pie? Unraveling the creamy conundrum with delicious insights

– Cheesecake is a dessert with a tangy-meets-sweet flavor and creamy texture.
– It can be served plain or topped with fruit, chocolate, or caramel.
– It is made with a buttery pressed crust, often made from graham crackers, sugar, and butter.
– The filling consists of cream cheese, sugar, and eggs, which firms up when baked.
– Cheesecakes can also be made without baking, using a base crust and a cream cheese filling without eggs.
– Cakes are typically made with a mixture of dry and wet ingredients, including flour, leavening agents, eggs, milk, oil, and butter, and are baked in a pan.
– Pies have a buttery pastry crust as a base and are baked with a sweet or savory filling.
– According to Merriam-Webster’s definition, cheesecake does not fit the criteria for a cake.
– Cheesecake is closer to a pie in terms of its crust and filling structure.
– It is considered a hybrid between cake and pie, with its own unique characteristics.
– The crust is typically made with graham crackers, but can also use chocolate cookie crumbs or ginger snaps.
– Cheesecake can be baked or made as a no-bake dessert.
– Cheesecake does not fit the definition of a cake as it is not made from a thick batter.
– It also does not fit the definition of a pie as it does not have a buttery pastry crust and a sweet or savory filling.
– Therefore, cheesecake is considered a hybrid between cake and pie, in its own category.

Continue Reading

Prime vs Choice: Understanding the Difference for Optimal Meat Selection

List of relevant keywords:
– USDA grades
– beef grades
– grade shields
– safe beef
– high-quality beef
– subjective assessment process
– electronic instruments
– quality grades
– tenderness
– juiciness
– flavor
– yield grades
– usable lean meat
– prime beef
– choice beef
– marbling
– restaurants
– hotels
– select beef
– leaner beef
– ungraded meat
– store brand meat
– ground beef
– processed products
– educational video
– United States Meat Export Federation
– Colorado State University

Continue Reading

Can You Leave Eggs Out Overnight? Safety, Storage Tips & More

– Keeping eggs in the fridge is an American quirk.
– Eggs sold in many countries are unrefrigerated and kept on the counter.
– Farm-fresh eggs can be kept on the counter for about a week if they have never been refrigerated.
– Once refrigerated, eggs must be kept refrigerated.
– Refrigerated eggs can last four to five weeks after packaging date if stored properly.
– Eggs can be left on the counter for two hours at room temperature or one hour if temperature is 90 degrees F or hotter.
– After two hours, it is safer to throw out the eggs due to potential bacterial growth, particularly Salmonella.
– Symptoms of Salmonella include diarrhea, fever, abdominal cramps, and vomiting.
– Salmonella contamination from eggs causes about 79,000 illnesses and 30 deaths per year according to FDA estimates.
– Proper guidelines include keeping eggs refrigerated below 40 degrees F, discarding cracked eggs, and washing hands and utensils that come in contact with raw eggs.

Continue Reading

Home Meat Slicer: Unlocking Culinary Potential at Home

– A good meat slicer is helpful for processing large quantities of meat, vegetables, or cheese.
– The 7.5″ Electric Meat Slicer from Meat! Your Maker is recommended as the top pick for most people.
– The MEAT! Your Maker 7.5″ slicer is suitable for light slicing needs, while the 10″ version is better for slicing large slabs of bacon.
– The slicer is easy to use and store, with adjustable thickness and an extended tray for cutting a moderate volume of meat at one time.
– It has suction cup feet to keep it stable and an aluminum housing, although some parts are still plastic.
– The 7.5″ stainless steel blade is sharp and easy to remove for cleaning.
– The only downside is that there are some plastic parts, including the gears.
– A home meat slicer called the Meat! 7.5″ slicer is described as being able to handle household slicing tasks and is reasonably priced.
– It is noted that the blade is serrated and can tear and shred meat at thinner sizes, and is difficult to sharpen.
– The slicer is also said to have small crevices that make cleaning the base tedious.
– The article also mentions the Chef’s Choice 615A Electric Meat Slicer, which is popular for home use and can handle light commercial use.
– It has easy-to-clean, removable parts and a stainless steel coating.
– The slicer also has a powerful motor, but only comes with a serrated blade initially and struggles to achieve thinnest cuts.
– Finally, the BESWOOD 10″ Premium Chromium-Plated Electric Meat Slicer is described as a commercial-grade slicer that can compete with expensive models.
– It is heavy at 35lbs and is made entirely of stainless steel.
– The blade of the slicer is made of carbon steel coated with chromium, protecting against corrosive damage and improving lifespan.
– The meat slicer has a V-shaped feeding belt for the motor, making it quiet and soft-vibrating.
– It has a large 10″ blade, ideal for cutting big chunks of meat into narrow slices.
– The blade is difficult to remove for cleaning, requiring unscrewing it from the slicer.
– The Elite Platinum EMT-625B is an affordable option made of die-cast aluminum, preventing rust damage and improving durability.
– The meat slicer has easy-to-adjust thickness settings and a safety guide to keep track of food as it is guided towards the cutting blade.
– The motor is slow and makes a loud noise in the kitchen.
– The quality of components varies from higher to middling quality depending on the part.
– Most major parts of the meat slicer are removable.
– The meat holder is plastic and flimsy, and it is recommended to hold the meat in place with your hand.
– The slicer can run hot after approximately 10 minutes of use, requiring cooldown time.
– It has built-in whetstones for sharpening the blades and a stainless steel blade for durability.
– The slicer has a waterproof cover to protect the electronics from water damage.
– It is heavier than expected, weighing almost 50 pounds.
– The slicer has a 180W motor, making it powerful for slicing through thicker pieces of meat.
– The blade is made of stainless steel, while the food press is made of die-cast aluminum.
– Entry-level slicers usually have blades around 7 to 10 inches, while more powerful slicers are between 12 to 14 inches.
– Most commercial meat slicers have blades around 12 inches.
– Safety features or guards are important to avoid injury while using a meat slicer.
– Automatic meat slicers are easier to use and better for larger quantities of meat.
– Manual meat slicers are intuitive to use and don’t require much prep time.
– Automatic slicers often have a manual setting for finer cutting control.
– Cleaning legs or kickstands make cleaning the meat slicer easier.
– The size of the meat tray determines how much meat can be cut in succession.
– Proper cleaning of the meat slicer is essential, including detaching and cleaning removable parts separately.
– Periodically sharpening the blade of a meat slicer is necessary for good results.
– Meat slicer kits may come with sharpener attachments, or a separate sharpener tool may be required.
– Thoroughly clean and oil the blade before sharpening.
– The motor power and blade size should be considered when buying a meat slicer.
– A meat slicer should not be used to cut completely frozen meat, as it can damage the blade.
– Some expensive slicers can handle partially frozen meat.
– Thorough cleaning is necessary when raw meat is sliced to prevent cross-contamination.
– Cutting through bone with a meat slicer is not recommended, as it can damage the blade.
– Regular cleaning and sanitizing of the meat slicer is necessary to prevent bacterial contamination.
– Sanitizer concentrate and water should be used for cleaning, avoiding regular soap.
– Gloves should be worn when using sanitizer, as it can be harsh on the skin.
– Thoroughly rinse and dry the slicer after sanitizing to prevent rust.
– Lubricate the moving parts of the slicer with a food-grade lubricant.
– The LG LW1821ERSM is a smart air conditioner that can be controlled through LG ThinQ technology, Amazon Alexa, or Google Assistant.
– It is suitable for cooling large rooms up to 1,000 sq. ft. and is Energy Star certified.
– The unit has 3 cooling and fan speeds, a 24-hour timer, and a 4-way air deflection feature.
– It also has an auto restart function in case of a power outage.
– Additional features include a remote control, easy window installation kit, washable filter, and a check filter alert.

Continue Reading

New York Steak vs Ribeye: A Delicious Beef Comparison

– The article discusses the differences between New York strip and ribeye steaks
– Both steaks are high-end and known for their flavor and tenderness
– The New York strip is cut from the short loin and has moderate marbling and a firmer texture
– The ribeye is cut from the rib section and has abundant marbling and a very tender texture
– Snake River Farms offers a variety of ribeyes and New York strips
– Both cuts are popular and known for their flavor and tenderness
– The New York strip is sourced from the short loin and has moderate marbling and a firmer texture
– The ribeye is sourced from the rib section and has abundant marbling and a very tender texture
– There are various types of ribeyes and New York strips available from Snake River Farms.

Continue Reading

Can You Microwave Cardboard Safely? Practical Tips Explained

– Microwave-safe cardboard can be microwaved for short periods of time (60-120 seconds) on a low power setting.
– It is important to check the container for any glue, ink, or lining, as these may release chemicals into the food.
– Pizza boxes can be microwaved as long as they are microwave-safe and have no plastic or metal components. They should be microwaved for less than a minute.
– Cardboard with metal handles or adhesive should not be microwaved.
– It is recommended to transfer food to a microwave-safe container if longer reheating is needed.

Continue Reading

How to Store Macarons to Keep Them Fresh

– Macarons can be stored in the fridge for up to 7 weeks in their plastic casing
– Macarons should be taken out of the fridge at least 20 minutes before serving to reach room temperature
– Freezing macarons is not recommended as it can change the texture and taste
– Macarons should not be left uncovered to prevent drying out
– Storing macarons in the fridge or refrigerated displays is recommended for bakers or sellers for up to 7 weeks.

Continue Reading