How To Tell If Pumpkin Pie Is Done
Pumpkin pie is done when the edges are set, the center gently jiggles, and a thermometer near the center reads about 175°F to 180°F.
Continue Reading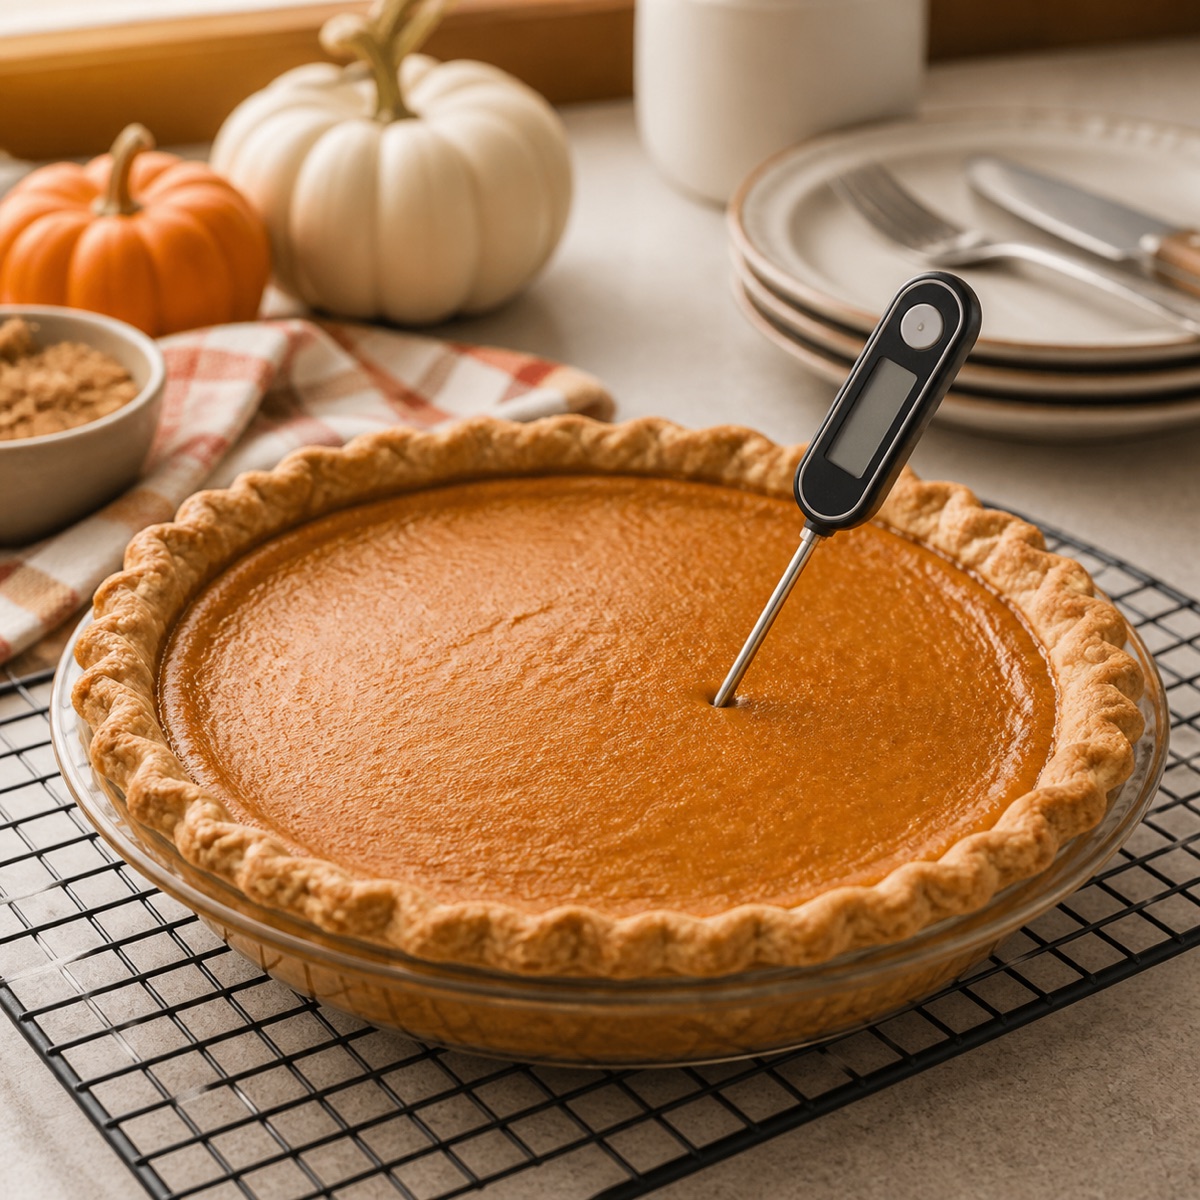
Pumpkin pie is done when the edges are set, the center gently jiggles, and a thermometer near the center reads about 175°F to 180°F.
Continue Reading
Red wine vinegar is the best all purpose substitute for sherry vinegar, but the right swap depends on whether you are making dressing, sauce, marinade, or soup.
Continue Reading
True rice polishing removes bran and germ in a mill. At home, you can rinse and gently rub rice to remove surface starch, but you cannot turn brown rice into polished white rice with…
Continue Reading
A skillet is a shallow pan with a flat bottom, long handle, and sloped sides. It is used for searing, browning, frying, sauteing, and quick stovetop cooking.
Continue Reading
Cucumbers are crisp, watery, and usually eaten raw. Zucchini is a tender summer squash with a mild flavor that is usually cooked but can also be eaten raw.
Continue Reading
Plan about 1/4 cup dry rice per person for a side dish and 1/3 to 1/2 cup dry rice per person for bowls or main dishes. Cooked yield varies by rice type.
Continue Reading
Thyme is usually woodsy, subtle, and slightly floral. Oregano is stronger, peppery, and more assertive. They can substitute for each other, but the dish changes.
Continue Reading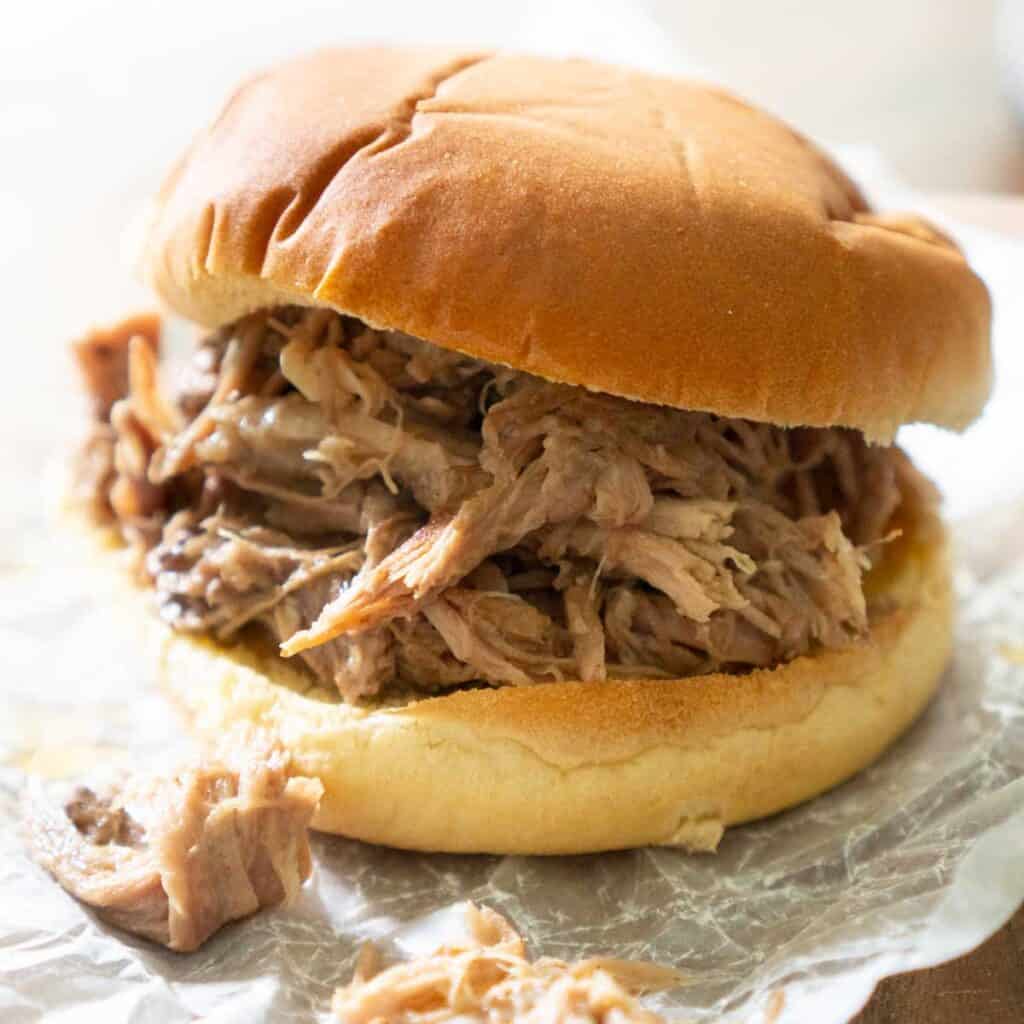
Reheat pulled pork gently with a splash of broth, sauce, or cooking juices, and make sure leftovers reach 165 degrees F in the center before serving.
Continue Reading
You can freeze basil, but the leaves soften after thawing. Freeze dry whole leaves or basil and oil cubes, then use them in sauces, soups, pesto, and cooked dishes.
Continue Reading
The best way to thicken tomato sauce is to simmer it uncovered until excess water evaporates. Tomato paste, blending, vegetables, or a small slurry can help when reduction is not enough.
Continue Reading