Vegetable Broth vs Stock: Nutritional Benefits & Culinary Differences
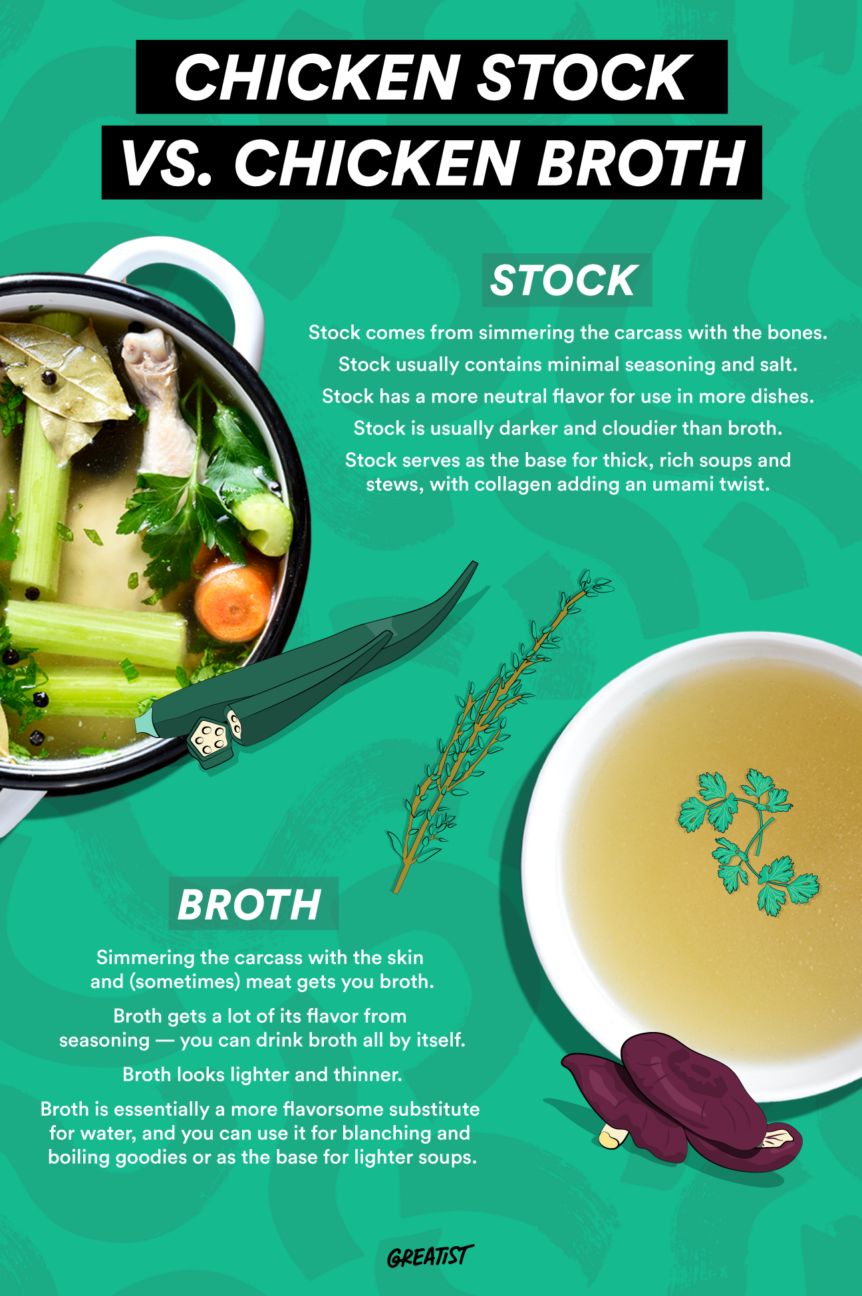
– Broth is made from meat and vegetables, while stock is made with bones.
– Stock has a thicker, viscous texture due to simmering collagen-rich bones.
– Vegetable broth and stock are the same thing, but broth may contain salt.
– Stock is generally thicker and more flavorful than broth.
– White stock is made by blanching bones before simmering, while brown stock is made with roasted bones.
– Stock contains more calories, fat, and carbohydrates than broth, but also more protein, vitamins, and minerals.
– Bone broth is a type of stock that is simmered for a long time and may have added apple cider vinegar.
– Making stock or broth at home allows you to control sodium levels and increase nutrient and antioxidant levels.
– Stock is commonly used as a base for dishes, to make gravy, soups, stews, and prepare grains.
– Broth is usually a clear soup made from simmering meat and vegetables, with variations for fish and shellfish.
– Store-bought stock can be pricier due to being more labor-intensive to produce.
– Soups, broths, and stocks can be high in sodium, so it’s important to check labels for low-sodium or unsalted options.
– Bone broth has gained popularity but may have benefits for gastrointestinal disorders.
– Vegetable broth does not contain as much collagen, vitamins, minerals, and anti-inflammatory benefits as stock.
– Stock has a gelatinous consistency and a richer taste due to collagen and longer cooking time.
– Vegetable stock and vegetable broth are popular among plant-based and vegan diets.
– Store-bought stock contains more vitamins and minerals per cup compared to store-bought broth.
– Consommé is a clarified stock made by simmering with egg white and straining.
– Bouillon is made from dehydrated stock and is sold as cubes, powder, or paste.
– Whether stock or broth is healthier depends on individual goals and needs.
– Homemade stock is made by simmering a whole chicken with vegetables and herbs, then straining the liquid.
– Broth and stock can be used interchangeably in a pinch.