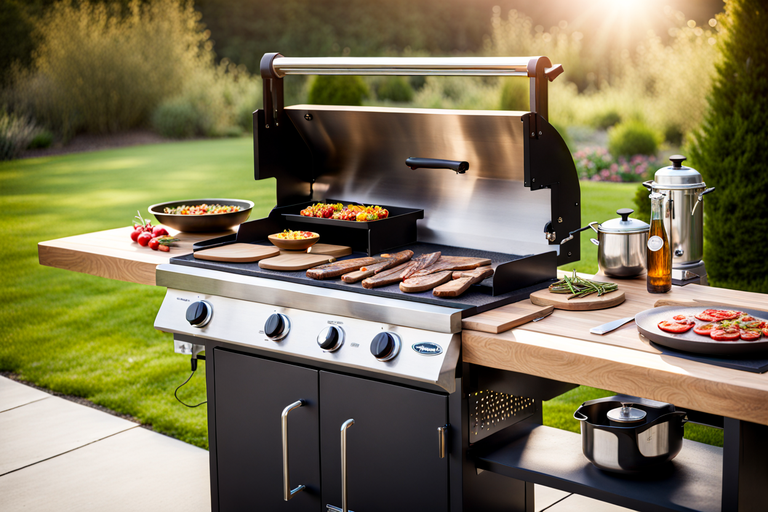
-The Steelmade Flat Top Grill transforms a standard range stove into a flat top griddle.
-It eliminates the need for multiple pans and skillets.
-The standard Flat Top is designed for common 30″ gas ranges with up to 5 burners.
-A Fitment Checker is available to provide professional advice before buying.
-Extra large cooking surface measuring 27″ x 18-1/2″.
-Hand oiled finish creates a non-stick surface.
-Includes a dishwasher safe removable drip tray.
-Constructed with heavy-duty 3/16″ mild steel.
-Compatible with standard 30″ gas ranges, not in-counter cooktops.
-Made in Kansas with American Steel.
-Max temperature rating of 600 degrees Fahrenheit.
-Weighs 30 pounds.
-Features a heavy-duty construction with thicker steel than competing griddles.
-Includes a stainless steel drip tray for easy cleaning.
-Unique front lip design allows for airflow and easy access to food while cooking.
-Features a safe, natural non-stick cooking surface achieved through a seasoning process.
-Easy to store with optional Cover Boards available for extra prep space.
-The Steelmade Flat Top Grill is an accessory that can transform a standard glass ceramic range stove into a flat top grill.
-It is designed for common 30″ glass ceramic electric radiant range stoves, but custom sizes are available.
-The cooking surface is 27″ x 18-1/2″ and it includes a spacer kit and a removable drip tray.
-The grill is made of 3/16″ mild steel and has a lifetime warranty.
-It is compatible with standard 30″ range with radiant glass ceramic cooktops, but not with induction or in-counter cooktops.
-It is made in Kansas with American Steel and can withstand temperatures up to 600 degrees Fahrenheit.
-The grill weighs 30 pounds and has heavy-duty construction with a thick steel surface for better heat distribution.
-It includes a stainless steel drip tray for easy cleanup.
-The unique design of the front lip helps prevent soggy food while providing easy access to the food.
-The grill has a safe, natural non-stick cooking surface that improves with time through the seasoning process.
-It is easy to store with optional cover boards that can be used as cutting boards.
-The Steelmade Flat Top is a griddle that can be used on a normal kitchen stove
-It is made of super-thick 3/16″ steel, which is over 50% thicker than a Blackstone Griddle
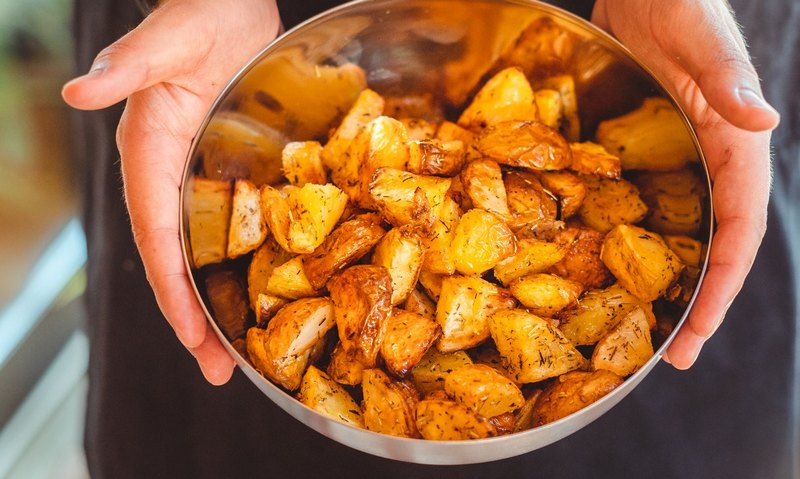
-It cooks food faster and gives better sears due to its larger thermal mass
-Food tastes better on the Flat Top due to the unique seasoning layer that builds up with use
-The front lip design allows for better airflow and prevents food from getting soggy
-Cleanup is quick and easy with just a cup of water, no soap or scrubbing required
-The average American dines out 5.9 times per week and spends about $3,500 on eating out every year
-The Steelmade Flat Top can save money by cooking at home
-It is compatible with 30″ glass ceramic electric radiant range stoves with a minimum 19″ of cooking area depth
-A Spacer Kit is included to elevate the grill and provide necessary ventilation to prevent overheating
-Some models of stoves with plastic control panels may require a Heat Shield
-The drip tray sits underneath the Flat Top on the stove between the heating elements
-Testing shows that the Steelmade Flat Top works well on glass ceramic radiant stoves, even when set to just 1/3 power.
Continue Reading