Can You Freeze Jambalaya? How To Freeze Jambalaya?
Jambalaya can be described as a delicious meal and in case you have some leftovers, you might have been wondering whether or not you can freeze it and how you should go about get…
Continue ReadingStep-by-step food and cooking instructions, including preparation, storage, reheating, and kitchen technique guides.

Jambalaya can be described as a delicious meal and in case you have some leftovers, you might have been wondering whether or not you can freeze it and how you should go about get…
Continue Reading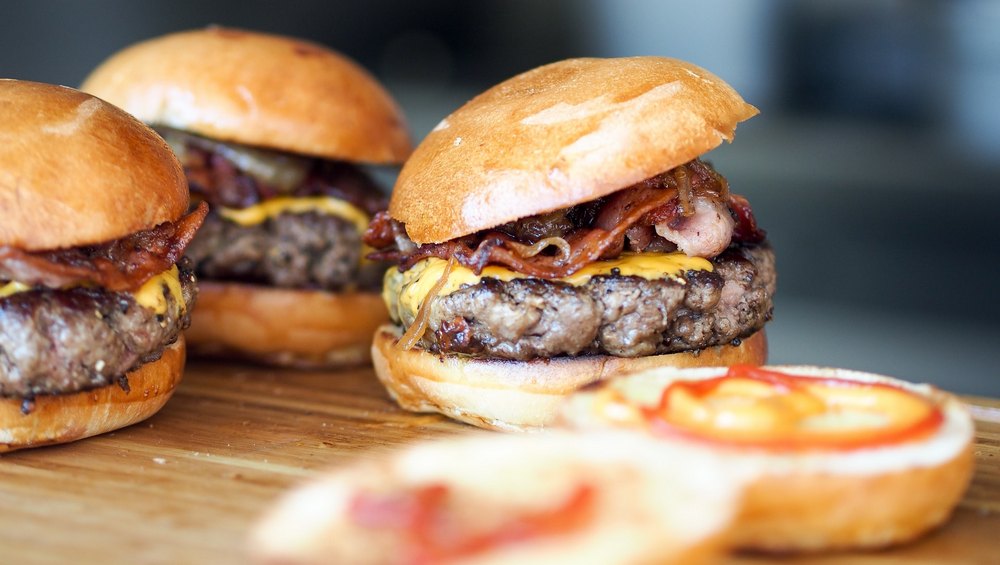
Are you a lover of hamburger buns? Do you usually hold BBQs where you use buns for your hamburger? Perhaps the bought the buns in bulk or you had an overestimate than the number…
Continue Reading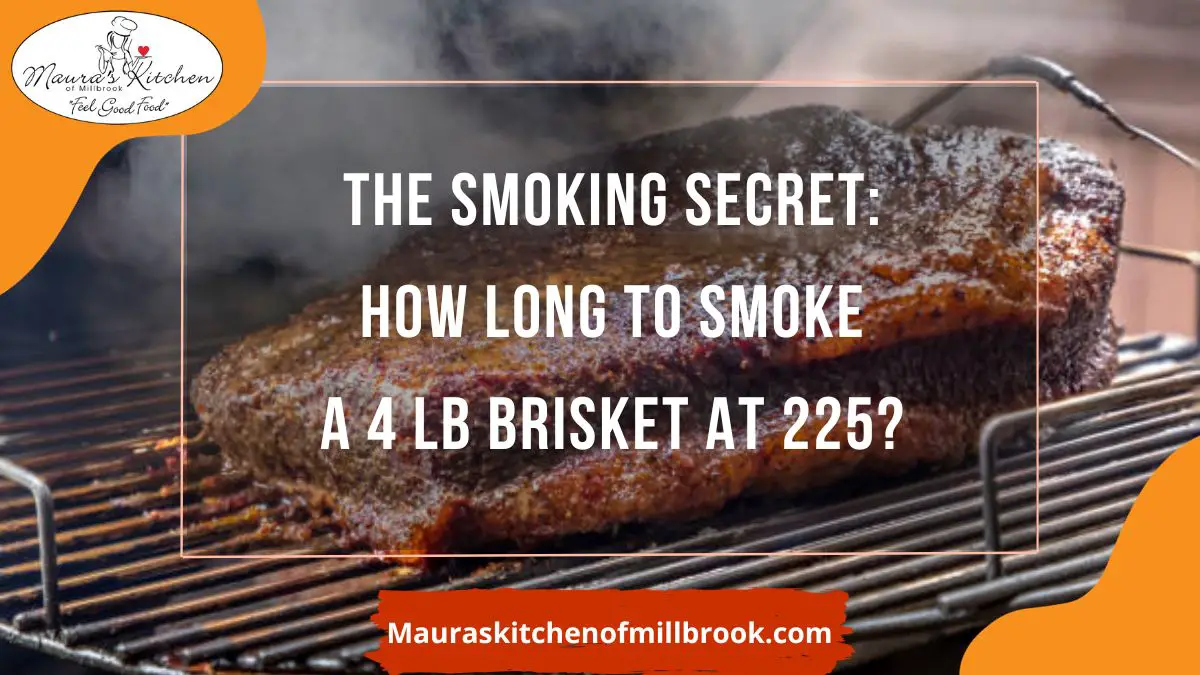
When smoking brisket at 225 degrees Fahrenheit, the recommended cook time is 1.5 2 hours per pound. A 12 pound brisket would take 18 24 hours to smoke, a 15 pound brisket would take…
Continue Reading
Trust you have tasted croissants before? They are delicious with a flaky and buttery flavor. Croissants could sometimes be served on their own as breakfast or could be used for meals with savory flavors…
Continue Reading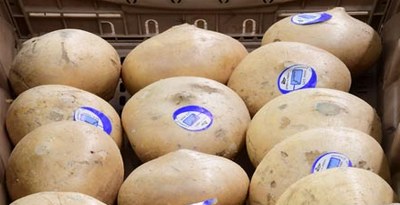
If you are not familiar with Jicama, you must be missing a lot. This is a food that is considered to be multi functional and has a close relation to vegetables. You could treat…
Continue Reading
You can cook enchiladas for your quick dinner and leftover turkey or chicken can also be used to prepare them. The question is whether or not enchiladas can be frozen. We can confirm that…
Continue Reading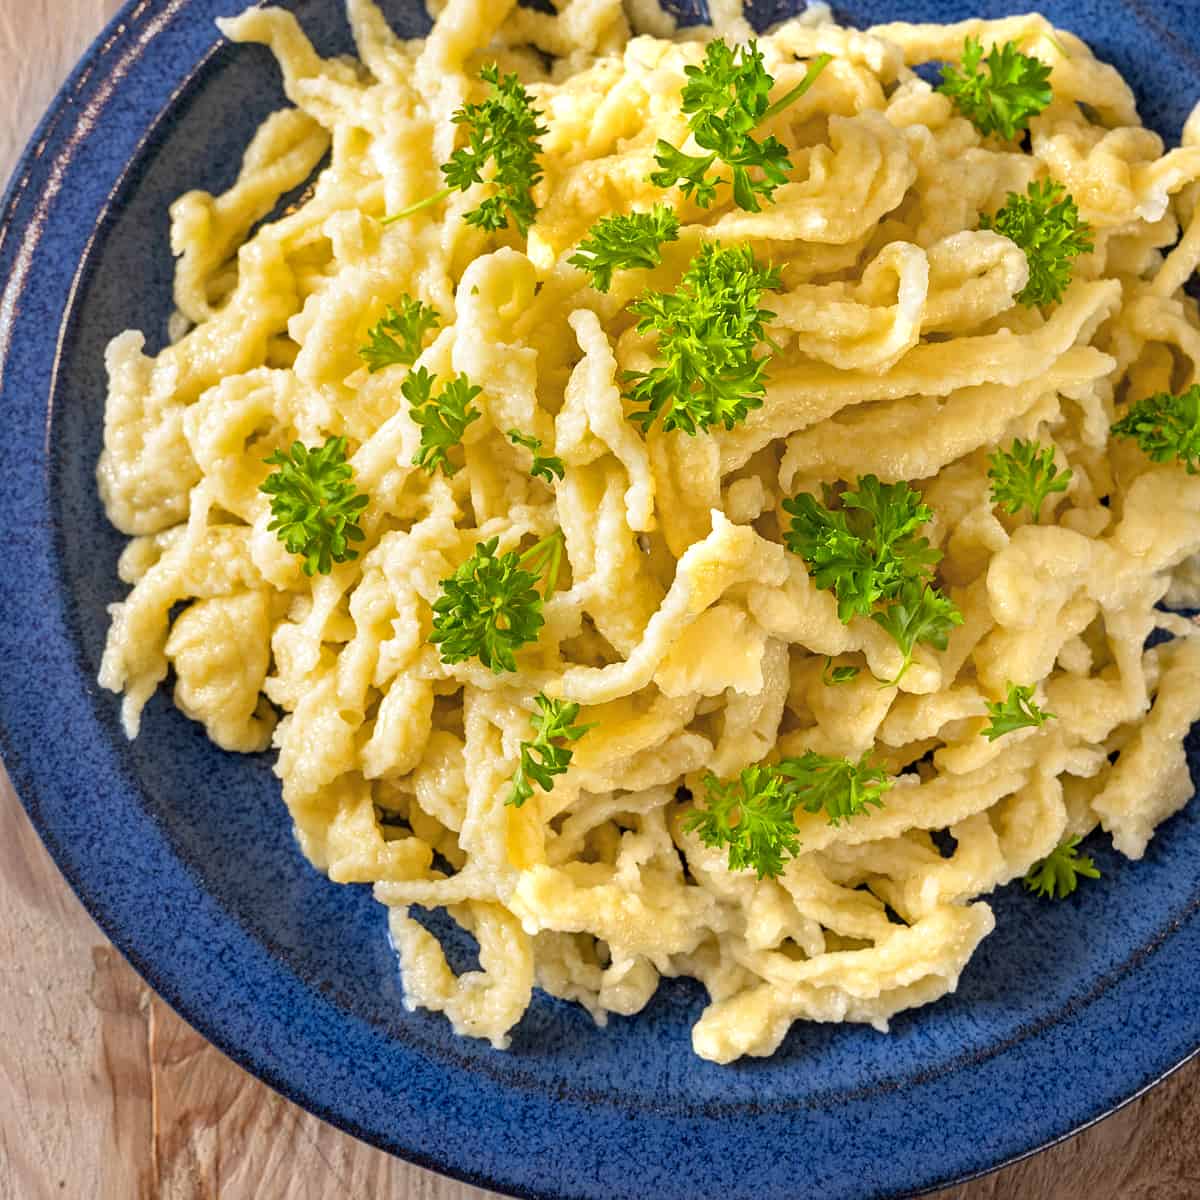
List of relevant information about a spaetzle maker: 1. The current price of a spaetzle maker is $21.99. 2. It is a noodle maker with a comfortable rubber grip. 3. The spaetzle maker is…
Continue Reading
The Dash Mini Maker is a small waffle maker that can also be used to make paninis, hash browns, and other breakfast, lunch, or snack items. The Dash Mini Maker is currently priced at…
Continue Reading
pancake pan LMS3 cast iron skillet pre seasoned durable versatile oven grill Lodge not dishwasher safe not for smooth top electric stove Chefmade Mini Crepe Pan 6 inch non stick insulating silicone handle gas…
Continue Reading
To brighten up our days, sweet treats will help perform an excellent job and there is no better one than a delicious and sweet sugar cookie. Sugar cookie can be taken plain, frosted, in…
Continue Reading