Does Fudge Need to be Refrigerated? Exploring Storage Recommendations

– Fudge should be stored at room temperature for 2 to 3 weeks wrapped in its original wax paper.
– It should not be refrigerated as this will dry it out.
– If you want to keep fudge for longer than 3 weeks, it can be frozen for up to a year.
– To freeze fudge, wrap it in an airtight container using several layers of saran wrap, vacuum seal, or Tupperware.
– When ready to enjoy the frozen fudge, thaw it on the counter for a couple of hours.
– If fudge becomes hard due to being left unwrapped or accidentally refrigerated, it may be possible to soften it by wrapping it in several layers of clear wrap to allow moisture to re-permeate it.
– Another option for hard fudge is to melt it with a splash of milk in a saucepan and use it as a fudge sauce for ice cream.

Continue Reading

Can you freeze cucumbers? Discover the best methods!

– Cucumbers can be kept in the freezer for up to a year if done correctly.
– Whole cucumbers should not be frozen due to their high water content and potential damage to cell walls.
– Sliced cucumbers should be frozen instead.
– One method is to prepare cucumbers as pickles using salt to draw out water, then marinating and freezing them.
– Another method is to freeze cucumber slices individually on a tray before transferring them to an airtight bag.
– Cucumbers can also be turned into a puree and frozen for later use in smoothies or sorbet.
– Thawed pickled or pureed cucumbers can be used in various dishes such as sandwiches, burgers, hot dogs, and tartar sauce.
– Frozen cucumbers can be used in soups, dips, and smoothies but not recommended for salads or sandwiches.
– There are four methods for freezing cucumbers: the cookie sheet method, brine method, ice cube method, and purée method.
– To freeze cucumbers using the cookie sheet method, slice them and place them on a baking sheet lined with parchment paper. Freeze for a few hours, then transfer to a zip-top bag or container.
– To freeze cucumbers using the brine method, slice them and mix with sliced onions and salt. Let sit for two hours, rinse, and drain. Then mix with oil, vinegar, sugar, and celery seeds before freezing.
– No specific information on how long frozen cucumbers last or how to thaw them. The article discusses different methods of freezing cucumbers and how long they can be stored in the freezer.
– To thaw cucumbers, place them in a bowl and let them thaw in the refrigerator for 6-8 hours. Drain any water or brine before using.
– Frozen and thawed cucumbers can be used in recipes such as soups, smoothies, sauces, dips, or drinks.

Continue Reading

Can You Freeze Grapes? Everything You Need to Know

– Fresh grapes stored properly last one to two weeks.
– To extend the life of fresh grapes, toss any bruised or moldy grapes before storing and keep them in a perforated bag in the fridge.
– Frozen grapes can last about 10-12 months.
– To freeze grapes, remove them from the stem, rinse in a colander, dry thoroughly, spread evenly on a paper towel- or dish towel-lined baking sheet, freeze until solid, transfer to freezer bags, and label with the date.
– The best way to thaw frozen grapes is to transfer them from the freezer to the fridge the night before use.
– Frozen grapes are safe to eat but may not taste as good as fresh ones due to changes in texture.
– Frozen grapes can be used as a snack, in smoothies, or as an ice substitute in cocktails to avoid dilution.
– Avoid tightly sealed containers for storing grapes.
– Don’t wash the grapes until right before eating.
– Use frozen grapes in recipes where they remain frozen, such as snacking, smoothies, or as ice substitutes in cocktails.

Continue Reading

Discover the Hidden Wonders of Kahm Yeast: A Fascinating Exploration of Natural Fermentation

– Kahm yeast is a wild-yeast strain that forms a layer on top of a ferment.
– It may trap air bubbles below the surface.
– Kahm yeast is not harmful and is safe to eat.
– Kahm yeast is a term used to describe harmless yeasts that can develop on fermenting fruits and vegetables when the pH reaches a certain level.
– It consists of multiple species of yeast such as Pichia, Hansenula, Debaryomyce, Mycoderma, and Candida.
– The appearance of Kahm yeast includes a white film or pellicle on the surface of the ferment, a smooth or crepe paper appearance with no fuzz, and no growth below the surface of the brine.
– Prevention is the best solution for dealing with Kahm yeast, and using an airlock fermentation jar is recommended.
– Kahm yeast is a type of yeast that requires oxygen to grow and is commonly found on the surface of fermented foods.
– It can affect the flavor and smell of the ferment.
– To prevent the growth of kahm yeast, it is suggested to use an airlock fermentation jar to remove oxygen, use enough salt to inhibit yeast growth, keep all fruits and vegetables fully submerged in the ferment, encourage a rapid start fermentation by chopping produce into smaller pieces, and keep equipment clean and sanitary.
– If kahm yeast appears in a ferment, it is harmless but may alter the taste and smell.
– Options include skimming off the yeast and finishing the ferment or starting again.
– Consuming the ferment quickly is recommended as kahm yeast may recur and further affect the flavor over time.

Continue Reading

How to Dry Parsley: Simple Methods for Preservation

– Drying parsley at home preserves the flavor better than store-bought dried parsley.
– The key is to keep the drying temperatures low, around 95 degrees Fahrenheit, to preserve the oils and flavor.
– The preferred method for drying parsley is using a dehydrator, but there are other methods as well.
– One alternative method is to hang the parsley upside down in a dark, cool place with air movement, such as a garage, using a fan to circulate the air.
– Another alternative method involves laying the parsley in a single layer on a window screen or baking rack and placing it in a car windshield to dry with the heat of the day.
– The possibility of using an oven for drying is mentioned, but it depends on whether the oven can go low enough without burning the herbs or evaporating their oils.
– The step-by-step process includes choosing healthy leaves with a few inches of stem, washing and drying the parsley, and then proceeding with the chosen drying method. The article provides instructions on how to dry parsley. It suggests patting the leaves dry on a towel or letting them air dry if needed. The parsley should then be spread out on the trays of a dehydrator or tied in a bundle to hang for sun drying. The drying process can take a few hours with a good dehydrator or up to a week or longer depending on conditions. It is important for the leaves to be completely dry and brittle with no bending or flexibility.
– Dried herbs should be stored in an airtight container, with glass jars being recommended over plastic. The herbs should be stored away from light and heat, as heat can break down the oils in the herbs. Dried herbs can last at least a year without going bad, although they may lose their flavor over time.
– When cooking with dried herbs, it is important to use about half the amount of dried herbs compared to fresh herbs that a recipe calls for, as dried herbs have a concentrated flavor.
– Sauces or condiments that heavily rely on fresh herbs, like pesto or chimichurri sauces, may not turn out well with dried herbs. It is suggested to make these sauces with fresh herbs and freeze them for better results.
– The article also provides recipe ideas to use dried herbs, including a Sausage and Lentil Stew, Zucchini Lasagna Roll Ups, and Homemade pasta sauce.

Continue Reading

Freezing Cooked Chicken: Best Practices for Optimal Safety

– It is suggested to freeze cooked chicken in a single bag for convenience and portion control.
– The recommended method for thawing cooked chicken is to place it (in the plastic freezer bag) in the refrigerator overnight.
– As per the USDA, frozen cooked chicken (as well as meat) can be stored in the freezer for up to three months.
– It is advised to mark the use-by date on the bag using a freezer-proof marker.
– Raw chicken should be wrapped in heavy-duty aluminum foil or placed in ziplock plastic freezer bags to prevent freezer burn.
– Raw chicken can last indefinitely in the freezer if stored properly.
– USDA suggests using whole raw chicken within a year, and cut chicken within nine months.
– Thaw frozen raw chicken in the refrigerator by placing it in a rimmed container or bowl for at least 24 hours.
– Clean surfaces thoroughly with hot soapy water if raw chicken juices drip in the refrigerator.
– Use the cold-water method for same-day defrosting by placing frozen chicken in a leak-proof plastic bag submerged in cold water, replacing the water every 30 minutes.
– Be cautious when using the microwave method to defrost raw chicken as it may create hot spots and uneven thawing.
– Cooked chicken can be stored in the refrigerator for up to two days, after which it’s best to freeze it.
– Shredded chicken defrosts faster than whole pieces, but both can be frozen by placing them in zip-top plastic freezer bags and removing air before sealing.

Continue Reading

Can You Freeze Oranges? The Surprising Answer Revealed

– Oranges are a source of fiber, vitamin C, and folate, and are low in calories and fat
– Oranges, along with bell peppers, cucumbers, ginger, pineapple, and strawberries, can be frozen
– Freezing oranges allows for year-round use in recipes
– Steps to freeze oranges can be followed to have oranges available at any time
– It is recommended to stock up and freeze oranges when they are in season or on sale.

Continue Reading

Can you freeze Alfredo sauce? Pro tips for preservation

– Freezing alfredo sauce is possible, but it may change in texture and the water and fat may separate.
– The sauce may turn yellowish when frozen, but this is normal and not a sign of spoilage.
– It’s best to freeze the sauce on the same day it’s made to preserve flavor and quality.
– Allow the sauce to cool to room temperature before transferring it to a freezer-safe bag or container.
– Seal the bag, removing as much air as possible, and label and date it.
– The sauce should be used within 3 months for best results.
– It’s recommended to divide the sauce into servings for easier thawing and portion control.
– Properly label and date the containers to avoid confusion.
– Sauces with dairy may naturally split when frozen, so reheating it properly is important.
– Thaw the sauce in the refrigerator overnight and reheat using either the stove or microwave.
– Adding a little flour or cornstarch can help thicken the sauce if it becomes too thin.
– Leftover Alfredo sauce can be used in various ways, such as on fettuccine, as a pizza sauce, a dressing, a dip, in a casserole, or in a creamy soup.

Continue Reading

Discover the Amazing Benefits of an Air Fryer Dehydrator: From Healthy Snacks to Flavorful Meals!

– Dehydrating food is a process of removing excess moisture from food to make it last longer without spoiling.
– Dehydrated food has a lower chance of bacterial growth or spoilage.
– Dehydrators and air fryers can be used to dehydrate food.
– Most air fryers have a built-in dehydrator setting.
– Dehydrators circulate slightly warmed air around food to remove moisture.
– Salt and spices draw out water content from food, allowing warm air to evaporate excess water.
– Air fryers have a heating element and fan to circulate hot air around food.
– High temperatures in air fryers act like hot oil for frying without added grease.
– Lower temperatures in air fryers gently bring out moisture from food without cooking it.
– The recommended temperature range for dehydration in air fryers is between 120-160°F.
– Air fryers can be used to dehydrate various foods including fruits, vegetables, and meats.
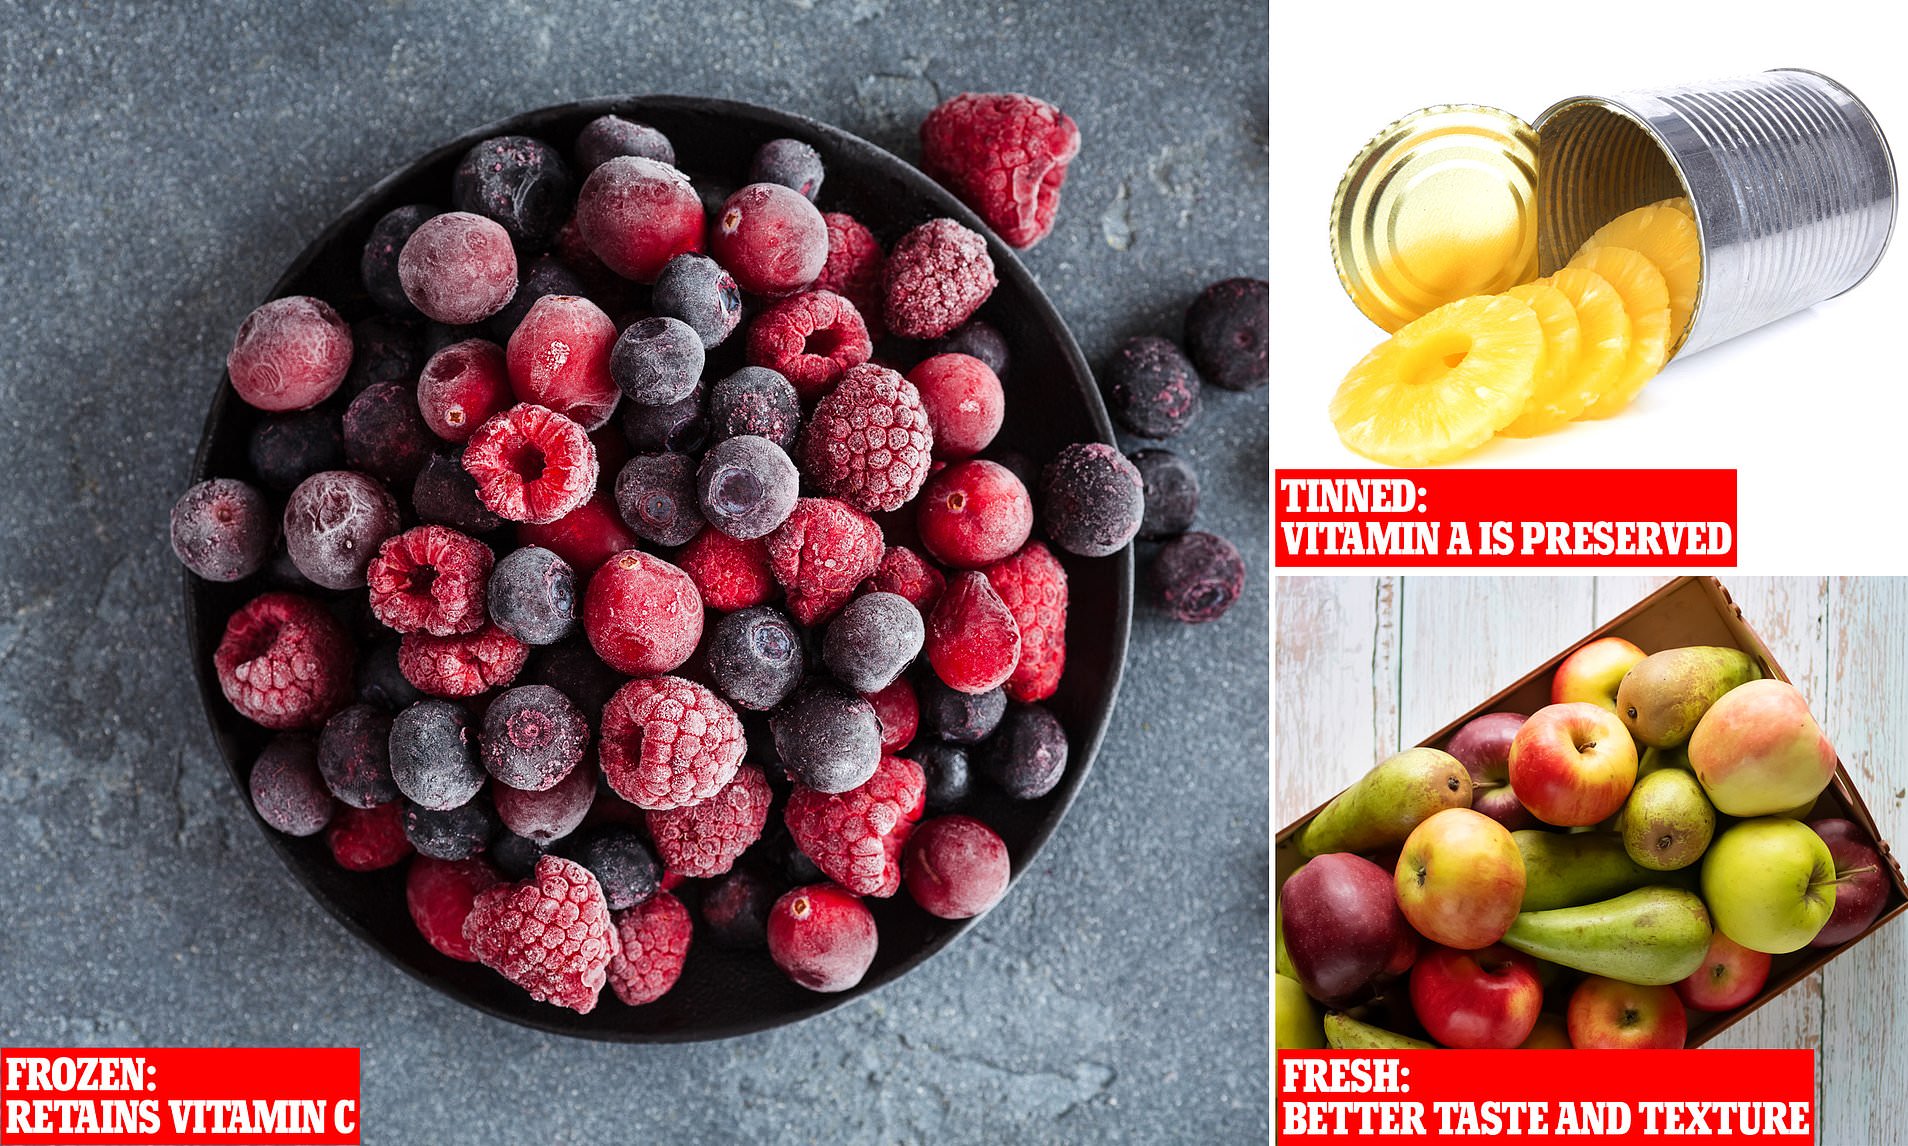
– Dehydrated foods retain their nutrients, antioxidants, and vitamins.
– Dehydrated foods can last 6 to 12 months without spoiling and without the use of preservatives.
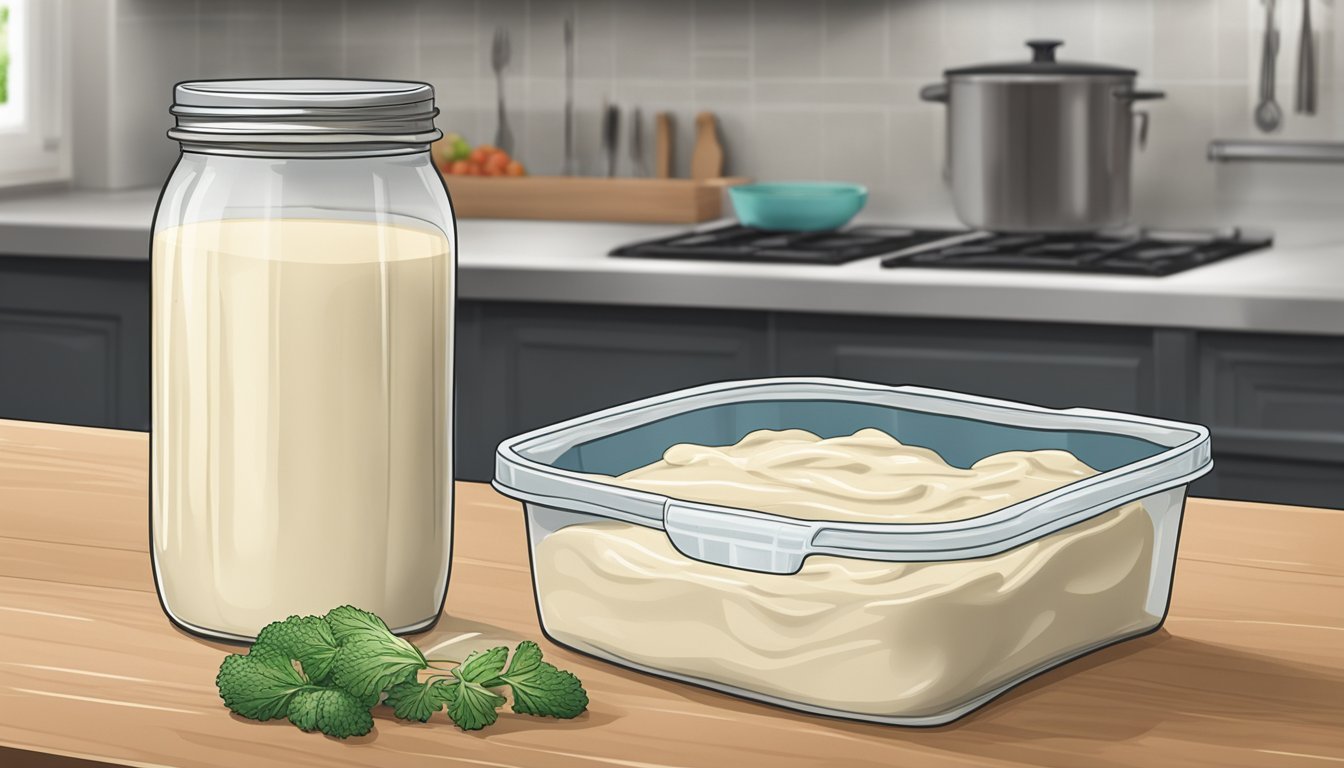
– Vacuum sealing dehydrated foods can extend their shelf life up to 4 years.
– Freeze drying is a technique that removes up to 90% of moisture from foods and allows them to last longer than traditional dehydration.
– Freeze Dried foods can last up to 10 or 15 years if vacuum sealed after dehydrating
– Air fryers are much more affordable, ranging from $90 to $150
– Dehydrated foods can be rehydrated by soaking them in water or milk for 10-20 minutes
– Thin slices or small chunks are recommended for dehydrating fruits, vegetables, and meats
– Seasoning food before dehydrating is advised
– Proper spacing in the air fryer basket is important to ensure even dehydration.
– The article provides tips for properly dehydrating snacks using an air fryer.
– Air fryers are versatile kitchen appliances that can be used for dehydration
– Air fryers can be used for various cooking methods including air frying, baking, roasting, broiling, and reheating food
– Dehydrating food in an air fryer eliminates the need for another appliance
– The “dehydrate” button on an air fryer is used to circulate warm air and remove moisture from the food
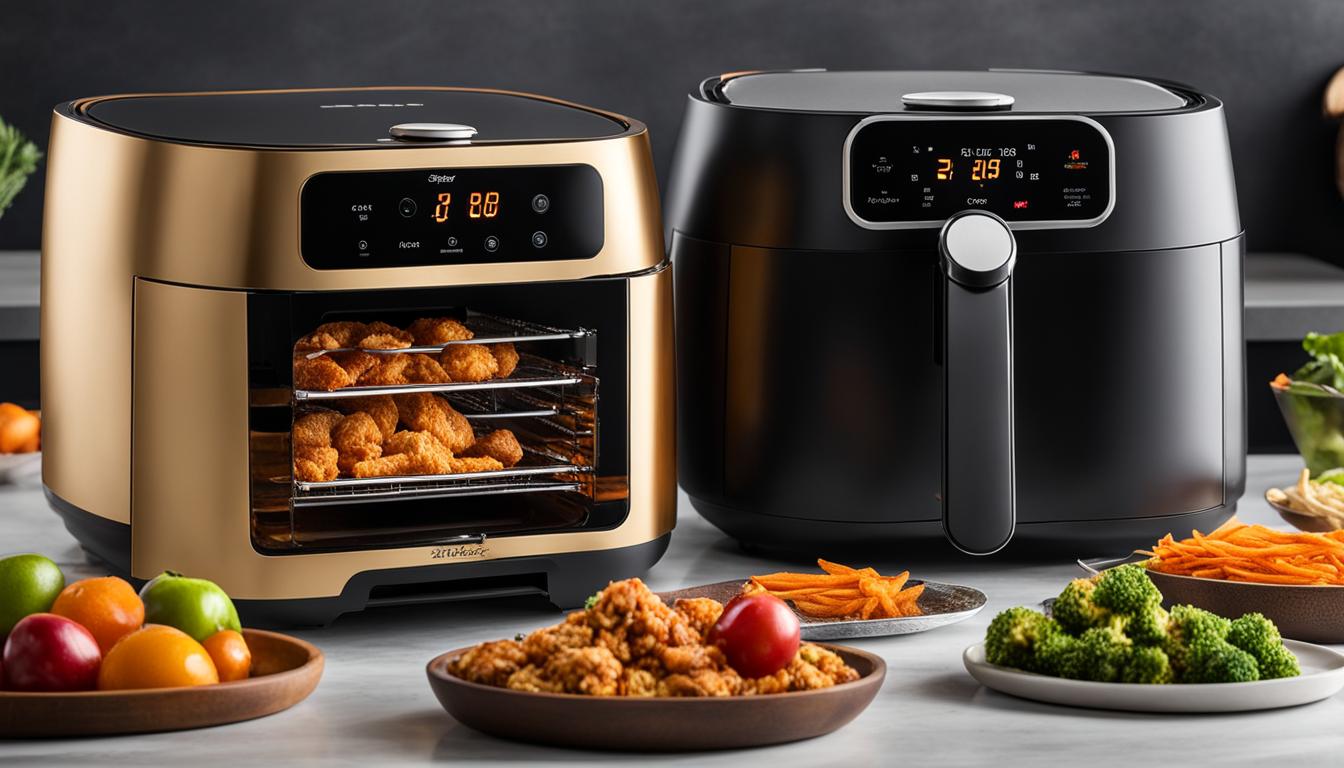
– Air fryers and dehydrators both use heat to cook, but they use it in different ways
– An air fryer is a kitchen appliance that uses hot air to cook food at high temperatures in a short amount of time.
– Dehydrators are similar to air fryers in that they also use air, but they use lower temperatures to remove moisture from food and dry it out.
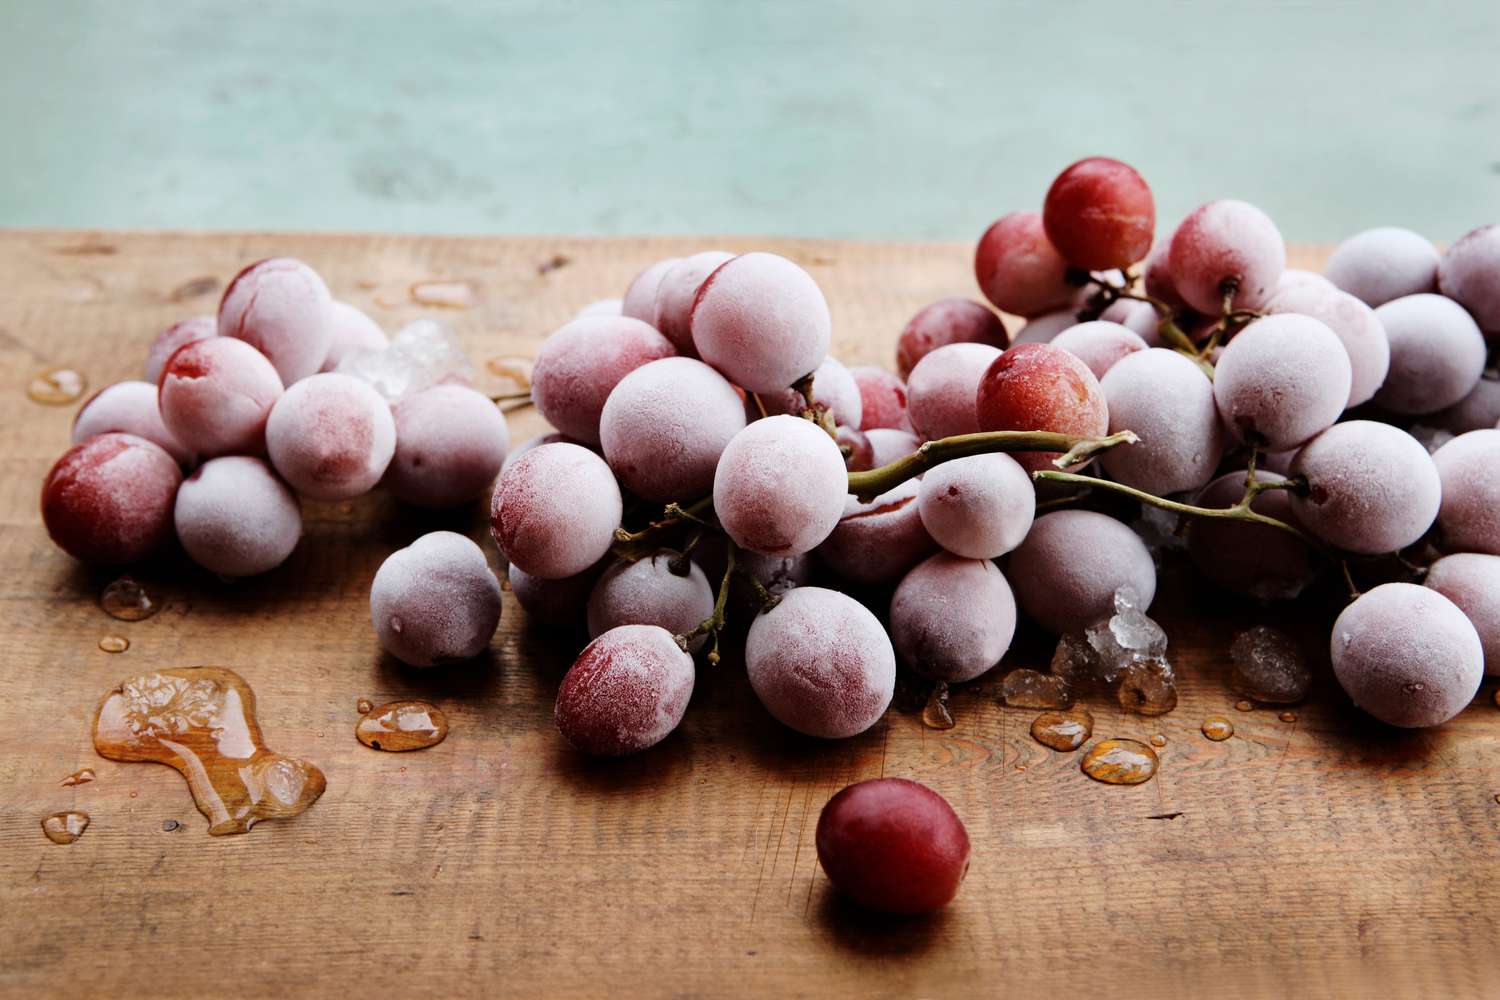
– In an air fryer, you can dehydrate fruits such as bananas, strawberries, apricots, mangoes, apples, pears, and peaches.
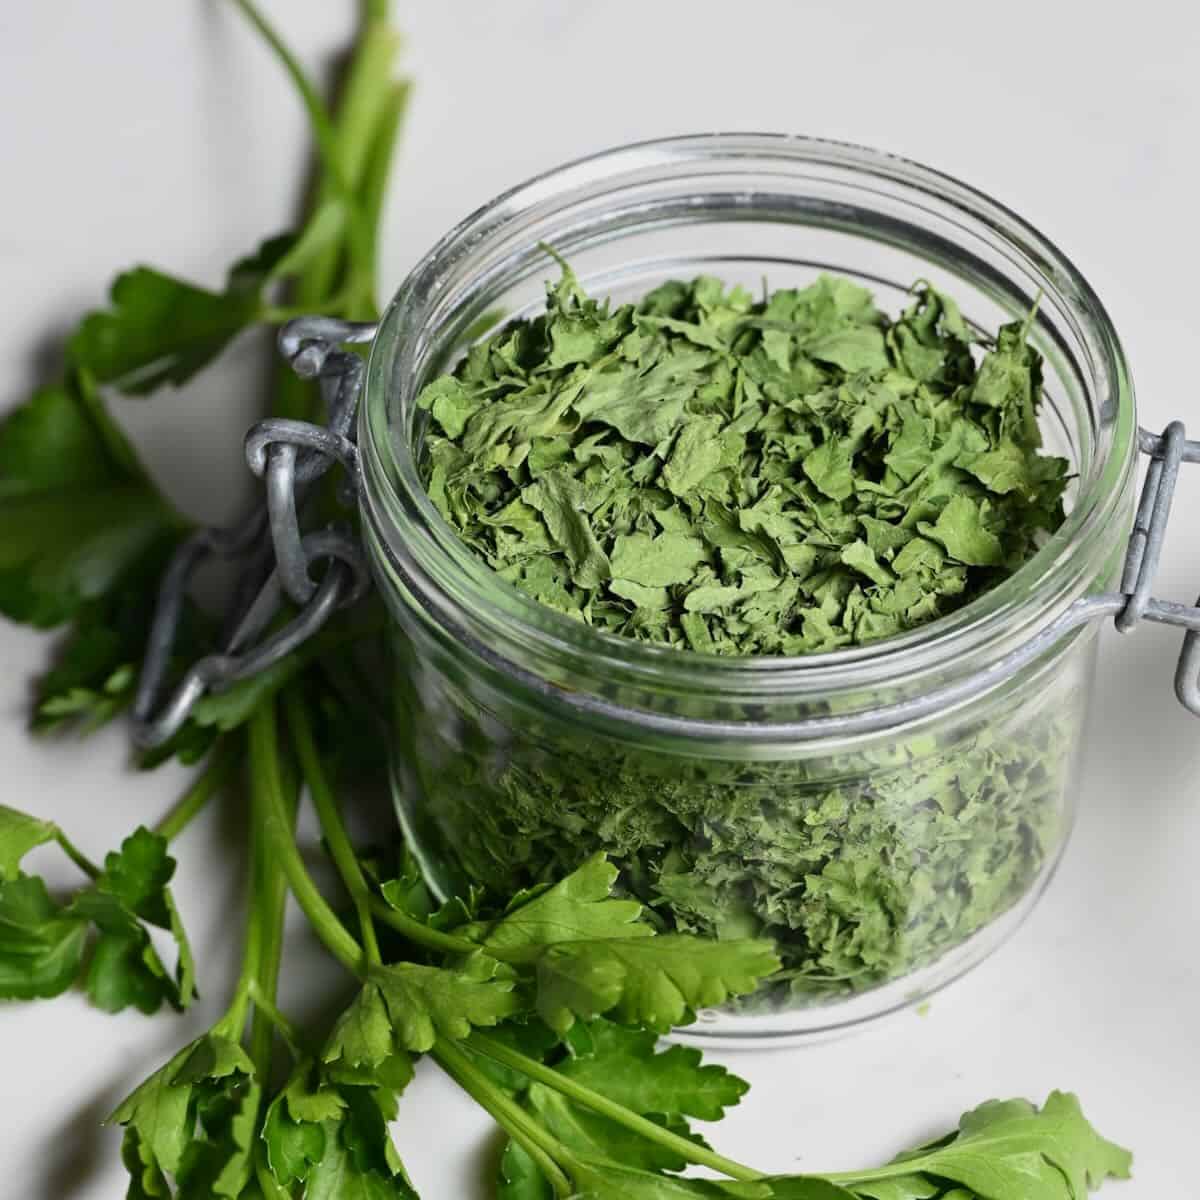
– Dehydrating vegetables in an air fryer is also possible, with options like tomatoes, zucchini, kale, carrots, peppers, mushrooms, beets, corn, peas, and broccoli.
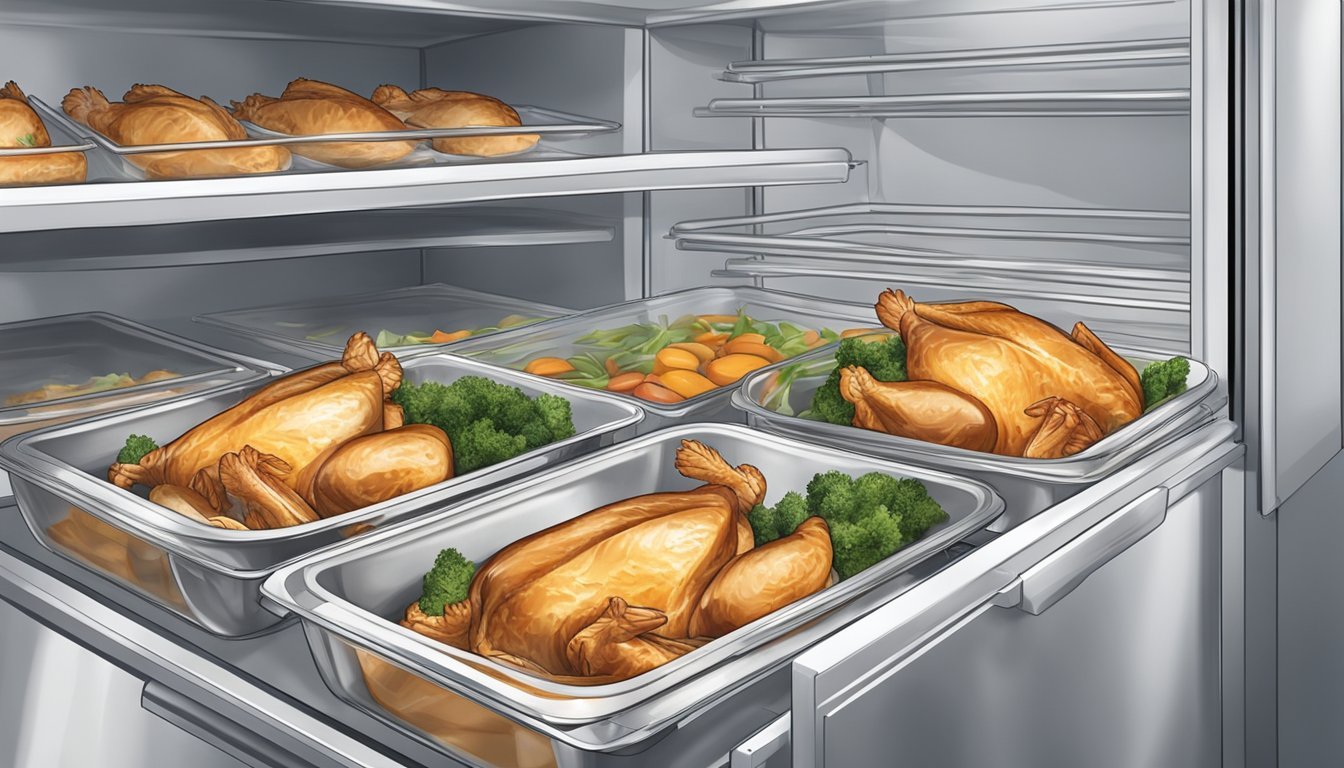
– Meat can also be dehydrated in an air fryer, making homemade jerky.
– Dehydrated meat is recommended as a protein-packed snack and a convenient option for camping trips since it does not need to be refrigerated.
– It is important to ensure that the meat reaches an internal temperature of 165 degrees F for safe consumption.
– The time required for dehydration varies depending on the food being used, with foods containing more moisture taking longer.

Continue Reading

Storing Strawberries in Mason Jars: Tips for Preservation

– This article provides a step-by-step guide on storing strawberries in mason jars in the fridge so they last weeks.
– The author mentions trying different methods of storing fresh berries and states that storing strawberries in mason jars is the most effective.
– The article lists the equipment needed to store strawberries in mason jars, including a metal lid, airtight jar, and a kitchen towel or clean paper towel.
– The article advises washing strawberries properly by filling a clean sink halfway with cold tap water and adding vinegar or produce wash to the water.
– The strawberries should be swished in the vinegar solution or sprayed with produce spray while in the water.
– The strawberries should be soaked in the vinegar bath for at least 5 minutes and then checked for soft spots or mold.
– Any bad berries should be removed and either eaten or composted.
– After 5 minutes, the strawberries should be swished again to remove any dirt or debris.
– The strawberries should be dried on a clean kitchen towel or paper towels in a single layer before cutting.
– Washing strawberries can remove up to 95% pesticide residue, but buying organic strawberries or growing your own is recommended for complete pesticide-free strawberries.
– Strawberries can be stored as whole berries, cut in half, or sliced in glass containers.
– Storing whole strawberries without cutting them in a glass mason jar can further extend their shelf life.
– A 64oz mason jar is recommended for storing strawberries.
– Properly stored strawberries in mason jars can last up to 2 weeks in the fridge.
– Factors that may reduce storage life include purchasing old strawberries, presence of mold spores, winter-season strawberries, storing wet strawberries, keeping strawberries at room temperature for too long, and a too warm fridge.
– Airtight containers, including plastic containers with tight-fitting lids, can be used if mason jars are not available.
– It is recommended to wash the strawberries in a large bowl with a solution of ¼ cup distilled white vinegar (5% acidity) and 10 cups of cool water.
– The strawberries should be soaked in the solution for exactly 2 minutes to avoid fermentation.
– After soaking, the strawberries should be rinsed off in a colander and dried on a clean towel.
– It is advised to use fresh water every time the produce is washed.
– The strawberries should be checked periodically for dryness and rotated if needed on the towel.
– Once completely dry, the strawberries can be placed in a gallon-size glass jar lined with a piece of paper towel or a clean kitchen cloth to prevent staining.
– The glass jar filled with strawberries can be stored in the fridge.
– The strawberries can remain fresh for up to three weeks when stored in this manner.

Continue Reading