Can You Reheat Scrambled Eggs Safely Without Compromising Nutrients?
Methods to Reheat Scrambled Eggs:
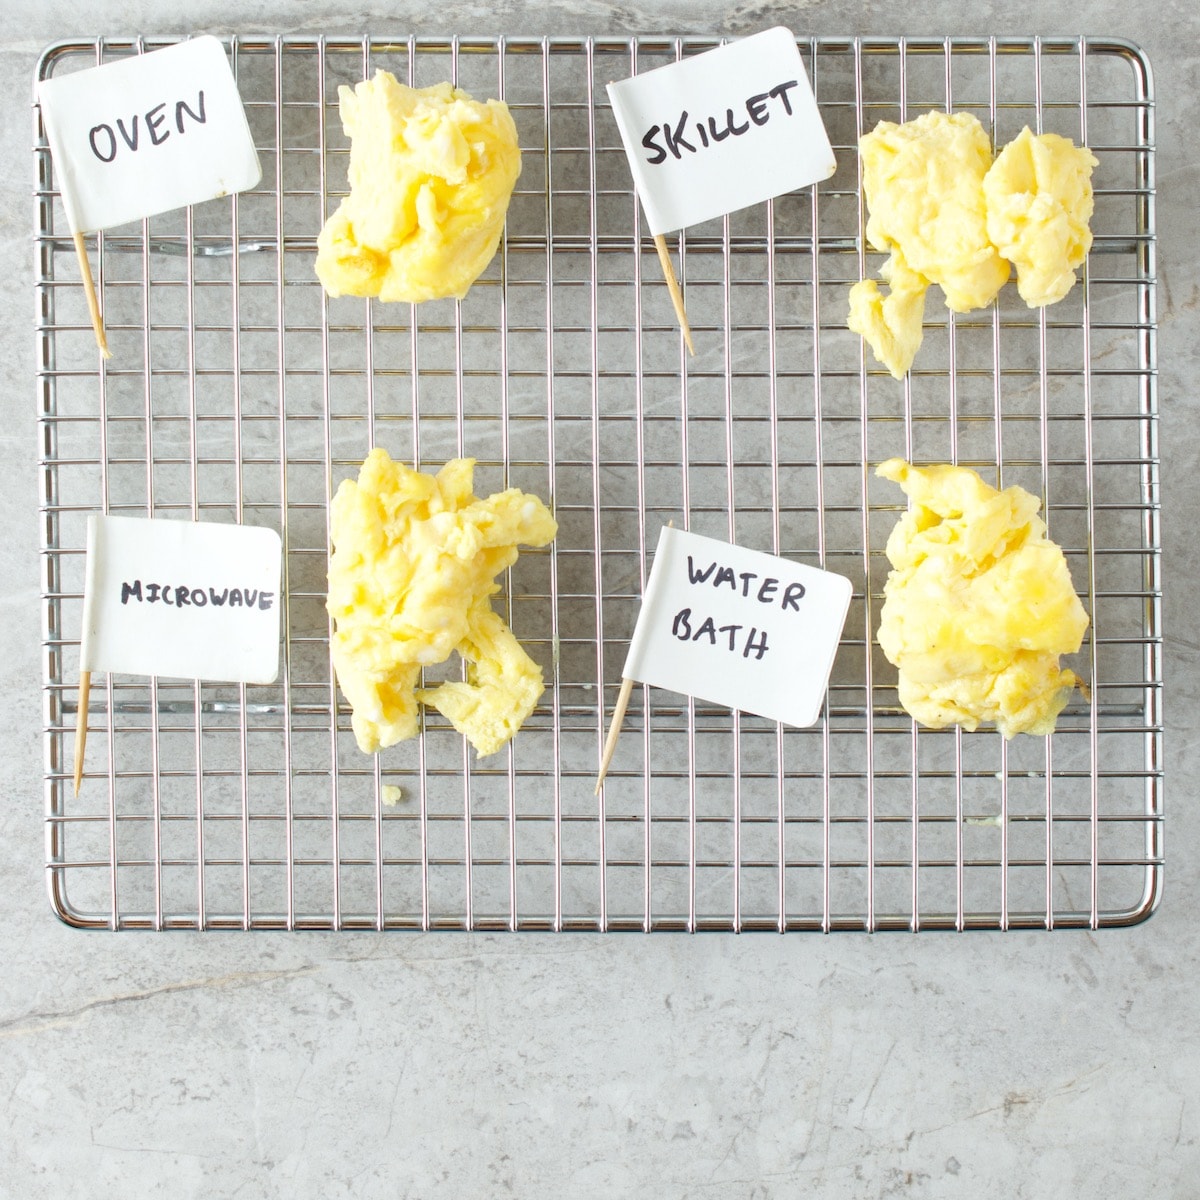
1. Microwave Method
2. Oven Method
3. Stovetop Method
4. Air Fryer Method
5. Steamer Method
Methods to Reheat Scrambled Eggs:
1. Microwave Method
2. Oven Method
3. Stovetop Method
4. Air Fryer Method
5. Steamer Method
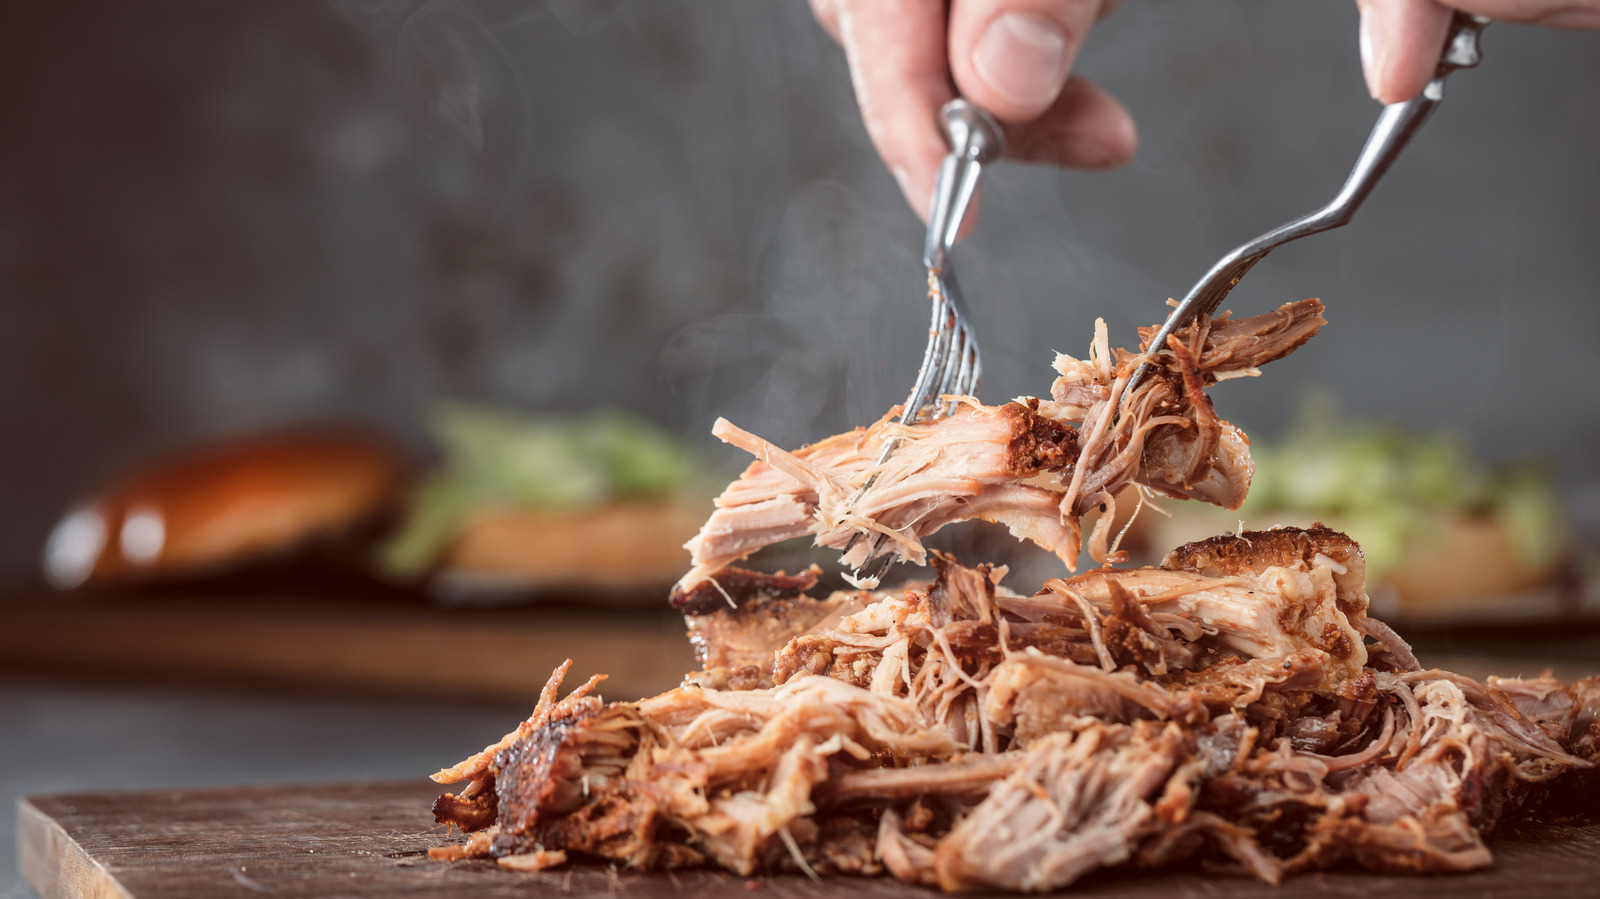
– Pulled pork is a common barbecue dish, typically made from the shoulder of a pig.
– It is usually smoked low and slow and cooked until tender in a low oven or slow cooker.
– Pulled pork is often coated with a dry rub before cooking and mixed with various barbecue sauces after shredding.
– Leftover pulled pork is common, as it is typically made with a whole shoulder weighing between 12 and 16 pounds.
– There are ways to reheat pulled pork without drying it out. The article discusses how to properly store and reheat pulled pork to prevent it from drying out. It suggests keeping the pork in one piece until reheating to retain moisture. Vacuum sealing is recommended as an effective method for storage, as it preserves the food and saves freezer space. The article also mentions that vacuum sealers are now affordable and widely available. Overall, the article provides tips and advice on preserving the quality of leftover pulled pork. The article provides tips and methods for reheating pulled pork. It suggests weighing out equal portion sizes before freezing to prevent wastage. The recommended serving size is roughly 5oz per adult, halving that for small children. Leftovers can be placed into individually sealed vacuum bags with labels indicating the date, weight, and contents. The article recommends reheating by placing a vacuum-sealed bag of pulled pork into boiling water for 5 minutes to retain moisture. Larger portions may require longer heating times. Alternatively, reheating in the oven is also suggested by placing the pork in an ovenproof dish, adding a liquid such as apple juice or BBQ sauce, covering it with foil, and baking at 225°F. This article provides four different methods for reheating pulled pork. Here are the important facts, stats, and figures:
1. Reheat in the oven:
– Place the pulled pork in the middle of the oven on a tray.
– Cook until the internal temperature reaches 165°F.
– Optional: Open the foil to broil for a few minutes to add crunch to the bark.
– If the pork butt is stored whole, shred it after removing from the oven.
2. Reheat on the grill:
– Use a 2-zone cooking method to prevent the direct heat from drying out the meat.
– For gas grills, keep one burner off and set the other to high heat.
– For charcoal grills, pile charcoal on one side to create a hot zone.
– Bring the hot zone to 225°F and place the pork wrapped in foil on the cool zone.
– When the internal temperature reaches 165°F, crisp up the pork on the direct heat side.
– If already shredded, place in a pan first.
3. Reheat in a crock pot (slow cooker):
– Defrost frozen meat for 24 hours before reheating in the crock pot.
– Set the crock pot to low heat or keep warm setting.
– Add a splash of liquid to the pot.
– The crock pot will bring the meat up to temperature in a few hours.
4. Reheat with the Sous Vide method:
– Sous vide is a method of cooking by immersing food in a hot water bath inside a vacuum-sealed bag.
– Use sous vide to cook pulled pork by following the same principle.
Note: It is important to ensure the internal temperature reaches 165°F to avoid bacterial issues. Facts, stats, and figures from the article “Reheating Pulled Pork”:
– To safely store pulled pork, wrap it tightly in foil and plastic bag, place in a cooler with ice, and then move it to the fridge.
– Refrigerated pulled pork can last for about 4 days, while frozen pulled pork can last for 2 to 3 months.
– Reheating pulled pork multiple times increases the chances of bacterial growth.
– Rapidly cooling the reheated pork after each use reduces bacteria but may degrade the quality of the meat.
– It’s recommended to reheat pulled pork only once and store it in single-serving portions.
– Suggestions for using leftover pulled pork include loaded nachos, stuffed potato skins, and BBQ pulled pork grilled cheese.
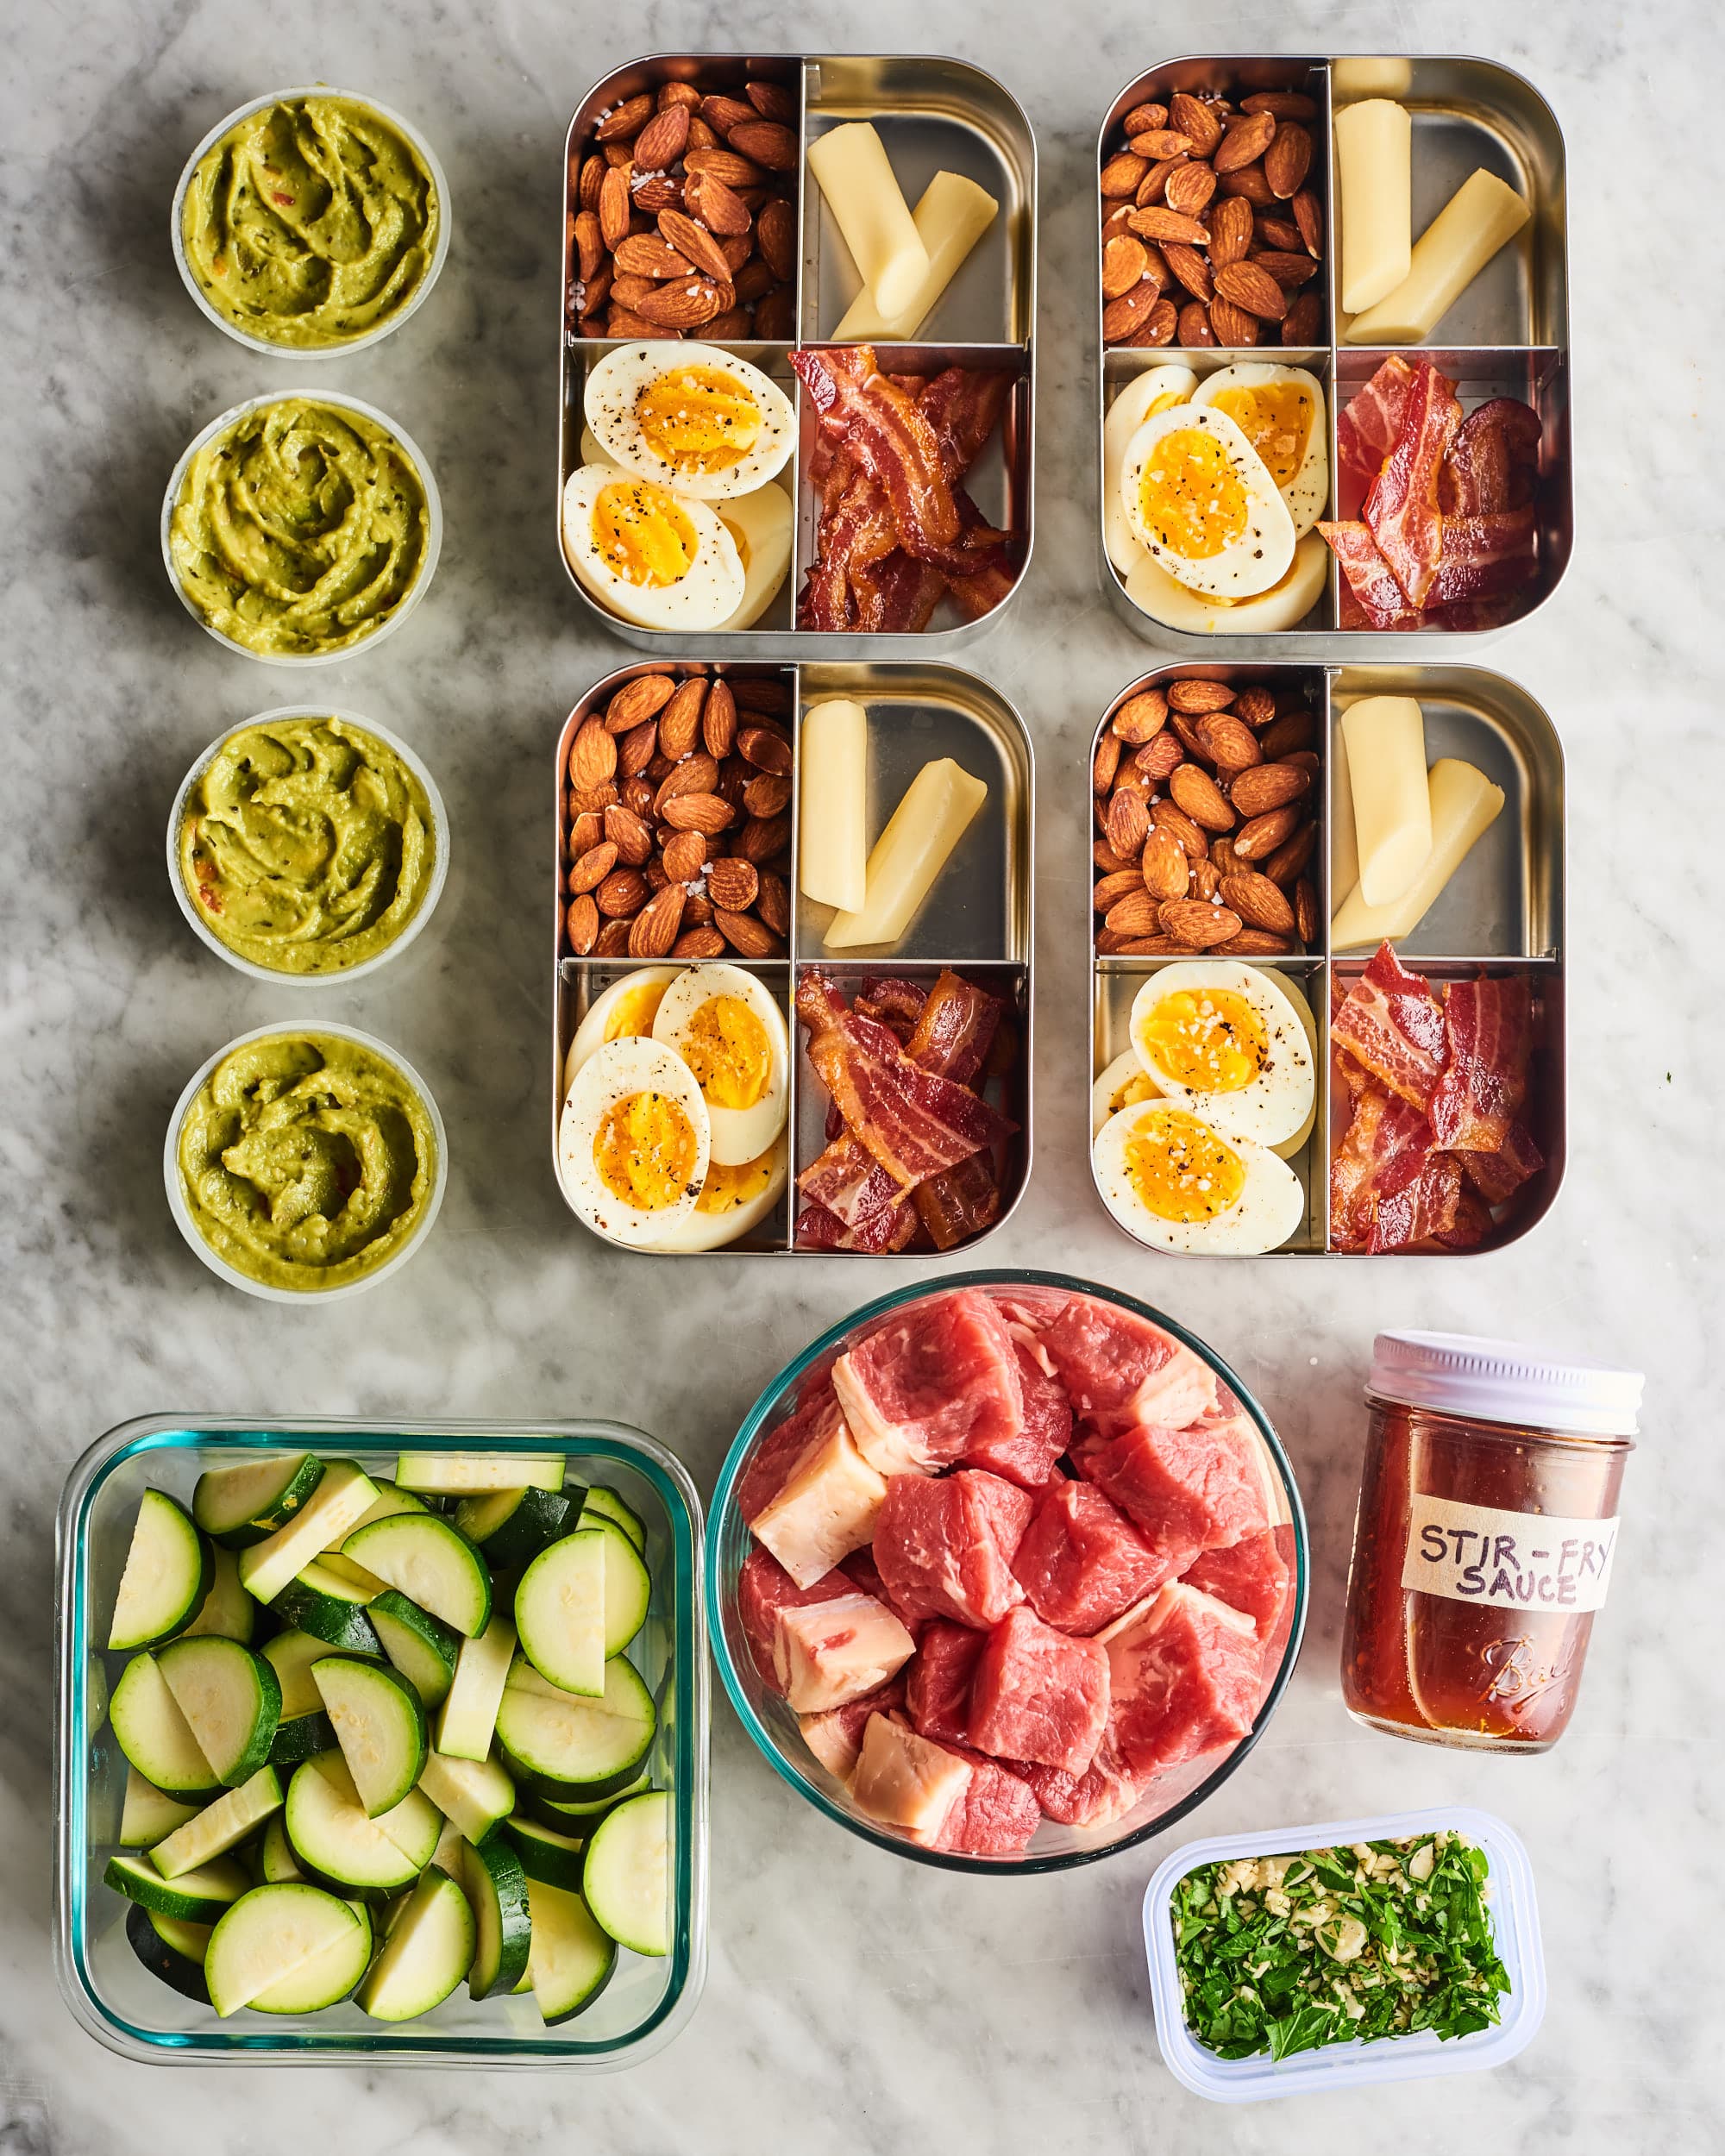
Keto Meal Prep Ideas:
1. Buffalo Chicken Ranch: Shredded buffalo chicken over cauliflower rice, fried with turmeric. Per serving: 287 calories, 21g fat, 5g net carbs, 13g protein.
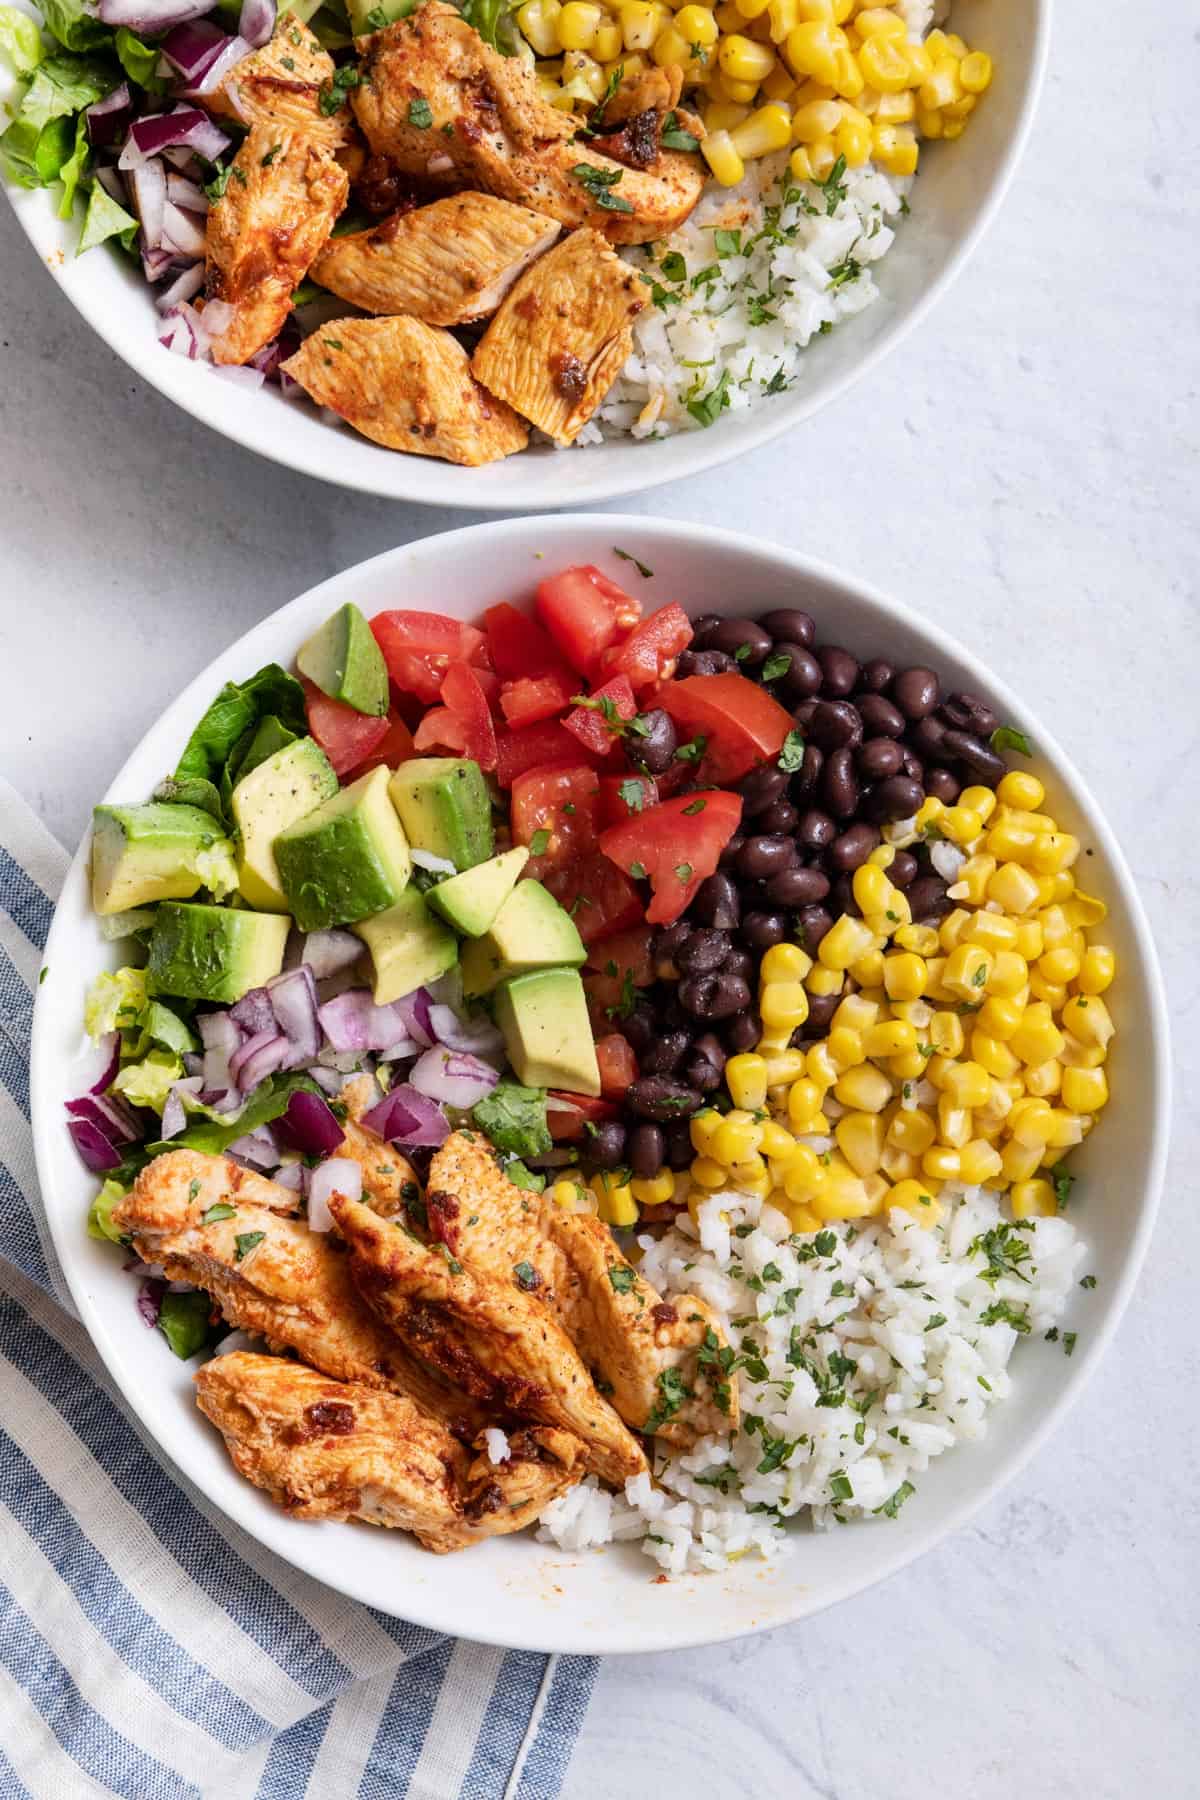
2. Cilantro Lime Chicken with Cauliflower Rice: Chicken and cauliflower rice with cherry tomatoes and avocado. Per serving: 378 calories, 21g fat, 9g net carbs, 32g protein.
3. Greek Chicken Meal Prep: Chicken with low carb veggies and spices. Per serving: 287 calories, 15g fat, 6g net carbs, 28g protein.
4. Sesame Salmon with Baby Bok Choy and Mushrooms: Salmon with vegetables. Serving information not provided.
5. Sheet Pan Fajitas with Steak: Calories: 539, Fats: 42g, Net Carbs: 7g, Protein: 31g.
6. One-Pot Garlic Butter Chicken Thighs and Mushrooms: Calories: 335, Fats: 24g, Net Carbs: 6g, Protein: 25g.
7. Instant Pot Cilantro Lime Chicken: Calories: 358, Fats: 30g, Net Carbs: 2g, Protein: 18g.
8. Cheesesteak: Calories: 310, Fats: 14g, Net Carbs: 8g, Protein: 35g.
9. Keto Pulled Pork: Calories: 628, Fats: 41g, Net Carbs: 3g, Protein: 58g.
10. Keto Breakfast Sandwich: Calories: 603, Fats: 54g, Net Carbs: 7g, Protein: 22g.
11. “Just Like the Real Thing” Lasagna: Calories: 486, Fats: 34g, Net Carbs: 9.5g, Protein: 57g.
12. Mom’s Low Carb Meatballs: High in fat and protein, minimal carbs. Can be served with zucchini noodles.
13. Hawaiian Pizza Chicken Meal Prep: Per serving: 387 calories, 22g fat, 1g net carbs, 19g protein.
14. Creamy Garlic Chicken: Per serving: 398 calories, 30g fat, 3g net carbs, 26g protein.
15. Instant Pot General Tso’s Chicken: Per serving: 276 calories, 13g fat, 5g net carbs, 29g protein.
16. Italian Chicken Skewers: Per serving: 276 calories, 14g fat.
17. Buffalo Chicken Meatballs: Per serving: 104 calories, 8g fat, 1g net carbs, 5g protein.
Breakfast Keto Meal Prep Ideas:
– Mexican hot chocolate-inspired smoothie: Nutrition: 330 Calories, 20g fat, 11g carbohydrates, 27g protein.
– Pre-portioned protein bites: Nutrition per bite: 110 Calories, 6g fat, 5g carbohydrates, 9g protein.
– Yogurt with berries and nuts: Nutrition: 340 Calories, 33g fat, 12g carbohydrates, 14g protein.
– Keto cloud bread and egg bites sandwiches: Nutrition: 650 Calories, 52g fat, 11g carbohydrates, 31g protein.
– Keto-friendly pancakes: Nutrition: 260 Calories, 19g fat, 13g carbohydrates, 10g protein.
– Chia seed pudding: Nutrition: 260 Calories, 11g fat, 10g carbohydrates, 21g protein.
– Low-carb oatmeal substitute: Nutrition: 450 Calories, 32g fat, 9g carbohydrates, 19g protein.
– Bacon and guacamole deviled eggs: Nutrition: 230 Calories, 17g fat, 3g carbohydrates, 16g protein.
Lunch/Dinner Keto Meal Prep Ideas:
– Lemon parmesan kale salad with salmon: Nutrition: 330 Calories, 21g fat, 11g carbohydrates, 28g protein.
– Salad wraps with guacatillo sauce: Nutrition: 300 Calories, 16g fat, 12g carbohydrates, 30g protein.
– Peruvian and Mexican inspired ceviche dish: Nutrition: 342 Calories (with 4oz steak), 21g fat, 27g protein.
– Keto mac n’ cheese made with cauliflower base: Nutrition: 199 Calories, 13g fat, 4g carbohydrates, 15g protein.
– Salmon cakes made with Trifecta salmon: Nutrition: 270 Calories, 12g fat, 8g carbohydrates, 33g protein.
Keto Meal Prep Tips:
– Ketosis is a metabolic state in which the body uses fat for fuel instead of carbohydrates.
– The diet suggests an intake of only 20 grams of carbs or less per day.
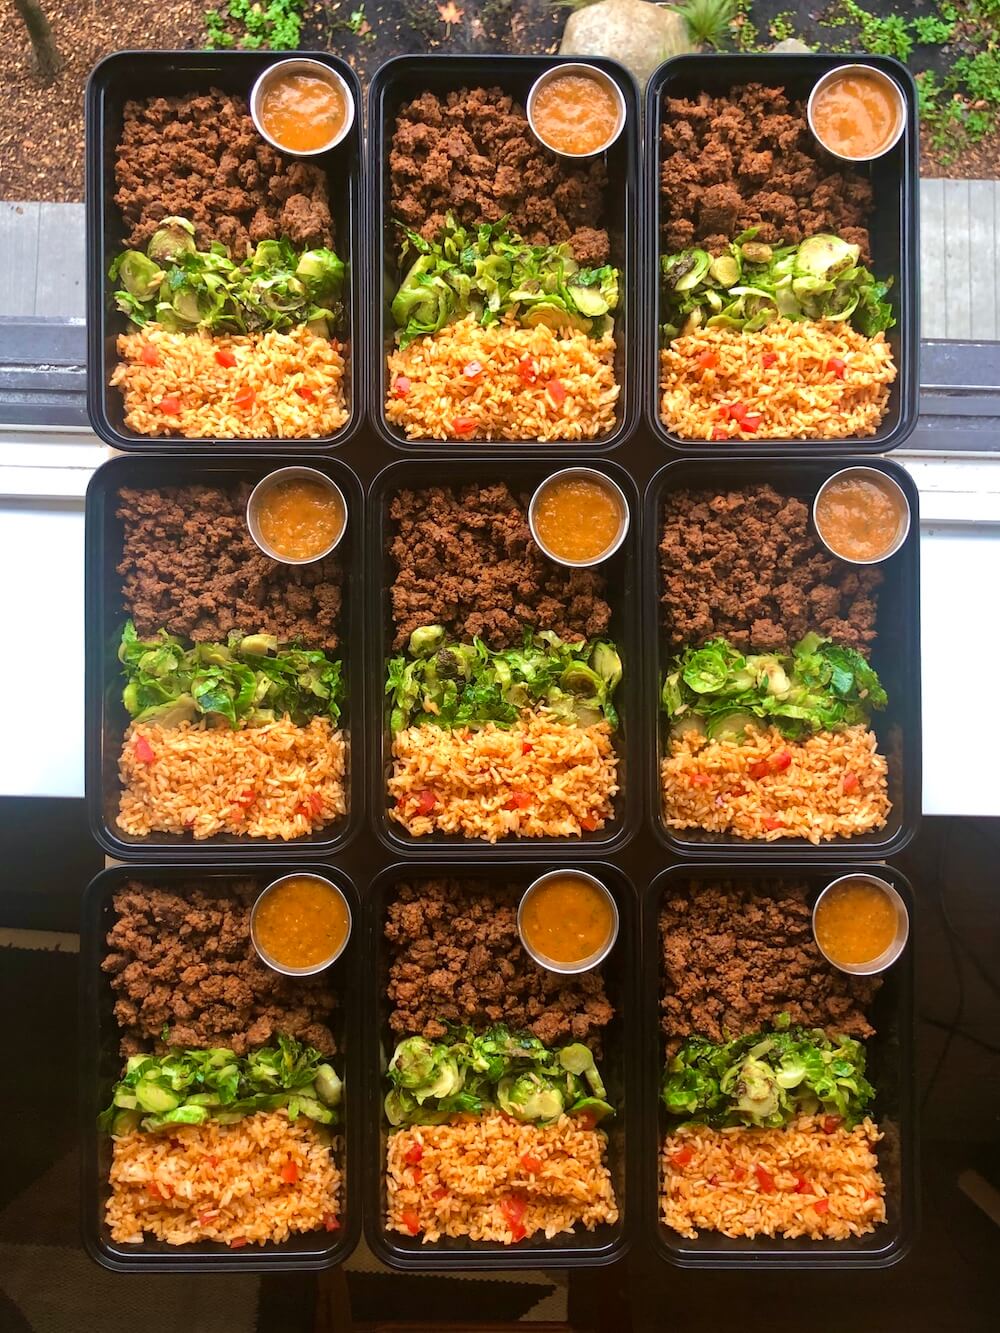
– Meal prepping can save time and money and prevent meal prep burnout.
– Batch cooking and bulk prepping are two approaches to keto meal prep.
– Investing in quality meal prep containers is recommended.
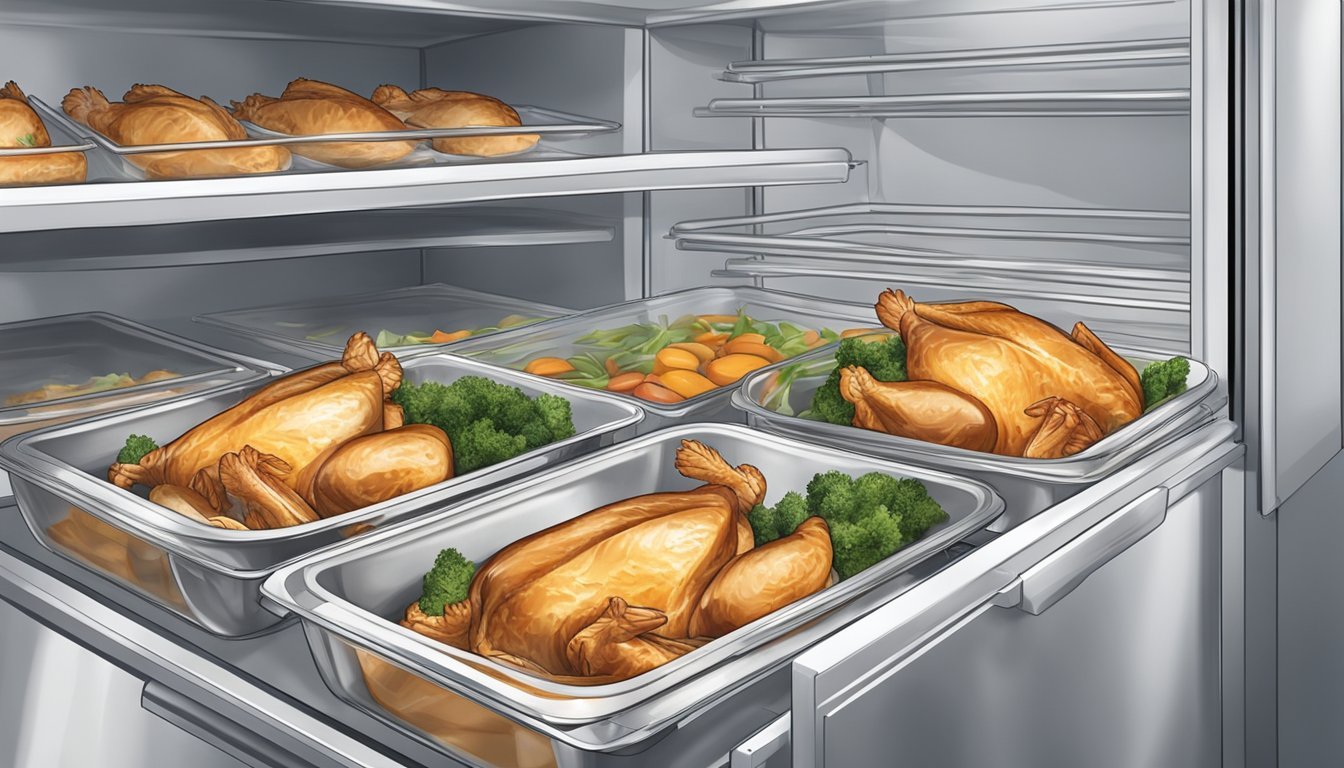
– It is suggested to freeze cooked chicken in a single bag for convenience and portion control.
– The recommended method for thawing cooked chicken is to place it (in the plastic freezer bag) in the refrigerator overnight.
– As per the USDA, frozen cooked chicken (as well as meat) can be stored in the freezer for up to three months.
– It is advised to mark the use-by date on the bag using a freezer-proof marker.
– Raw chicken should be wrapped in heavy-duty aluminum foil or placed in ziplock plastic freezer bags to prevent freezer burn.
– Raw chicken can last indefinitely in the freezer if stored properly.
– USDA suggests using whole raw chicken within a year, and cut chicken within nine months.
– Thaw frozen raw chicken in the refrigerator by placing it in a rimmed container or bowl for at least 24 hours.
– Clean surfaces thoroughly with hot soapy water if raw chicken juices drip in the refrigerator.
– Use the cold-water method for same-day defrosting by placing frozen chicken in a leak-proof plastic bag submerged in cold water, replacing the water every 30 minutes.
– Be cautious when using the microwave method to defrost raw chicken as it may create hot spots and uneven thawing.
– Cooked chicken can be stored in the refrigerator for up to two days, after which it’s best to freeze it.
– Shredded chicken defrosts faster than whole pieces, but both can be frozen by placing them in zip-top plastic freezer bags and removing air before sealing.

– Leftover tamales can be safely stored in the freezer
– Raw tamales, if properly packaged, can also be stored in the freezer for about 6 months
– Tamales that have gone bad will have a different texture and a sour smell
– When thawing frozen tamales, it is recommended to do so in the refrigerator
– The recommended time for tamales to stay fresh in the freezer is 6 months
– Cooked tamales in the refrigerator last for 1 week
– Cooked and raw tamales frozen can last up to 6 months
– Raw tamales will remain fresh in the fridge for about 3 to 4 days
– Vegan and vegetarian tamales generally have a longer shelf life than meat-filled tamales
– It is important to prevent freezer burn when freezing tamales
– Tamales can be wrapped in plastic wrap and placed in a plastic bag or airtight container for freezing
– Frozen tamales can stay fresh in the freezer for about 6 months
– Tamales should be cooked within the next day or so for optimal freshness
– There are various ways to thaw chicken: in the refrigerator, in the microwave, or in cold water.
– Thawing chicken in the refrigerator is the best option, although it takes one to two days.
– Chicken thawed in the refrigerator can be refrozen as is within two days of thawing.
– If chicken is thawed in the microwave or in cold water, it must be cooked before being refrozen.
– Thawing chicken in the microwave may cause parts of the chicken to warm and cook, making it unsafe to refreeze without fully cooking it.
– Chicken thawed in cold water also needs to be cooked before refreezing, as maintaining a consistently cold temperature is difficult.
– Chicken should be cooked to a minimum internal temperature of 165°F.
– The bottom line is that you can refreeze chicken, but it must be cooked first if thawed in the microwave or in cold water.
Recipes related to the keyword “diced chicken”:
– Chicken Teriyaki
– Chicken Goulash
– Butter Chicken
– Mexican Chicken and Rice
– Chicken with Spinach and Beans
– Pasta with Diced Chicken
– Instant Pot Chicken and Potato
– Air Fryer Diced Chicken
– Butter Chicken Pumpkin Curry
– Chicken and Wild Rice Salad
– Chicken Murphy
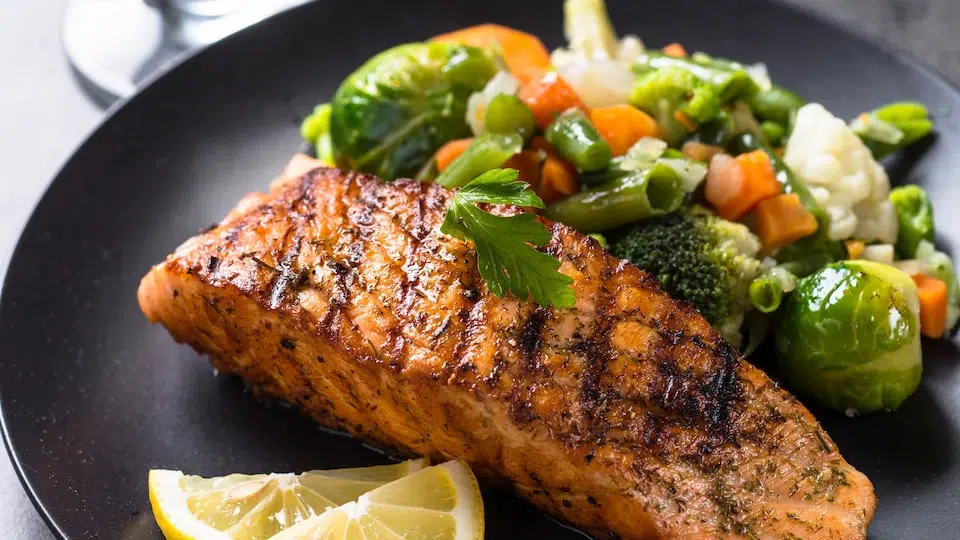
– Reheating salmon can be challenging but not impossible
– Microwaving salmon dries it out and creates a fishy aroma
– Adding moisture with olive oil or lemon preserves flavor
– Reheating in the oven at 300 degrees for 15 minutes is recommended
– Covering the salmon with foil prevents drying out and burning
– Leftover salmon can be used in various recipes such as fish salad or mixed with avocado or mayo
– Fish is a popular protein, but leftover cooked fish is often thrown out due to concerns about contamination or spoilage.
– Storing cooked fish in the fridge is safe with proper precautions and procedures.
– Cooked salmon can be stored in the fridge for up to three days if it was fresh to begin with and handled properly.
– Refrigerating leftovers slows down, but does not stop, the formation of bacteria.
– Cooked salmon should be cooled to room temperature before storing to prevent mold and bacteria formation.
– Salmon should be put in the fridge within two hours of cooking to prevent bacterial growth.
– Salmon should be stored in an airtight container or wrapped in plastic wrap and aluminum foil to maintain freshness.
– The article provides steps on how to store cooked salmon and tips for reheating it. It suggests storing cooked salmon in the bottom drawer of the fridge, which is usually the coldest spot. It is important to date and label the container. Cooked salmon should be eaten or cooked again within 3 days, as after that there is a risk of bacteria causing food poisoning. To reheat leftover salmon, it is recommended to avoid using the microwave and instead cook it on low heat to prevent it from drying out. Wrapping it in foil can help achieve a more even cook. Oshēn Salmon is mentioned as a source for top-quality and fresh salmon delivered to your door, with a discount code available for ordering.
List:
1. “Meal prep manual”
2. Recipe
3. Estimates
4. Calorie
5. Macronutrient
6. Totals
7. MyFitnessPal
8. Weights
9. Meat
10. Vegetables
11. Brands
12. Ingredients
13. Precise values
14. Individuals
15. Close enough
16. Approximate values
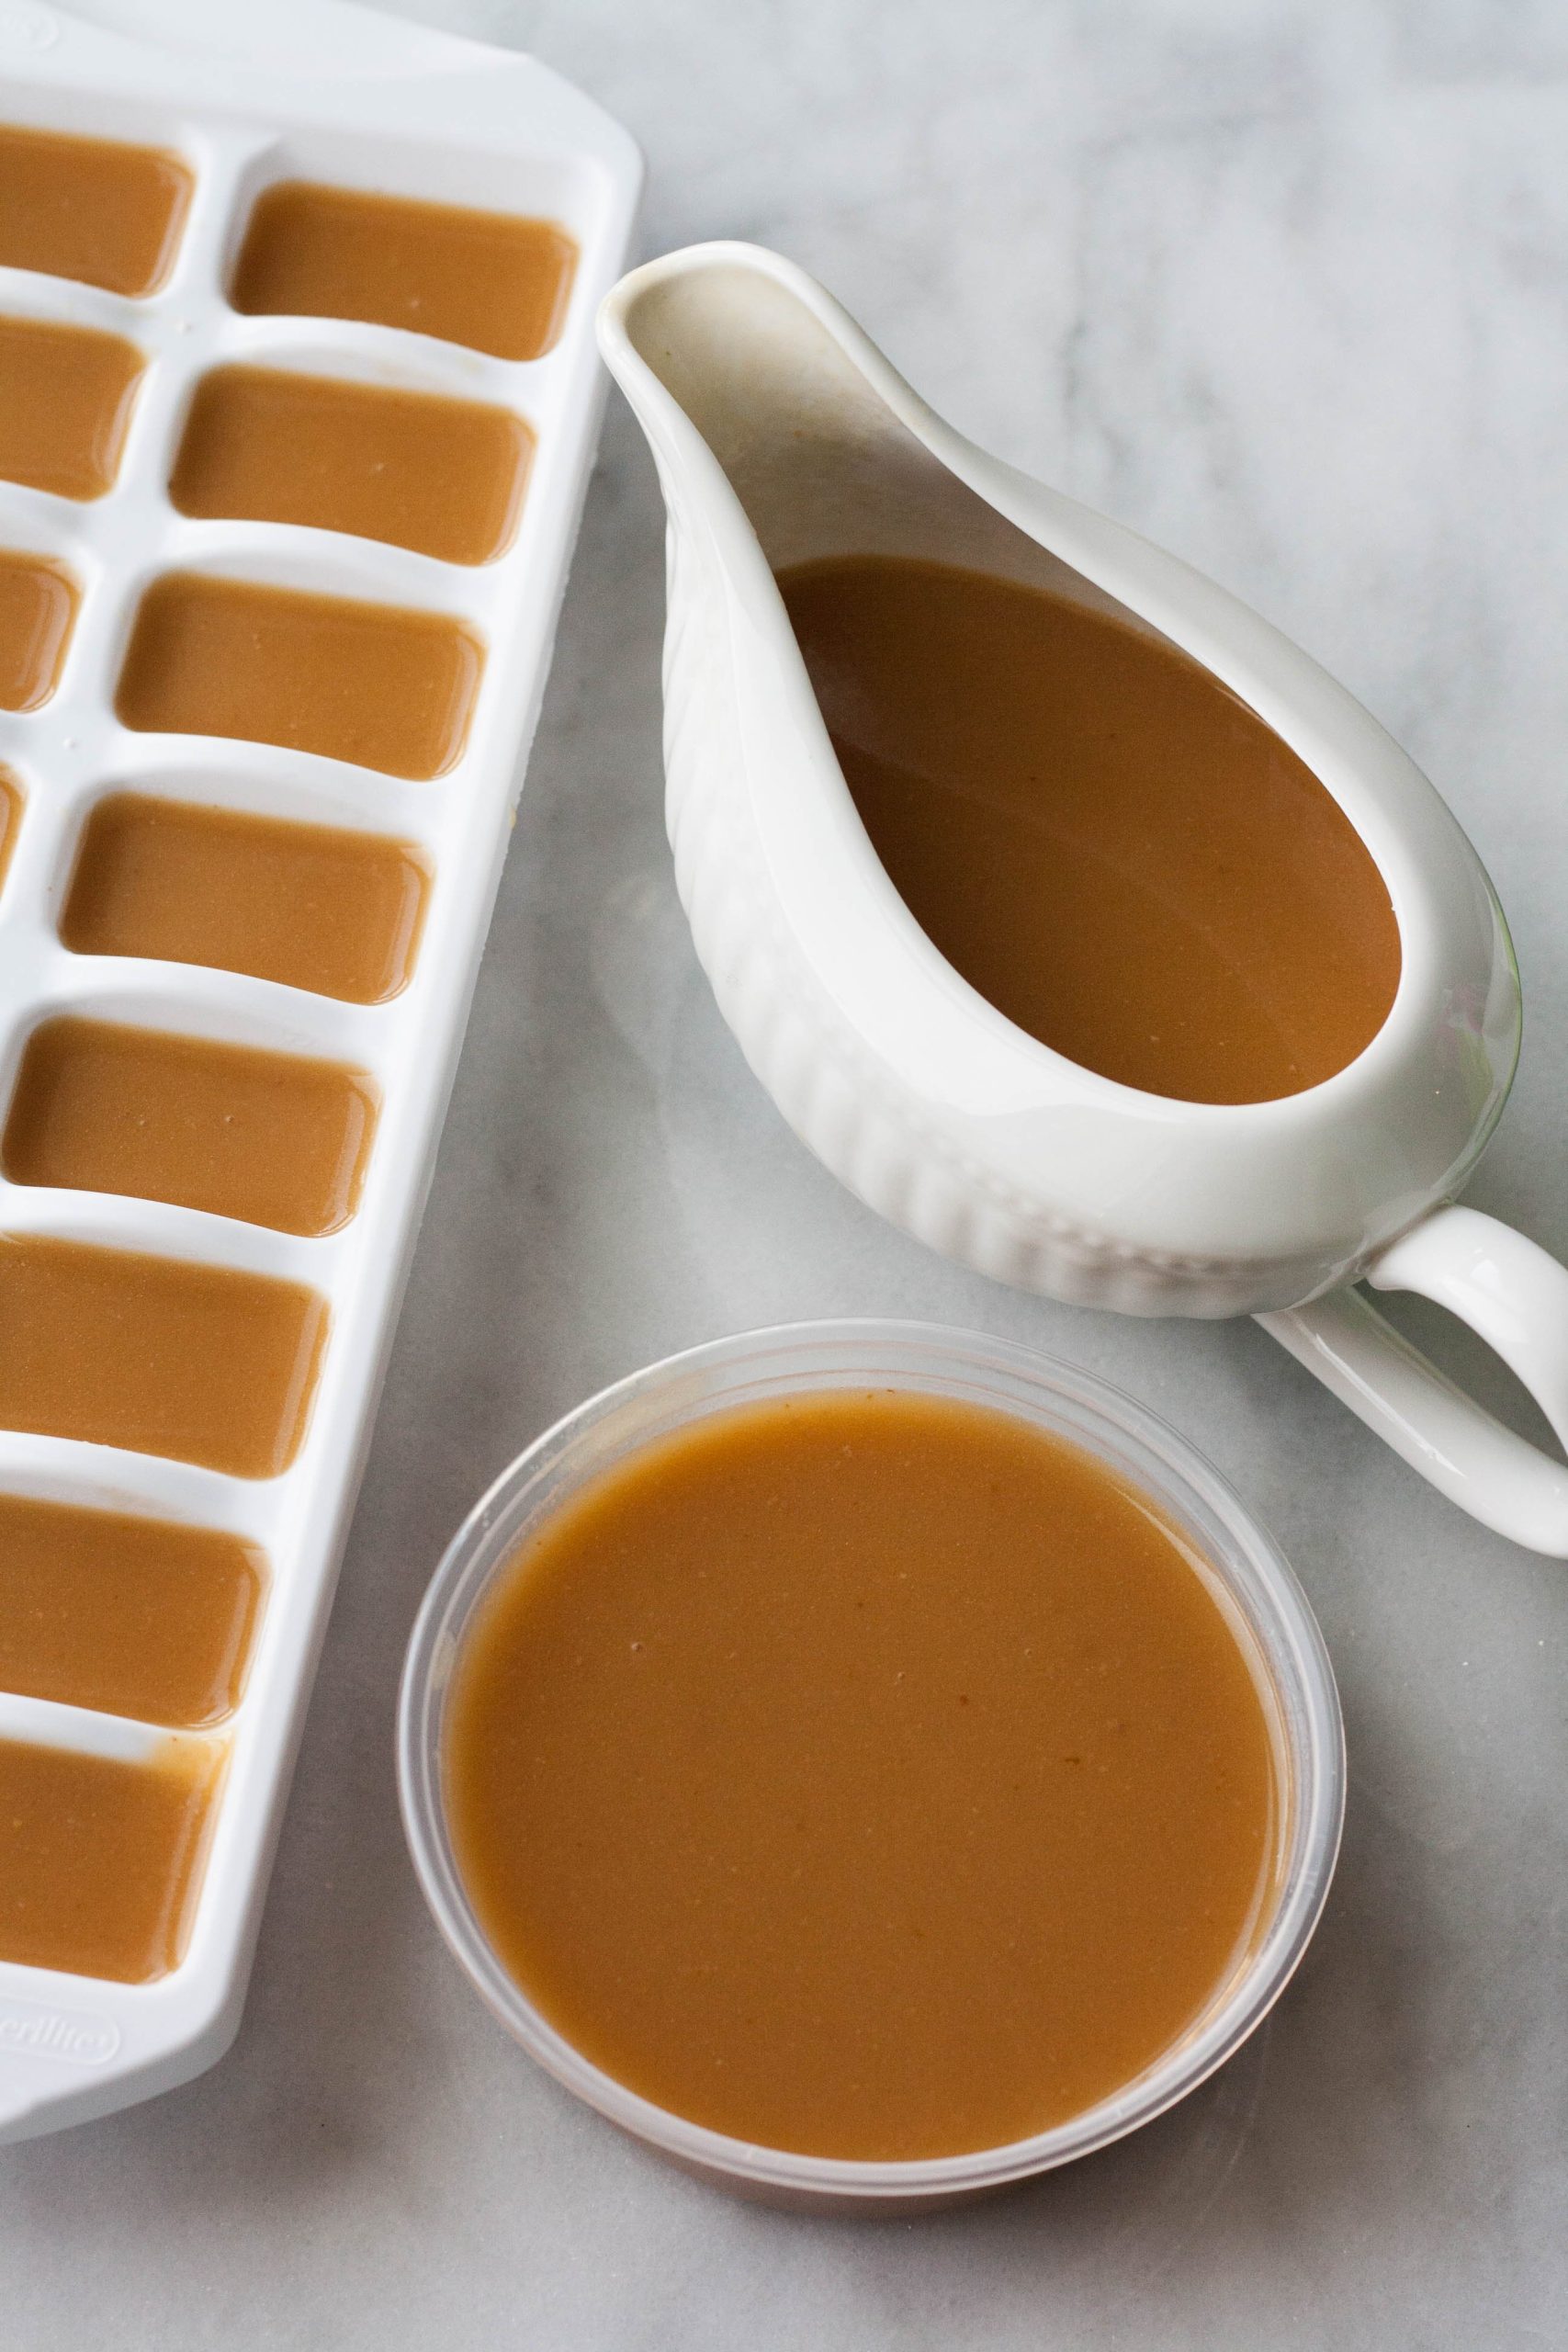
– The article discusses whether leftover gravy can be frozen.
– Gravy is made from leftover juices of cooked meat, along with broth, cream/milk, butter, and spices.
– Gravy can be frozen in air-tight containers or freezer bags and will last for up to six months.
– If the gravy contains dairy, it is not recommended to freeze it as the texture will change and it will separate when thawed.
– Gravy can also be refrigerated for up to four days in an airtight container.
– It is important to cool down the gravy within two hours of cooking to prevent bacteria growth.
– If the gravy smells rotten or sour, it should be thrown out.
– Look for signs of mold or any fuzzy or abnormal appearance to determine if the gravy has gone bad.
– Premade gravy dry mix can be stored in a sealed container or plastic bag.
– Gravy is made from the leftover juices of cooked meats, typically turkey or beef, with additional broth, cream or milk, butter, and spices added for flavor.
– Traditional gravy recipes use all-purpose or wheat flours as thickeners, but cornstarch can be used as a gluten-free alternative.
– Dairy-based gravies should not be frozen as they will separate and have a gritty texture when thawed.
– Spoiled gravy can be identified by a rotten or sour smell, mold growth, or abnormal texture.
– Dry gravy mixes can be stored in sealed containers or plastic bags.