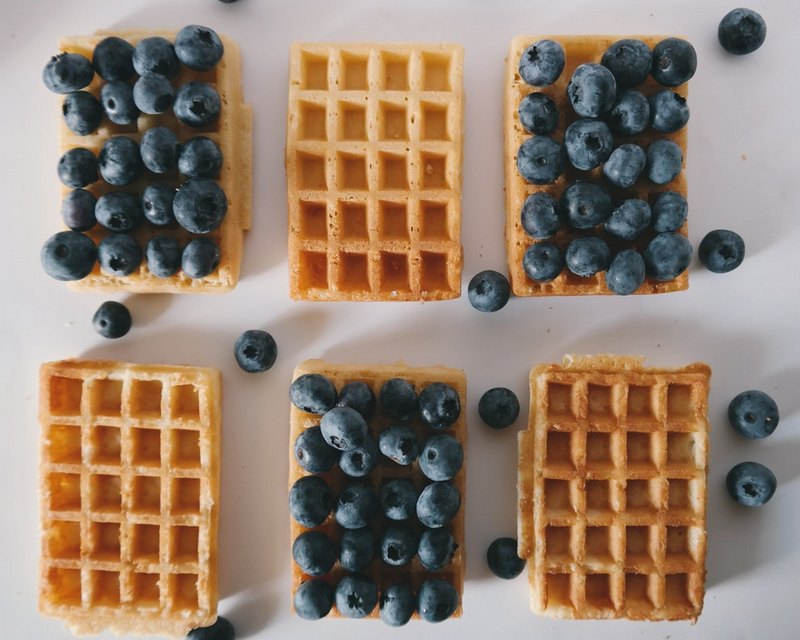
Can You Freeze Waffle Batter? (The Complete Guide)
Generally, there is no time of the day that you cannot eat waffles. You can enjoy them for breakfast with blueberries, or for dessert with syrup and ice cream. If you want to have…
Continue ReadingShort kitchen tips for better prep, storage, substitutions, cookware, timing, and everyday cooking decisions.
Generally, there is no time of the day that you cannot eat waffles. You can enjoy them for breakfast with blueberries, or for dessert with syrup and ice cream. If you want to have…
Continue Reading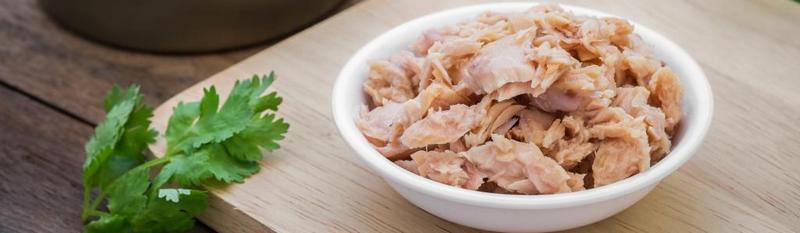
You can heat canned tuna after opening, but move it out of the metal can first, warm it gently, refrigerate leftovers promptly, and discard damaged or suspicious cans.
Continue Reading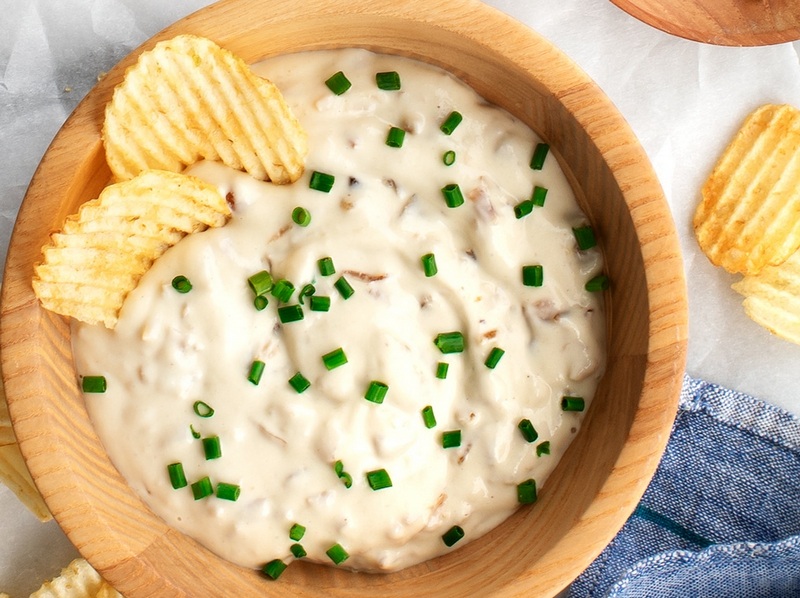
Do you like taking French onion dips? They are delicious and can be taken with vegetables, crackers, chips, and many other things. They are fairly versatile and can be used as dips with any…
Continue Reading
Kiwi is a very sweet fruit even though the exterior which is brown and hairy is not appetizing. The interior is contained of small black seeds with a flesh that is bright green. It…
Continue Reading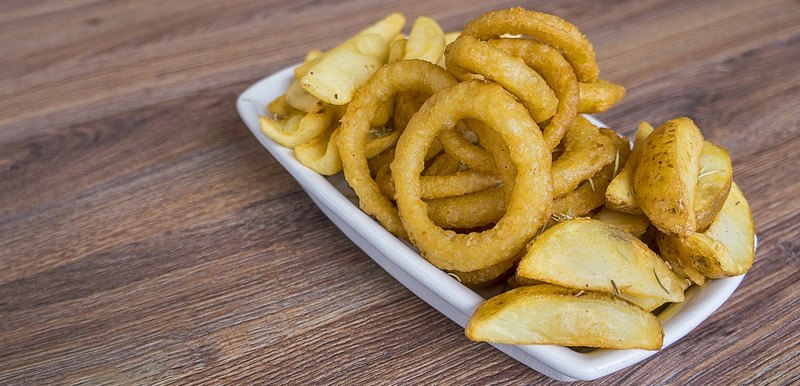
Eating onion ring made at home is the best bliss, you cannot compare anything to it. Onion ring will give you a crispy crunchy meal most especially the homemade type. Even fast food or…
Continue Reading
If you love yogurt then you will probably also love buttermilk drink. Others believe that drinking buttermilk is only for those who get used to its taste because some people do not like it….
Continue Reading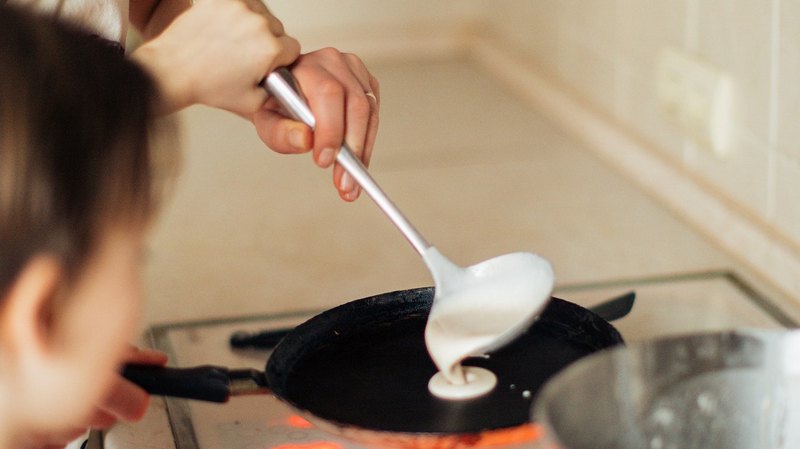
Breakfast or snack, we all want our pancakes fluffy and healthy. Pancakes are very delicious with cream and sweet syrup plus toppings of your choice, and depending on some extra ingredients, you can make…
Continue Reading
1. VEVOR brand 2. Electric ice shaver crusher snow cone maker machine 3. Dual stainless steel blades 4. 210 pounds of shaved ice per hour 5. 300W power 6. 1450 RPM speed 7. Ice…
Continue Reading
Everyone loves peanut butter, children, adults, doctors, even their patients also love it. As long as you don’t have an allergy or you don’t have anyone close to you that also has an allergy,…
Continue Reading1. Current price: $45.09 2. Material: Clear glass 3. Type: Cooking stovetop pot 4. Features: Dust proof and ergonomic 5. Handle: Designed for easy use 6. Suitable for: Open flames and gas stovetops 7….
Continue Reading