– Kale can be frozen without blanching but should be used within 4 weeks
– Blanching kale before freezing stops ripening enzymes and keeps the leaves fresh
– Blanched kale can last up to 1 year in the freezer
– To freeze kale, wash, de-stem, and chop the leaves
– Blanch the leaves in boiling water for 2 ½ minutes, then place in ice water for the same amount of time
– Drain and squeeze excess water
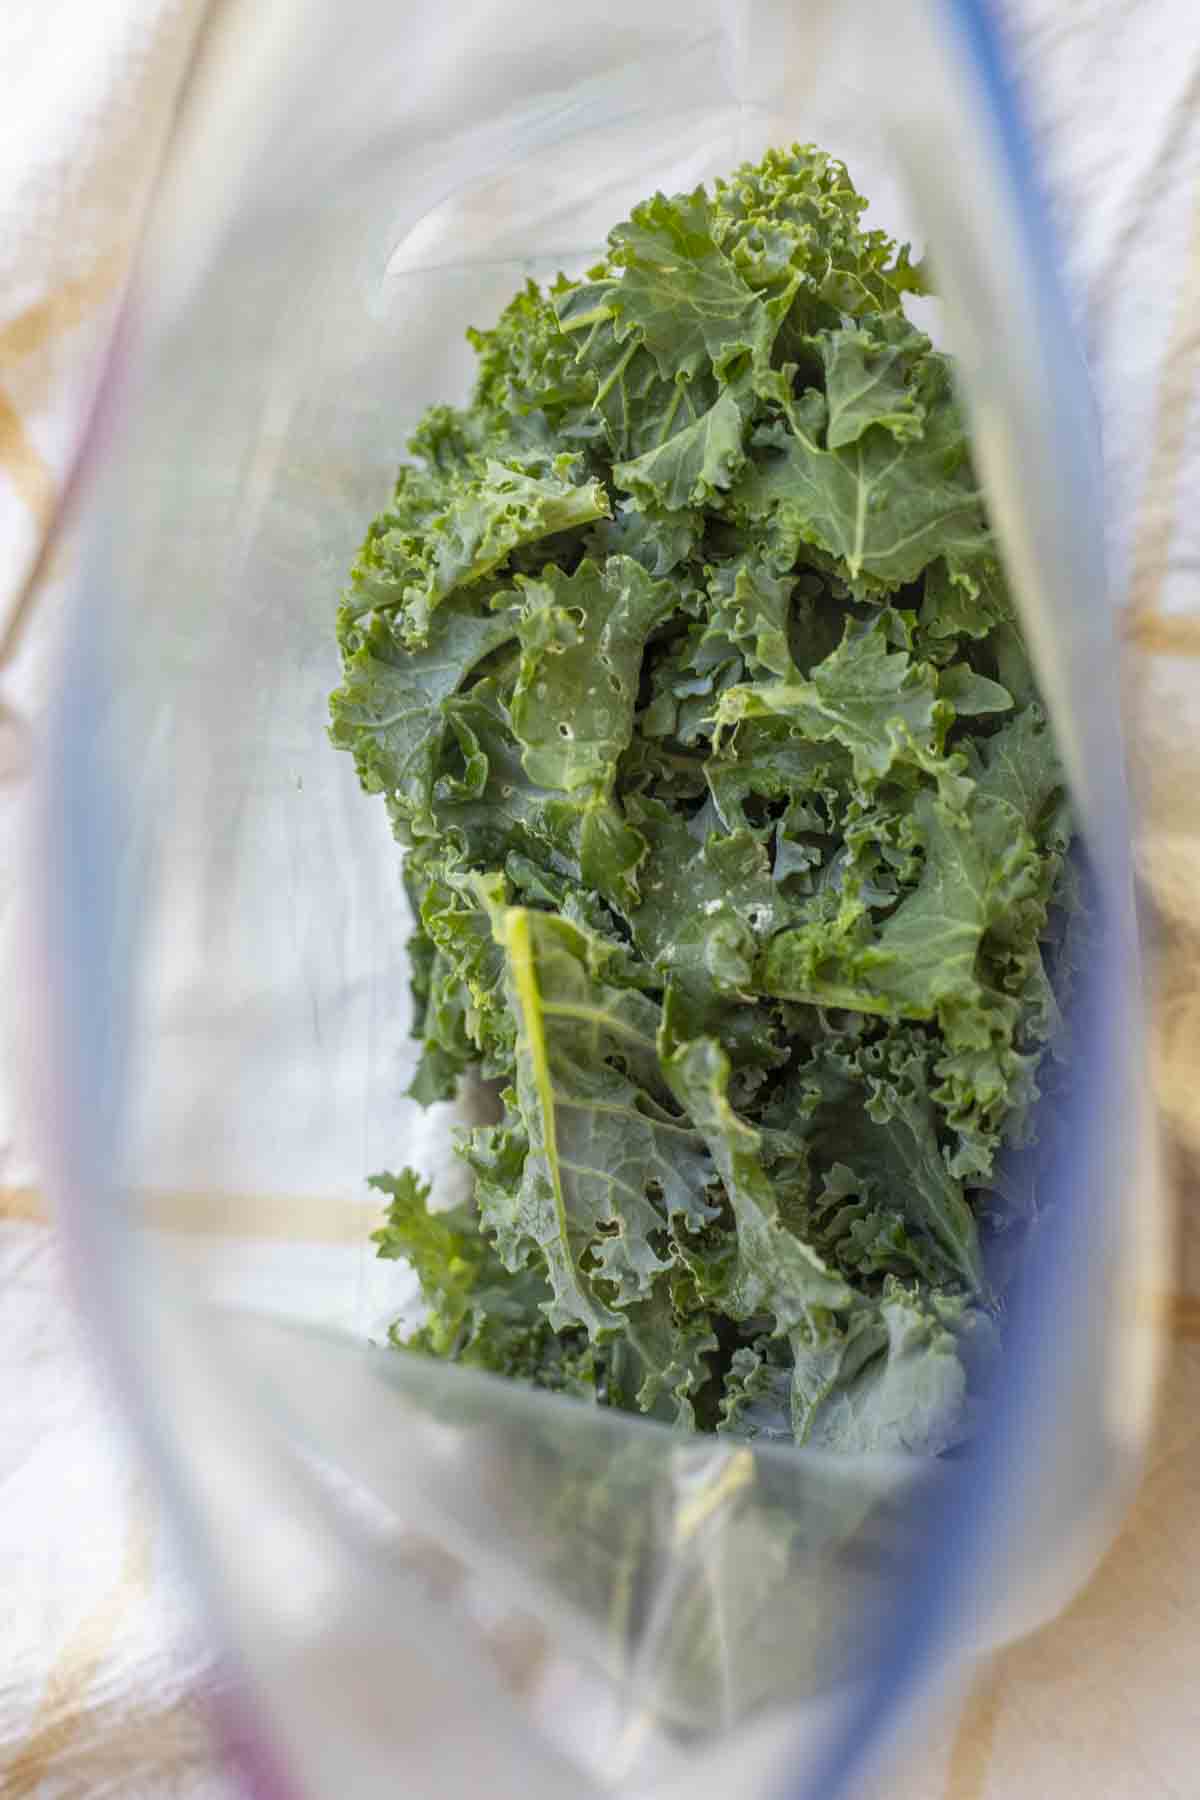
– Freeze small clumps of kale on a cookie sheet before transferring to a freezer bag
– Remove air from bags before sealing or use a vacuum sealer system
– Frozen kale can be used in smoothies, sautéed with rice vinegar or garlic, added to quiches, stews, and soups, or creamed for a treat
– Blanching greens before freezing stops the ripening enzymes in the leaves and ensures they taste fresh without developing a bitter taste
– Kale leaves should be washed, de-stemmed, and chopped to the desired size before blanching
– Add a couple handfuls of kale leaves at a time to boiling water, cover, and blanch for 2 ½ minutes (3 minutes if using stems)
– Pluck off leaves and stems using tongs or a strainer and place in ice water for the same amount of time
– Drain and squeeze excess water from leaves
– For bulk storage, quick-freeze small clumps of kale individually on a cookie sheet before transferring to a large freezer bag
– Remove as much air as possible before sealing the bag or store kale in individual packages before freezing
– Frozen kale can be used in smoothies, sautéed with seasoned rice vinegar, used in spicier dishes with garlic and crushed red pepper, blended into quiche, crock pot stews, soups, or creamed, and used to make nutritious pesto.
Continue Reading