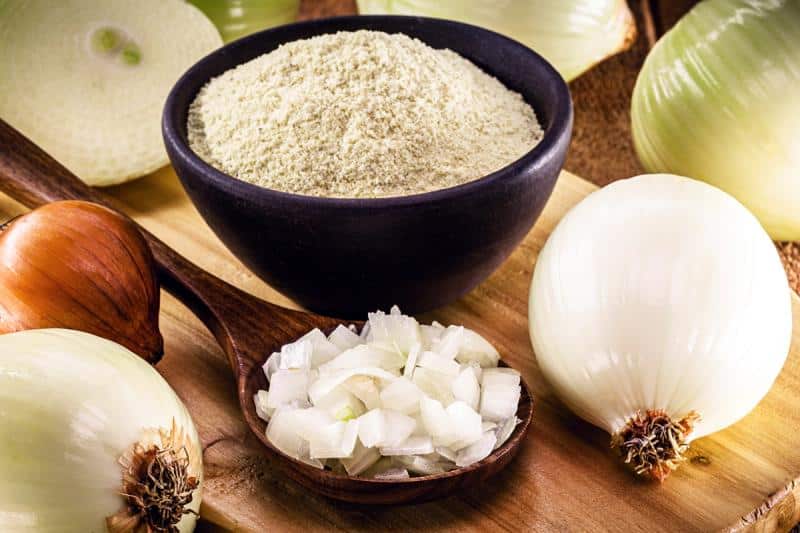
– Onion powder is made from dehydrated onions that are ground into a powder.
– Onion powder can be made from white, yellow, or red onions, and can include the bulb, stems, roots, or skins.
– Onion powder is different from onion salt, and they cannot be used interchangeably.
– Onion powder can be found in seasoned salt or spice mixes, and it can be bought in supermarkets or made at home.
– To make homemade onion powder, you need a food dehydrator (or oven), blender (or food processor), clean jars, and onions.
– The process involves cutting and peeling the onions, slicing them thinly, dehydrating them at high temperature, and grinding them into a powder.
– Onion powder is made from ground dehydrated fresh onion and still retains the aroma of fresh onions.
– It can be used to enhance the onion flavor in savory dishes such as soups, stews, pizzas, pasta, sauces, and dippings.
– Onion powder can also be used to season or dry rub meats, providing a fuller onion flavor.
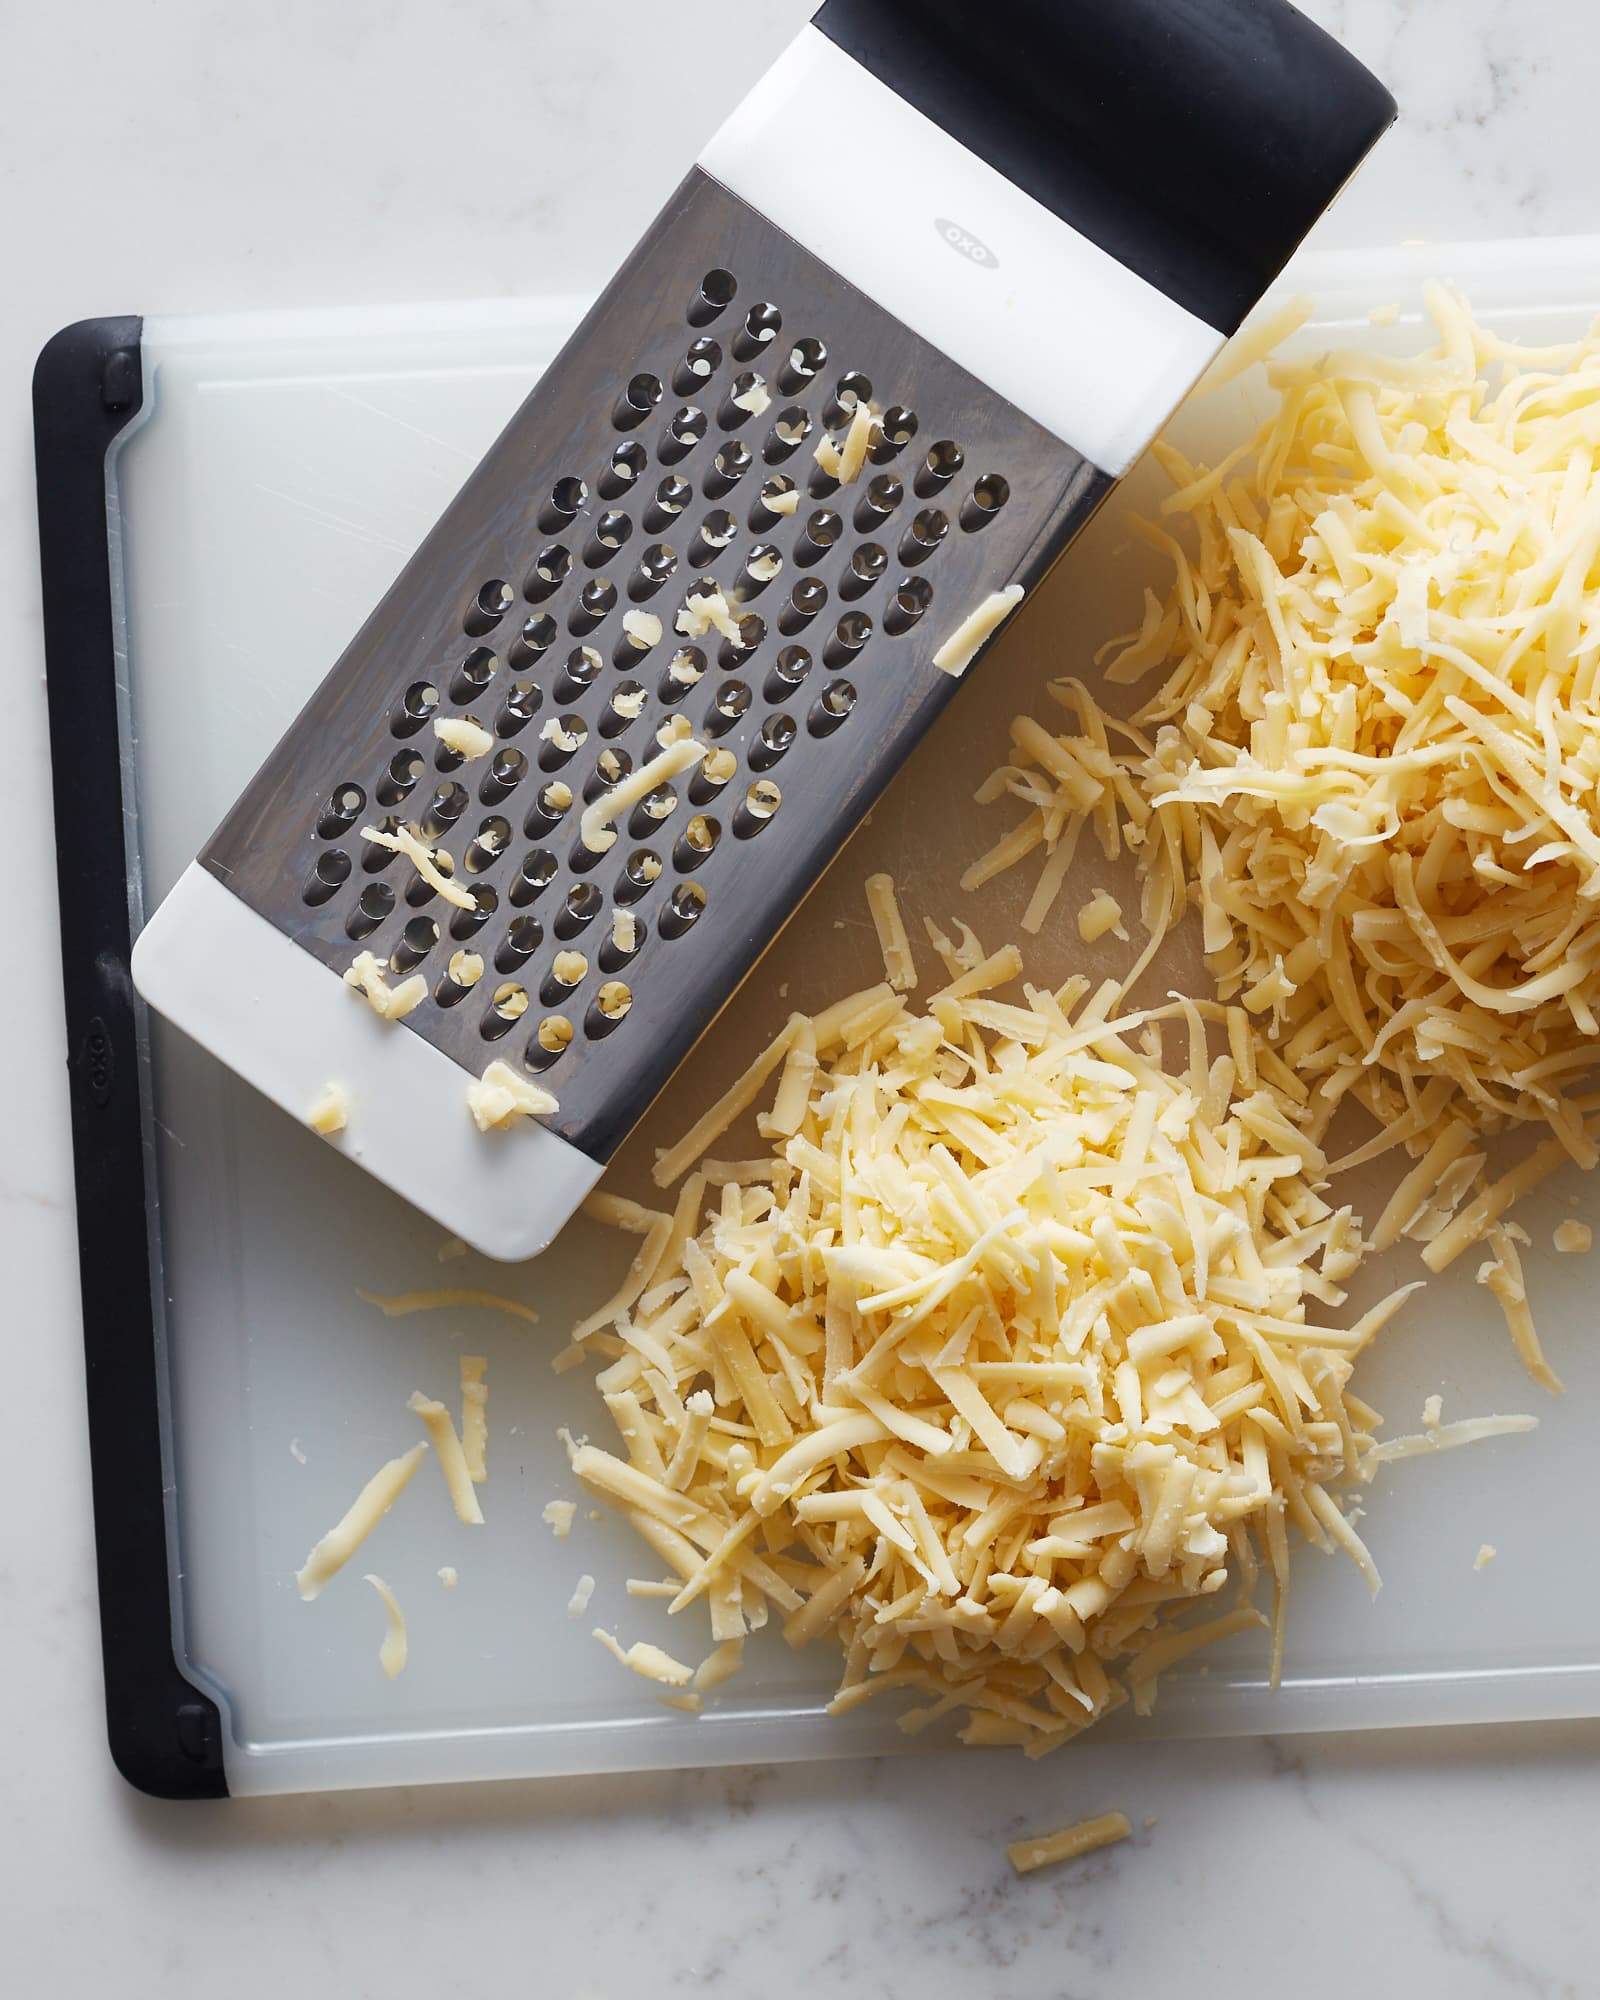
– In terms of texture, fresh onions are bulky and coarse, while onion powder is smooth and powdered.
– When added to dishes, fresh onions maintain their texture, while onion powder blends well and does not affect the smoothness of sauces or dippings.
– Onion powder is a cost-effective solution for those on a budget.
– Fresh onions have a higher water content (89%) compared to onion powder and can add moisture to dishes.
– Onion powder, being dried and fine, can quickly burn if used in fried dishes.
– Fresh onions have a coarse and fibrous texture after cooking, while onion powder blends completely into dishes.
– The pungent flavor of raw onions can cause tears, while onion powder has a more concentrated flavor and a touch of sweetness.
– Both fresh onions and onion powder are versatile in various recipes, but fresh onions can be eaten raw or used to make pickles, while onion powder is better for dry rubs and increasing oniony flavor.
– The shelf life of fresh onions is shorter due to their high water content, while onion powder has a longer shelf life due to the dehydration process removing all water content and reducing bacteria growth.
– Onion powder can be safe for up to 4 years when stored in sealed jars away from heat and sunlight.
– The controlling level of flavor is easier with fresh onions as you can choose the specific type, whereas store-bought onion powder may not specify the type of onions used.
– Homemade onion powder allows for more control over flavor.
– In terms of nutrition, 100 grams of onion powder has higher levels of nutrients compared to fresh onions, including calories, carbohydrates, potassium, and sodium.
– Both fresh onions and onion powder have health benefits such as improving blood sugar, enhancing bone health, boosting the digestive system, reducing the risk of cancer, and improving heart health.
– Onion powder is easier to digest for some people and can help fight bacteria, such as Helicobacter pylori, which may cause stomach cancer.
– Onion powder is a suitable substitute for fresh onions in cooking when only the flavor of onions is required.
Continue Reading