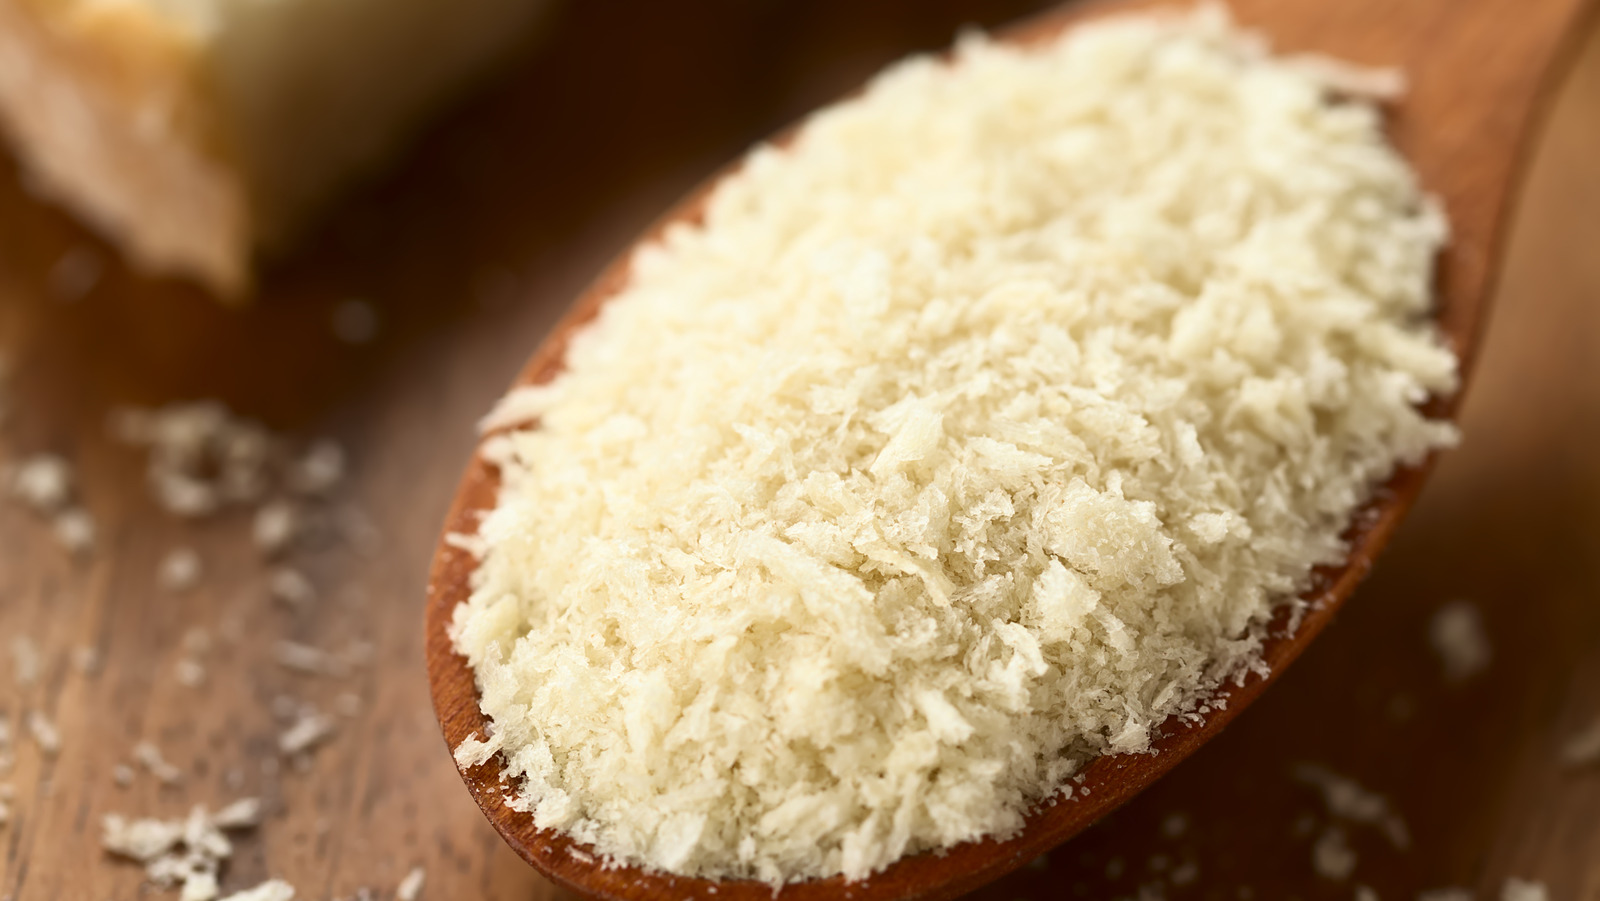
Panko Bread Crumbs Substitute: Exploring Delicious and Nutritious Alternatives
– Panko breadcrumbs are made from crustless white bread that is processed into flakes and then dried.
– Panko breadcrumbs are a Japanese specialty but used worldwide for their crunchy texture.
– Panko breadcrumbs can be used as a crispy topping or can be fried.
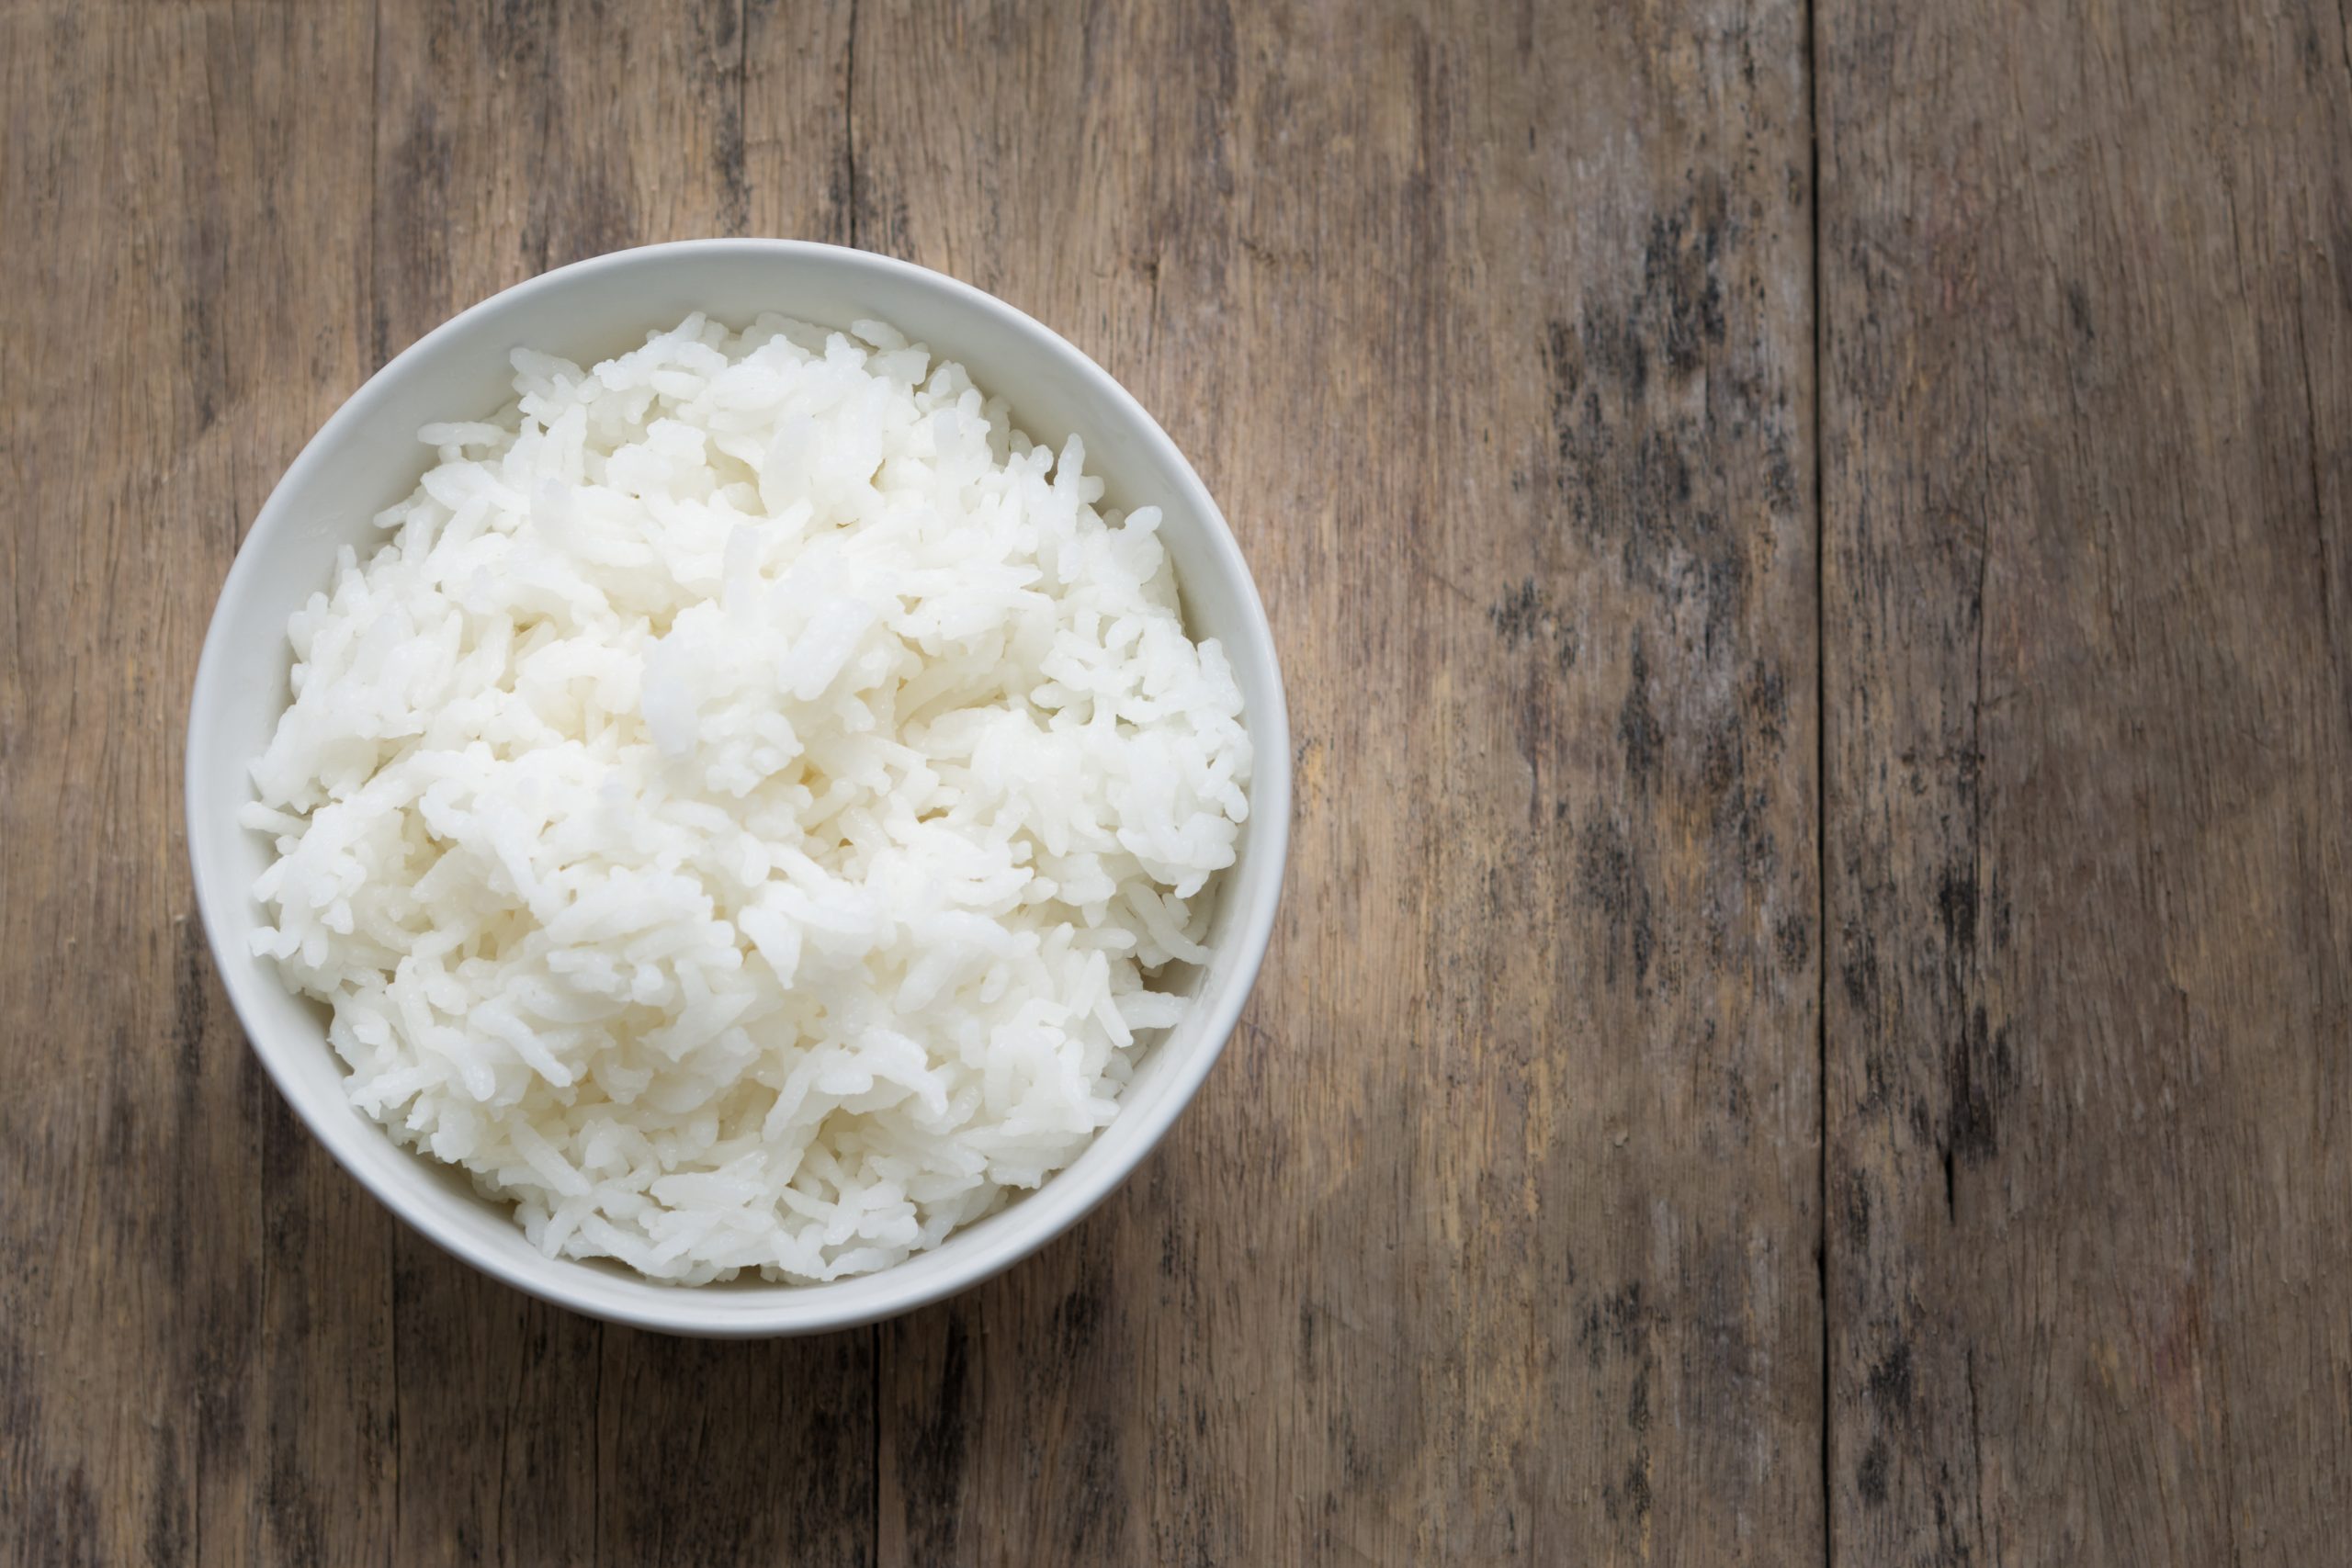
– The article suggests several options for substituting panko breadcrumbs, including crackers, crushed pretzels, white bread, cereal, crushed potato chips, crushed tortilla chips, dry stuffing mix, corn flakes, coconut flakes, bread crumbs, nuts, matzo, and toasted rice.
– The article provides a recipe for making a panko substitute using a food processor and baking the crumbs until lightly toasted.
– Tips for making the panko substitute include using stale bread, using parchment paper for easy clean-up and crispier results, and spreading the substitute thinly on a baking sheet.
– Regular breadcrumbs can be substituted for panko breadcrumbs in most recipes, but the results may not be as crispy.
– Panko substitute breadcrumbs can be stored at room temperature in an airtight container for up to two weeks.
– They can also be stored in the fridge for up to a month, or in the freezer for up to three months.
– A recipe is provided for making panko substitute breadcrumbs using crackers in a food processor.
– Other options for panko substitutes include crushed pretzels, white bread, cereal, potato chips, tortilla chips, stuffing mix, corn flakes, coconut flakes, bread crumbs, nuts, matzo, and toasted rice.
– Tips are provided for making the crispiest panko substitute, such as using a large baking sheet and avoiding overbaking.
– The nutritional information for the panko substitute made with crackers is provided.