“Everything You Need To Know About Taco Bell Crocs”
Taco Bell Crocs might just be the most comfortable shoes you’ll ever wear.
Continue Reading
Taco Bell Crocs might just be the most comfortable shoes you’ll ever wear.
Continue Reading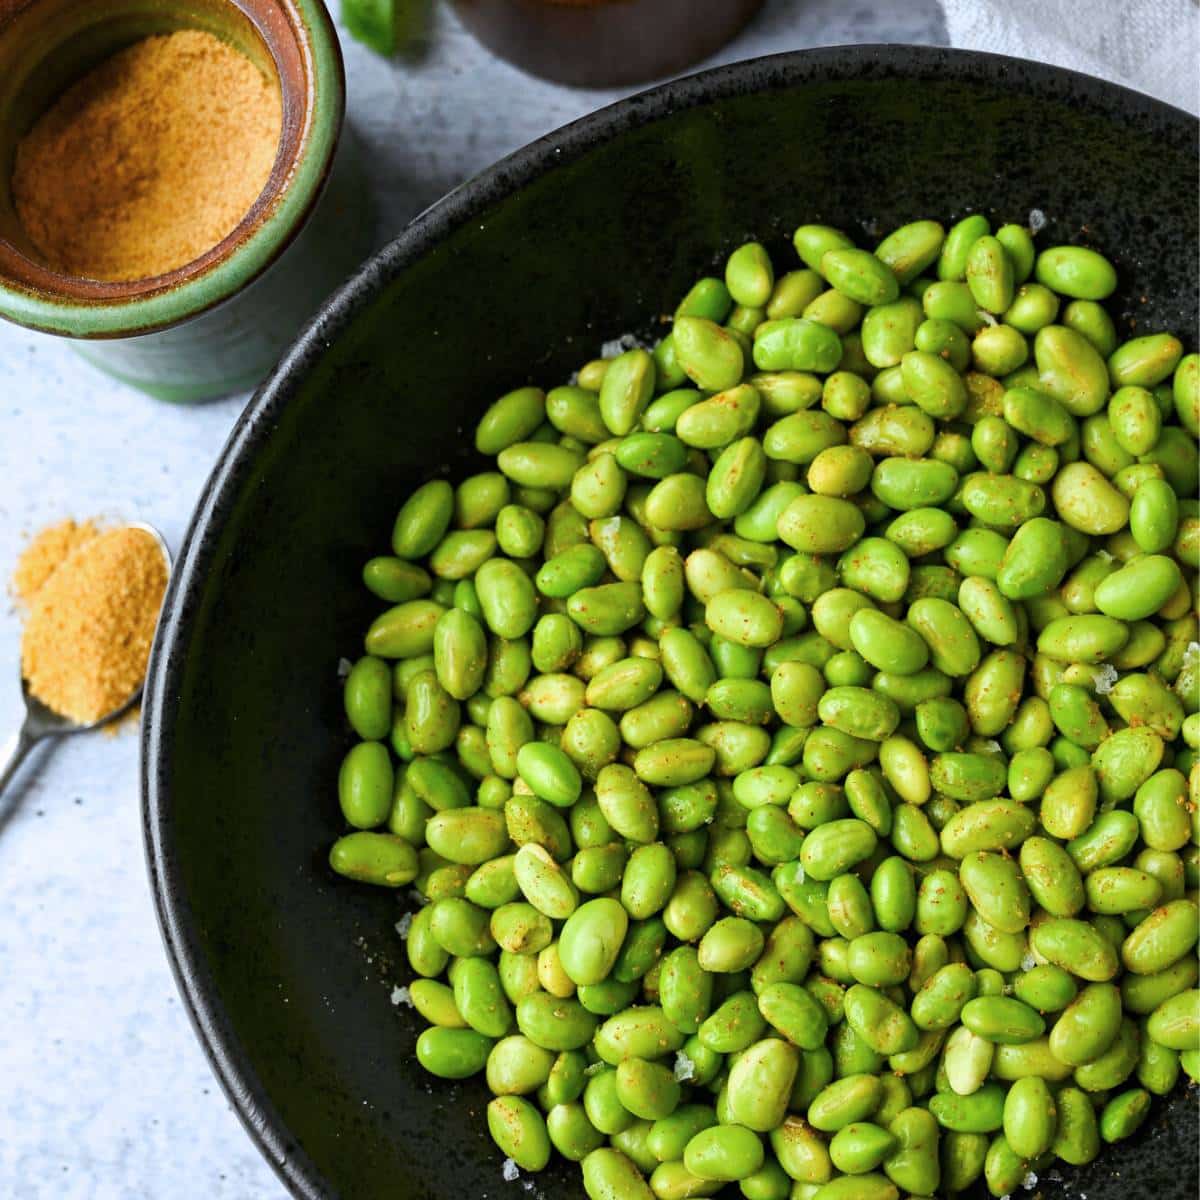
Mukimame is another name for edamame beans that have been popped out of their pods. They are readily available in the freezer section of grocery stores and can be cooked in various ways. Mukimame beans are a good source of complete plant-based protein, dietary fiber, vitamins, and minerals. They are low in saturated fat and cholesterol. In terms of nutrition, a half-cup serving of mukimame has 10 grams of protein, 5 grams of fiber, 5 grams of fat, and 120 calories. The main difference between mukimame and edamame is that mukimame refers to soybeans shelled before cooking, while edamame refers to soybeans cooked in their pods. Cooked edamame beans are softer and sweeter, while mukimame beans are firmer with a nutty, buttery flavor. The recipe for mukimame is simple and requires water, salt, and frozen mukimame (or shelled edamame). The article is a recipe for making seasoned mukimame, which is also called “shelled edamame” in the US. The author recommends using homemade seasoned salt instead of store-bought, as it is free of sugar and chemical additives. Some seasoning variations for mukimame are garlic parmesan, spicy chili lime, and teriyaki. This article provides information on how to prepare and serve mukimame, which are shelled edamame (soybeans). The article suggests seasoning the cooked beans with different flavors, such as smoky paprika or sesame ginger. Serving suggestions include using the beans in Asian-inspired meals, stir-fries, rice bowls, and salads. The article also mentions that cooked mukimame can be added to soups and stews as a substitution for other types of beans. The storage instructions indicate that cooked and cooled mukimame can be stored in the fridge for 2-3 days or frozen for 2-3 months. The article answers FAQs about the gluten-free and keto-friendly nature of edamame beans. It also mentions that mukimame beans are usually frozen, but fresh edamame pods can sometimes be found in stores during the late summer and early fall.
– Edamame and mukimame are both types of soybeans.
– Edamame refers to young, green soybeans still in their pods, often served as a snack or added to dishes.
– Mukimame refers to shelled edamame, making them ready to be added directly to dishes.
– The main difference is that edamame is in the pod, while mukimame is without the pod.
– Edamame has a mild, slightly sweet and nutty taste, while mukimame has a similar taste but may be slightly more concentrated.
– The beans inside edamame are tender, while the pods are fibrous. Mukimame is soft and tender.
– Edamame is typically boiled or steamed with salt, while mukimame can be boiled, steamed, or stir-fried.
– Edamame has slightly higher caloric content due to the weight of the pods, while mukimame typically has lower caloric content.
– Both can be used in various dishes, but edamame is often eaten by hand as a snack, while mukimame is added directly to salads and dishes.
– Edamame takes longer to prepare because the beans need to be removed from the pod, while mukimame is quicker to prepare as it is already shelled.
– Both can be kept fresh or frozen with similar shelf-life.
– They are both rich in vitamins and minerals, such as Vitamin K, iron, and folate.
– They are both good sources of protein, and mukimame has slightly more concentrated fiber content.
– Edamame is generally cheaper, while mukimame might be slightly more expensive due to extra processing.
– Both edamame and mukimame are widely available.
– Mukimame is a type of soybean that is similar to edamame.
– Both soybeans are widely available in many countries, but edamame may be more readily available in some areas.
– Edamame is mainly boiled or steamed, while mukimame can be used in a variety of dishes since it does not have a pod.
– Edamame is popular in East Asian cuisines and is gaining popularity in international dishes as well.
– Both edamame and mukimame have GMO concerns, as some may come from genetically modified sources. They both contain soy, which can be a potential allergen.
– Both soybeans are generally easy to digest and have a similar environmental impact, although mukimame requires less processing.
– Mukimame cooks faster than edamame because it does not have a pod, and some people find it more convenient since it does not require shelling.
– In terms of flavor, edamame has a savory, slightly salty, and earthy taste when served in its pod with salt. Mukimame has a more subtle, pure soybean flavor.
– Both can be steamed or boiled, but mukimame’s shelled form allows it to be more versatile in dishes like salads, stir-fries, and grain bowls.
– Eating edamame involves squeezing the beans out of the pod, providing an interactive eating experience. Mukimame can be consumed as is.
– Both soybeans have a rich history and cultural significance in East Asia, particularly in China and Japan, where they have been cultivated and consumed for thousands of years.
– Edamame has been a traditional snack and side dish in Japan for centuries and became popular during the Edo period.
– Edamame beans are traditionally associated with the end of summer in Japan, symbolizing the changing of seasons and the coming harvest.
– Mukimame is essentially shelled edamame and has gained popularity due to its convenience and versatility in cooking.
– Mukimame provides the same nutritional benefits and flavor as edamame but is more easily incorporated into a wide array of dishes.
– China is the largest producer and consumer of soybeans globally, and soybeans are considered one of the “Five Sacred Grains” in Chinese cuisine.
– Edamame is typically consumed as a snack or side dish in Chinese cuisine, and in some regional cuisines, the whole plant is used to make a specialty soup.
– Both mukimame and edamame have found their way into kitchens worldwide due to globalization and an increased focus on health and plant-based diets.
– Both edamame and mukimame are suitable for various dietary preferences as they are vegan, gluten-free, and low in calories.
– Edamame and mukimame are both legumes that contain approximately 11g-12g of protein and 9g-10g of carbohydrates per serving.
– They are high in Vitamin C, magnesium, iron, and calcium.
– They have a mild, slightly sweet flavor

Did you know that there are approximately 118.294118 fluid ounces in 3.5 liters? In order to convert from liters to fluid ounces, one must use the conversion factor of 0.035. This means that for every 1 liter, there are approximately 35 fluid ounces. The difference between a liter and a fluid ounce is that a liter is a unit of volume while a fluid ounce is a unit of weight. The weight of 3.5 liters of water is approximately 9.9 pounds, and the density of 3.5 liters of water is 1 kilogram per liter.
Continue Reading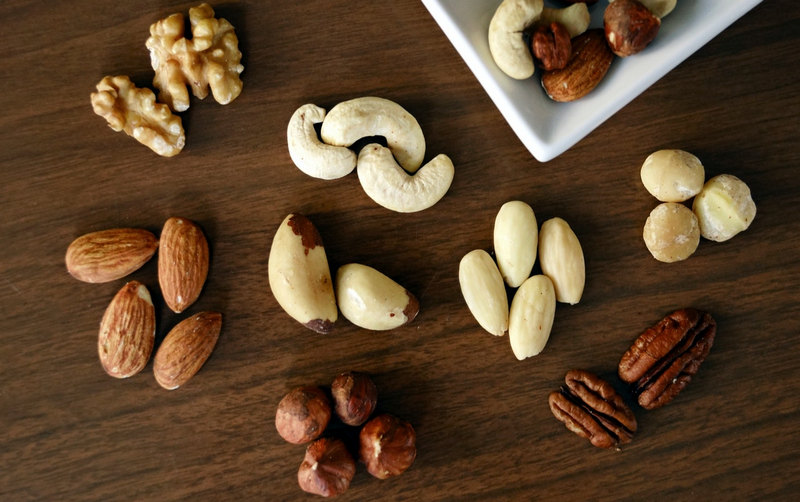
Nuts are good source of nutrients and macadamia is one of them. Macadamia nuts are rich in fiber, antioxidants, vitamins, and minerals. However, this nut is so expensive that people tend to buy it just occasionally. What are macadamia nuts? Macadamia is a nut with smooth or subtle texture and has butter-like taste. It is […]
Continue Reading
Looking for a fun and unique way to spend a day in the Inland Empire? Look no further than Kapu Kai Rancho Cucamonga! This one-of-a-kind ranch offers a variety of activities for visitors of all ages.
Continue Reading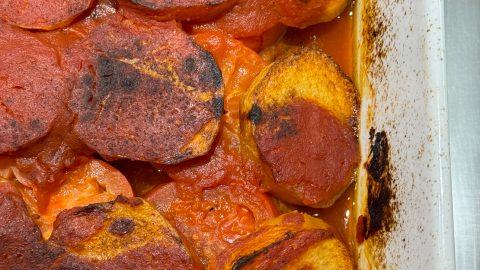
Best Potatoes for Stew:
1. Waxy potatoes: Fingerling, Red, and New potatoes are ideal for recipes that require intact potatoes and hold their shape well in stews.
2. Starchy potatoes: Russet potatoes, also known as Idaho potatoes, are suitable for thickening soups and stews.
3. All-purpose potatoes: Yukon Golds, Purple Potatoes, and Yellow Finn are versatile for various cooking methods in stews.
Specific Types of Potatoes commonly used in soup and stew recipes:
1. Russet potatoes: They hold their shape well and have a fluffy texture that helps thicken the stew. They have a neutral flavor.
2. Yukon Gold potatoes: They have a buttery and creamy texture that adds richness to stews. They hold their shape but can also break down slightly to thicken the stew.
3. Red potatoes: They hold their shape and have a slightly sweet flavor that complements other stew ingredients.
4. Sweet potatoes: They have a sweet and earthy flavor and can be roasted, boiled, mashed, or fried.
If you want to impress your Spanish-speaking partner with a declaration of love, this guide will give you all the phrases you need.
Continue Reading
One of the delicious dishes enjoyed across the globe is Kielbasa which is a dark-colored, thick Polish sausage that has a flavor that is heavily smoky. Traditionally, kielbasa was eaten by knights and noblemen, people that are placed in higher authority in the society, however, everyone now enjoys eating it today. The good thing is […]
Continue Reading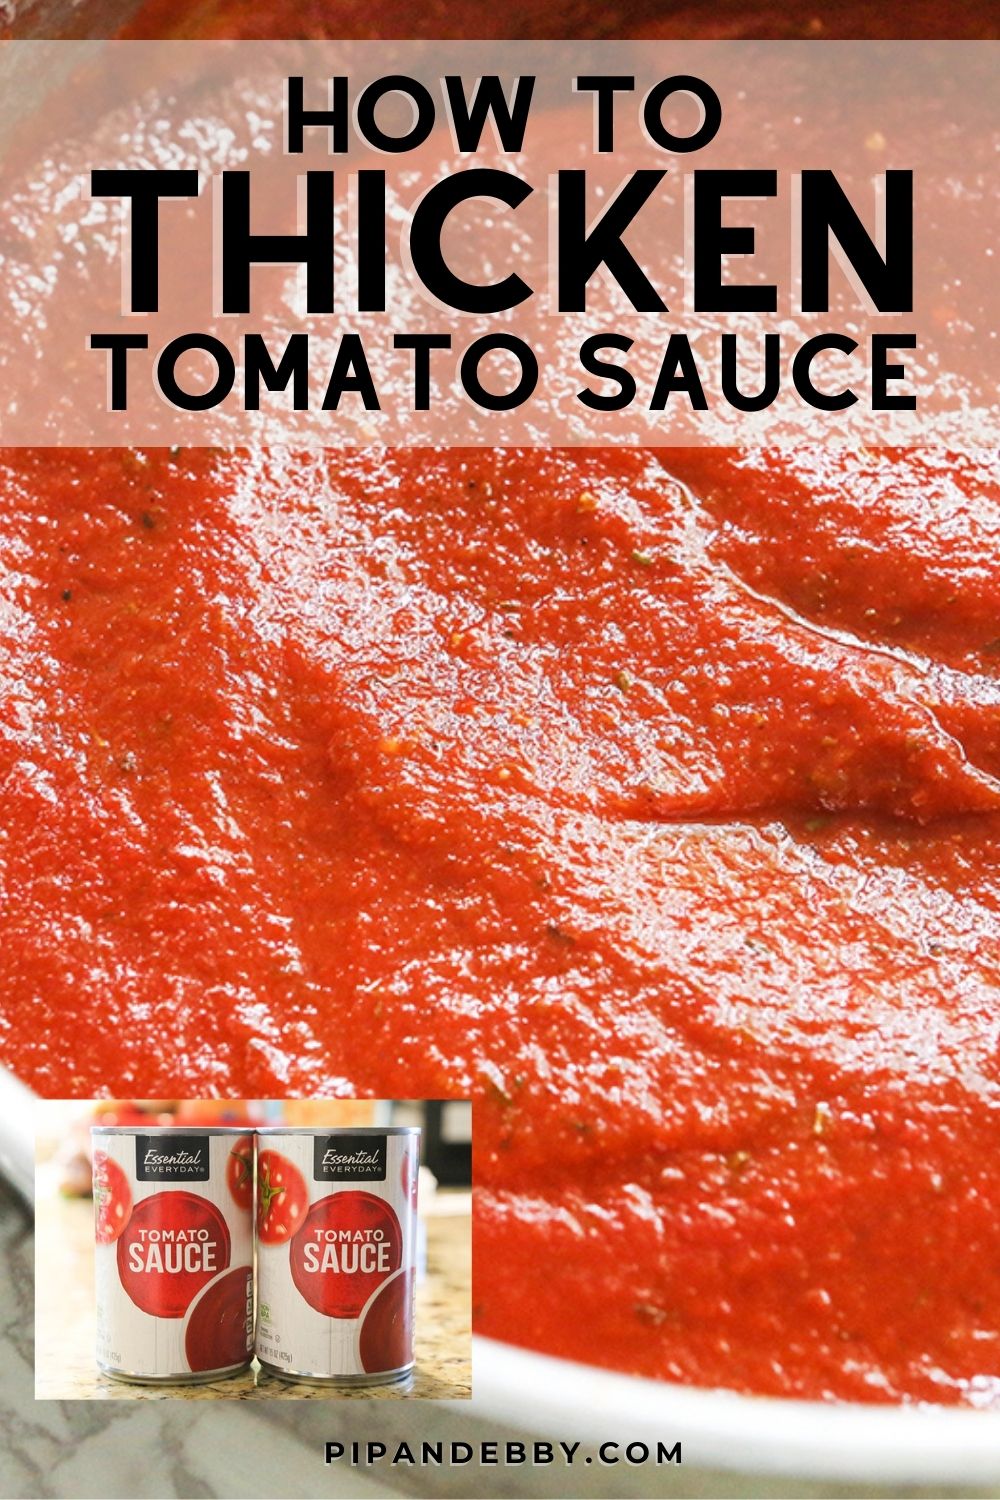
Methods to Thicken Tomato Sauce:
1. Letting the sauce reduce by simmering for a long time.
2. Adding starch:
– Making a cornstarch slurry by mixing equal parts cold water and cornstarch.
– Substituting arrowroot powder for cornstarch.
– Adding mashed potatoes or instant potato flakes.
– Making a roux with butter and flour.
– Using breadcrumbs to soak up water.
3. Adding shredded Parmesan cheese.
4. Adding cheese early in the cooking process.
5. Adding tomato paste.
6. Mixing an egg yolk with a cup of tomato sauce and adding it back to the pan.
7. Adding mashed vegetables like cauliflower, carrots, and onions.
8. Combining a thicker tomato sauce with the homemade sauce.
9. Adding cream cheese.
10. Using clear gel to thicken homemade sauce.
11. Adding leftover pasta water.
12. Adding meat to the sauce.
– Ground beef, Italian sausage, pork sausage, or stew meat.
13. Using ground almonds to thicken tomato sauce.
– Almond flour is effective for gluten-free options.
14. Adding lemon juice to thicken the sauce.
– Half a lemon is sufficient for a large pan of sauce.
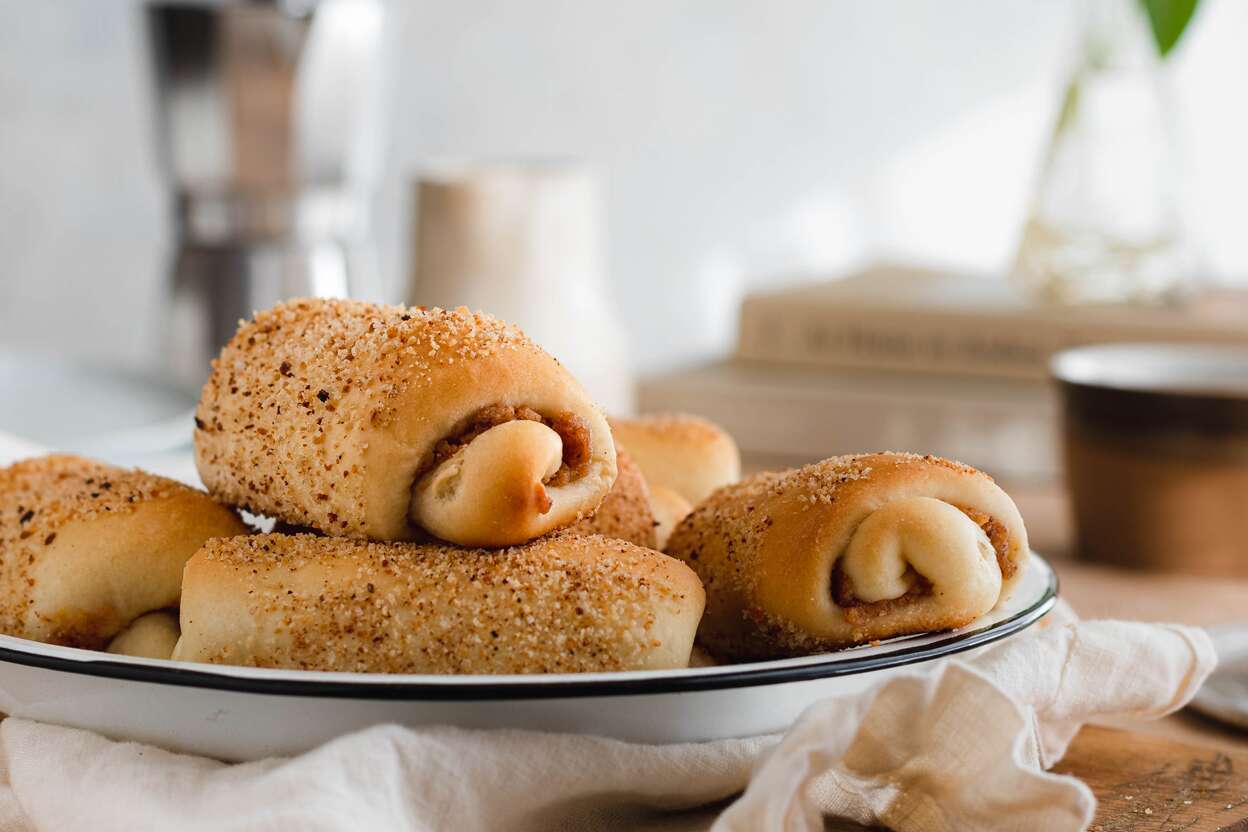
List of Pertinent Information about ‘Señorita Bread’:
– Señorita Bread is a Filipino Spanish bread with a sweet caramel filling.
– It is often eaten for breakfast or as a snack.
– The recipe has been veganized to make it eggless and dairy-free without sacrificing flavor.
– Señorita Bread is similar to Pandesal, a small roll made with enriched bread dough, butter, sugar, and breadcrumbs.
– The name “Señorita Bread” was created by a Filipino couple who migrated to California in the 1980s and opened the first store under the name Quinley’s Filipino Bakery. The couple later changed the name to Starbread Bakery.
– The origin of the name “Señorita bread” is unclear, but it is often served at Mexican restaurants and is enjoyed by people of all ages.
– The bread is made with wheat flour, melted butter, sugar, breadcrumbs, and eggs.
– The recipe for making Senorita Bread includes the ingredients for the dough: plain flour, melted vegan butter, organic castor sugar, non-dairy milk, active dry yeast, and salt.
– The recipe also includes the ingredients for the sweet filling: vegan butter, organic brown sugar, fine breadcrumbs, and non-dairy milk.
– The preferred method is to use a hands-free stand mixer for kneading the dough.
– Important steps in the recipe include stirring melted butter with breadcrumbs, placing parchment paper on a baking tray, placing the sweet filling in a bowl, and dusting breadcrumbs on a plate.
– It is recommended to spray oil on the work surface and rolling pin.
– Adding more flour to the dough should be avoided as it will make the bread denser.
– The dough should be kneaded for a couple of minutes on an oiled surface to remove bubbles.
– The dough should be divided into four equal portions and each portion further divided into four smaller portions.
– Each smaller portion should be rolled into a triangle shape and spread with a spoonful of sweet filling before rolling it into a cylinder.
– The cylinder should be rolled in breadcrumbs and transferred to a baking tray.
– The recipe yields 16 pieces of bread rolls.
– The bread rolls should be covered with a damp towel for 30 minutes before baking.
– The oven should be preheated to 180°C/356°F.
– The baking tray with the bread rolls should be baked for 20 minutes until golden brown.
– Senorita bread is best served warm and can be enjoyed as a snack, for breakfast, or with spreads for brunch.
– Senorita bread can also be cooked in an air fryer by adjusting the temperature and time.
– The bread rolls can be frozen in a ziplock freezer bag after cooling completely and should be thawed before reheating.
– To reheat, wrap the bread rolls in foil and heat in a preheated oven or air fryer at 350°F for 5-6 minutes or microwave for 10 seconds.
– After baking, the rolls should be allowed to cool for 10-15 minutes before serving warm.