How long to microwave milk for hot chocolate: A foolproof guide for a perfect cup

– To microwave milk for hot chocolate, pour it into a microwave-safe container such as a glass or ceramic bowl.
– Use a deep enough container to prevent splashing.
– Place a folded piece of paper towel over the top of the bowl.
– Heat the milk in short 15-second bursts, stirring between each burst.
– Stirring helps prevent hot spots and ensures even heating of the milk.
– The outside layer of the milk gets warm in the microwave, but the inside is not as affected. Stirring mixes the hot layers with the cold ones for better results.
– Use oven mitts to remove the container from the microwave to avoid burning yourself.
– Add hot chocolate powder and stir until combined.
– Check the temperature of the drink before consuming.
– Microwaves are commonly sold with wattages ranging from 600 to 1,200 watts.
– Some microwaves have a higher wattage of up to 1,500 watts, which can shorten cooking time but is not ideal for warming milk.
– Higher temperatures when warming milk can change the taste.
– Microwaving milk for hot chocolate is best done using a home microwave between 800 and 1000 watts.
– The lower temperature setting of 500-800 watts should be used for heating milk.
– It takes from 60 to 120 seconds to heat an 8-ounce cup of milk using the medium or medium-high setting.
– Setting the microwave below 500 watts will take longer, while using over 1,500 watts can risk overcooking and burning the milk within 45-60 seconds.
– Whole milk requires a lower setting and takes longer to warm up compared to nonfat milk.
– The amount of milk being heated determines the time needed, with 1 cup taking 112 seconds, 1 ½ cups taking 130 seconds, and 2 cups taking about 150 seconds.
– Additional milk requires an extra 20-25 seconds of heating time per ½ cup.
– Stirring should be done after each heating interval.
– The starting temperature of the milk affects the heating time, with colder milk taking longer.
– To avoid overheating, frequent stirring is recommended.
– Overheated milk can result in a protein film and a burnt taste.
– According to the article, overheating milk in the microwave can result in a burnt or toasted flavor.
– The recommended time to microwave a cup of milk for hot chocolate is 60 to 90 seconds, with the microwave set at about 800 watts.
– The cooking time should be adjusted according to the oven’s manual specifications.
– It is also suggested to consider traditional methods such as warming milk on a stovetop or using a double-boiler method for a gentler heating process.

Continue Reading

Discover the Best Cooking Sake Substitute: A Mouthwatering Solution!

Substitutes for Cooking Sake:
– Shao Xing cooking wine
– Dry sherry
– Dry vermouth
– White wine
– Kombucha
– Water (for consistency)
– Rice wine vinegar (diluted)

Other Mentions:
– Japanese sake
– Sake brewing process
– Sake as a Japanese wine
– Sake tradition dating back over two millennia
– Shao Xing wine as a similar but different substitute
– Hot jasmine sake as a suitable beverage
– Homemade sake and necessary equipment and ingredients for making it

Continue Reading

Hamburger Medium Temp: Exploring the Perfect Cooked Burger

– USDA mandates that pre-ground meat must be cooked to an internal temperature of 160°F for food safety
– Ground poultry must be cooked to 165°F to be considered safe
– Bacteria is on the surface of steaks and whole pieces of meat, so searing at high temperatures kills surface bacteria and makes the inside safe to eat at medium-rare temperatures
– Grinding up steak distributes bacteria throughout the ground meat, so it must be cooked to 160°F in the middle to ensure all bacteria is killed
– Use a reliable meat instant read thermometer for accurate temperature control
– Ground beef is more susceptible to contamination compared to whole cuts
– Multiple cows can be processed into pre-ground beef, contaminating the entire batch if even 1% is tainted
– USDA guidelines for cooking temperatures are seen as stringent by some chefs. Restaurants and chefs must follow guidelines from the USDA and local health departments to ensure public safety and prevent foodborne illnesses.
– Grind your own beef to have more control over the safety of the meat. Follow guidelines such as keeping ground beef cold, using separate prep areas for raw meat and produce, washing hands, and sanitizing kitchen surfaces. Grinding your own meat offers benefits such as freshness, quality, and customizable blends.
– There are several advantages to grinding your own meat for burgers, including control over the ingredients used and the ability to experiment with different flavors.
– Grinding at home can also be cost-effective compared to buying pre-ground meat.
– According to USDA standards, ground beef should be cooked to a minimum temperature of 160°F to ensure safety. However, if grinding at home, different temperature ranges can be used to achieve different levels of doneness, such as well done (160°F to 165°F), medium well (150°F to 155°F), medium (140°F to 145°F), medium rare (130°F to 135°F), and rare (120°F to 125°F).
– A two-stage cooking method is recommended for cooking hamburgers on the grill. The method involves using a lower-heat side to cook the burgers slowly, and then moving them to a higher-heat side to sear in the juices. This method allows for better control over temperature and doneness.
– Conclusion: The article discusses the importance of cooking ground meat to the appropriate temperature for safety, the risks of contamination in pre-ground meat, the benefits of grinding your own meat, and guidelines for achieving different levels of doneness when cooking burgers.

Continue Reading

Totino Pizza Instructions: Unlock Delicious Flavors with Expert Techniques

– Totinos Crispy Crust Party Pizza Sausage and Sliced Pepperoni is a frozen pizza.
– It should be kept frozen until ready to use.
– Conventional oven should be preheated to 450 degrees.
– The pizza should be removed from the box and wrapper.
– It should be placed on the middle oven rack.
– The pizza should be baked for 9-11 minutes or until cheese is melted.
– For a softer crust, the pizza can be placed on a cookie sheet and baked for 11-14 minutes.
– Leftovers should be refrigerated.
– To maintain a clean oven, a sheet of foil or a cookie sheet should be placed on the lowest oven rack before turning on the oven.

Continue Reading

Grilled Cheese in Toaster Oven: A Gourmet Twist

List of pertinent information for the keyword ‘grilled cheese in toaster oven’:

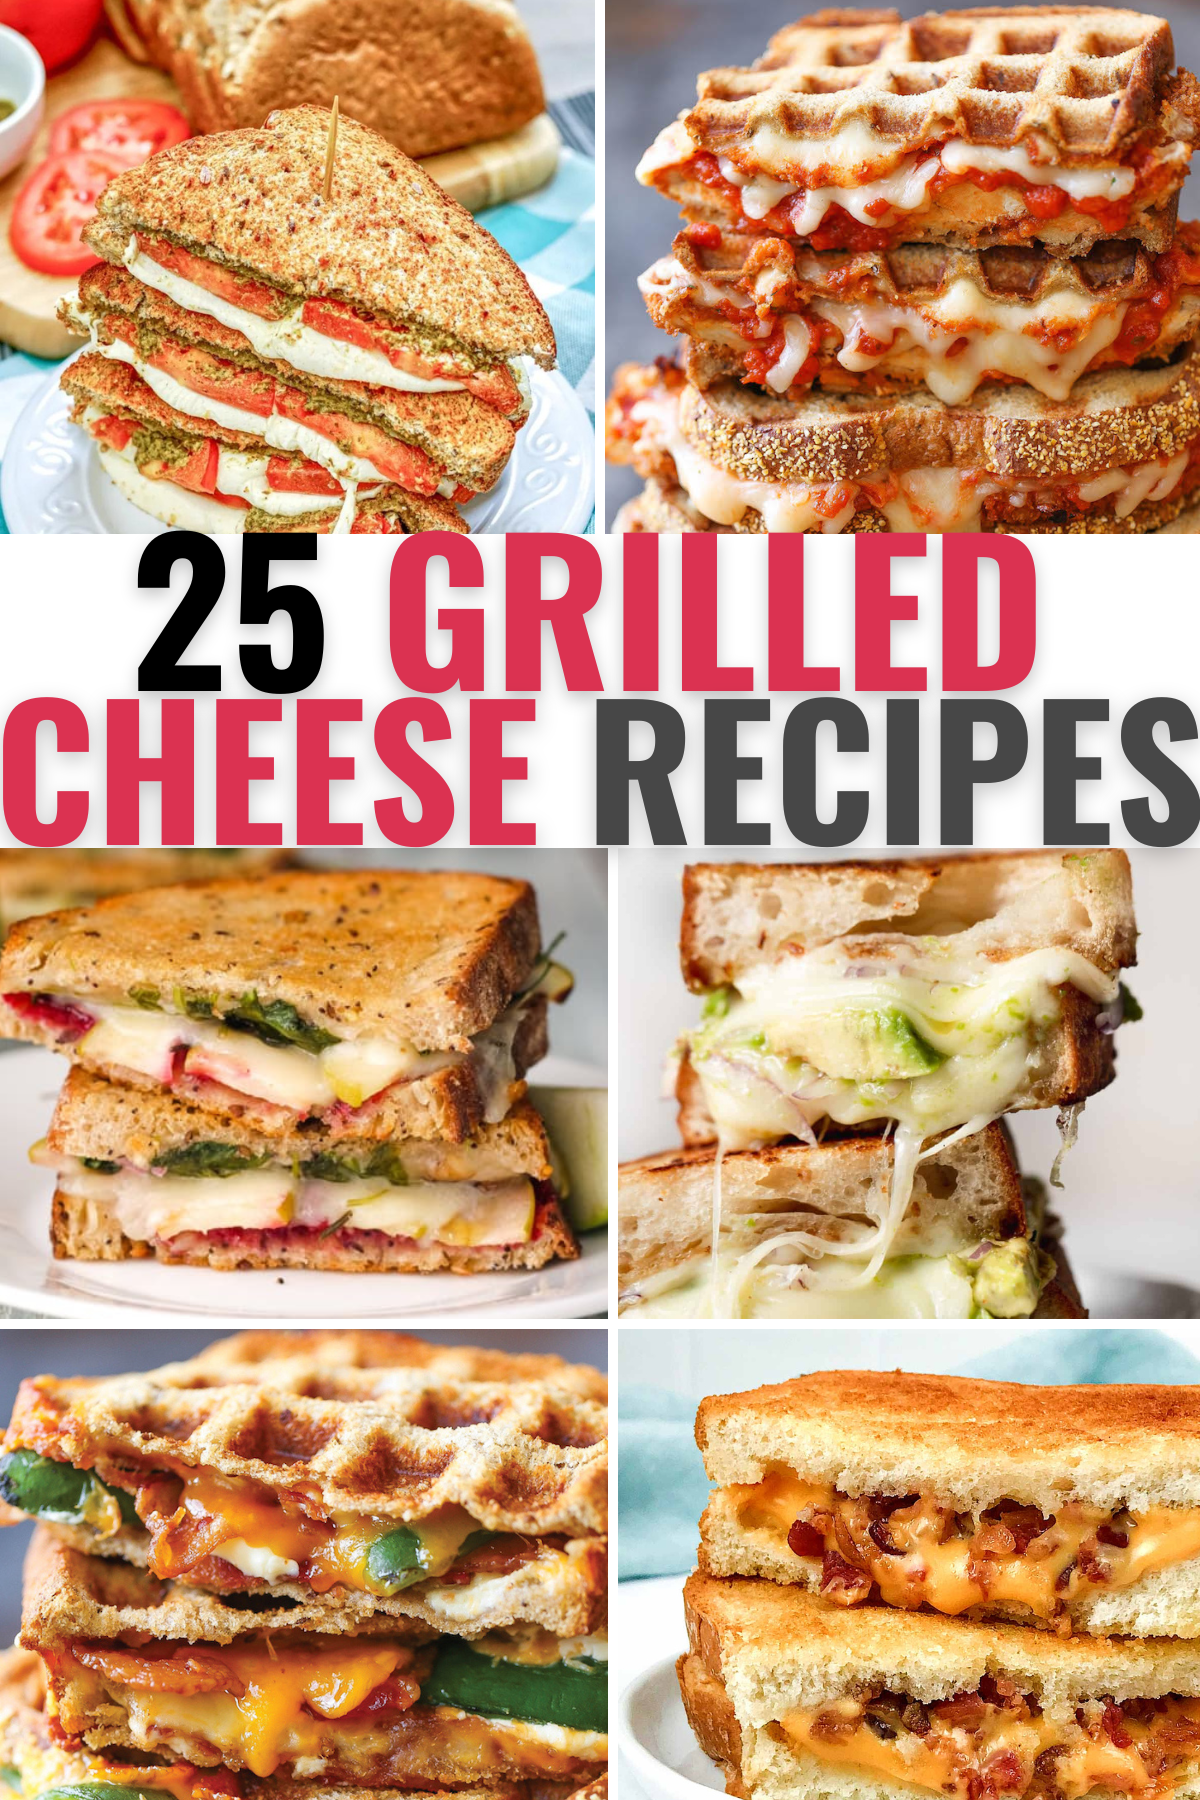
– The article is about making grilled cheese sandwiches in a toaster oven.
– The toaster oven method is claimed to be foolproof and avoids burning the bread.
– Additional fillings such as sliced apples or roasted veggies can be used to customize the sandwich.
– The recipe calls for 2 slices of bread, 2 teaspoons of softened butter, and 2 slices of cheese (provolone is used in the example).
– The cooking rack in the toaster oven should be adjusted to the lowest position, and a baking sheet should be preheated to 425°F or 450°F.
– The bread slices are spread with butter, and the cheese slices are placed between them.
– The sandwich is cooked in the preheated toaster oven for approximately 8 minutes until both sides are toasted and the cheese is melted.
– The temperature and rack placement can be adjusted based on the individual toaster oven.
– The article suggests using a darker colored pan to toast the bread faster and recommends using a hearty multi-grain bread for best results.
– The sandwich should be cooked using the Air-Fry setting at 350°F, and should be cooked for 3 to 4 minutes on one side and 1 minute on the other side.
– Nutritional information for one serving of grilled cheese is provided – 353 calories, 21g of total fat, 12.5g of saturated fat, 49mg of cholesterol, 640mg of sodium, 23.5g of carbohydrates, 3.9g of fiber, 3.6g of sugar, and 17.8g of protein.
– Recommended ingredients include multi-grain bread and thick slices of provolone or cheddar cheese. Shredded cheese is recommended against.
– Additional fillings such as roasted sweet potato rounds, garlicy roasted broccoli, or fruit are mentioned.
– Real butter is emphasized over margarine.
– Step-by-step instructions are provided, including preheating the toaster oven and pan, spreading butter on one side of each bread slice, and assembling the sandwich.
– The sandwich is cooked for 4 minutes on one side, then flipped and cooked for another minute on the other side.
– A spatula should be used to flip the sandwich, and it takes three to four minutes to toast.
– It is suggested to let the sandwich cool slightly before eating.
– A recipe for the toaster oven grilled cheese sandwich is shared on another website called Food Fanatic.
– A TikTok hack for making grilled cheese in a toaster oven is mentioned, which involves putting cheese on the top of the bread and toasting it with the cheese facing up. The slices are pressed together when done.
– It is important to keep the toaster clean and use only one slice of cheese per slice of bread.

Continue Reading

The Ultimate Guide: Finding the Perfect Substitute for Cremini Mushrooms

– Cremini mushrooms are also known as baby bella mushrooms.
– They have a round brown top and a robust savory flavor.
– The best substitute for cremini mushrooms is white mushrooms, also known as button mushrooms.
– Portobello mushrooms can also be used as a substitute, as they have a meaty and savory flavor.
– If making stuffed cremini mushrooms, white mushrooms are a better size match.

Continue Reading

Is Smoked Salmon Raw? A Comprehensive Guide

– Smoked salmon can be hot smoked or cold smoked, with different temperatures and smoking times.
– Hot-smoked salmon is fully cooked, while cold-smoked salmon is only partially cooked.
– Cold-smoked salmon is cured with a salt-sugar solution and dried before smoking.
– Hot-smoked salmon is cured with a salt-sugar solution and smoked at higher temperatures.
– Smoked salmon used in sushi is considered cooked due to the smoking process.
– Smoking salmon involves exposing it to smoke from burning or smoldering materials.
– Wood is commonly used for smoking salmon, with different types of wood preferred.
– Smoked salmon is rich in protein, omega-3 fatty acids, and vitamins A, B, D, and E.
– Pregnant women should avoid consuming raw salmon due to the risk of bacteria and parasites.
– Smoking salmon provides a partial preservation effect but requires additional preservation techniques.
– Cold-smoked salmon is thinly sliced and served raw or lightly cured.
– Hot-smoked salmon has a flaky texture and a more pronounced smoky taste.
– Cold-smoked salmon has a delicate texture and a milder smoky flavor.
– Smoked salmon can be eaten fresh out of the package without further cooking.
– Smoked salmon requires proper storage to prevent bacterial growth.
– Cold-smoked salmon has a shorter shelf life compared to hot-smoked salmon.
– Unopened smoked salmon can be stored in a pantry or dark place, while refrigerated smoked salmon can be stored for up to 2 weeks.
– Smoked salmon can be frozen for 2-3 months.
– Spoiled smoked salmon can be detected by its smell, mold growth, change in color, and slimy texture.
– Smoked salmon is a good source of omega-3 fatty acids, calcium, iron, and vitamins B12, A, E, and astaxanthin.
– Enjoy smoked salmon in moderation.
– Commercially available smoked salmon should be free of parasites.
– Smoked salmon falls into the “processed meat” category, which has the potential to increase the risk of cancer.

Continue Reading

The Optimal Lasagna Internal Temp: Guidelines for Perfection

– The ideal baking temperature for lasagna is between 375°F (190°C) and 400°F (204°C).
– The recommended internal temperature for lasagna is 160°F (71°C) or higher.
– To check the temperature of the lasagna, a meat thermometer should be inserted in the middle of the dish to ensure it reaches at least 160°F (71°C).
– The lasagna is considered done when the internal temperature hits 165°F (74°C), the top is golden brown, and the edges are bubbling.
– In an oven, lasagna should be baked covered with foil at 375°F (190°C) for 25-30 minutes, then uncovered and cooked for another 25-30 minutes until the internal temperature is 160°F (71°C).
– In an air fryer, lasagna should be cooked at 360°F (182°C) for 20-25 minutes, until the top is golden and the internal temperature reaches 165°F (74°C).
– In an electric roaster, lasagna should be cooked covered with foil at 375°F (190°C) for 1 hour, then uncovered and cooked for another 15-20 minutes until golden and bubbly.
– At a temperature of 350°F (175°C), lasagna should be cooked covered with foil for 45-50 minutes, then uncovered and cooked for another 15-20 minutes until golden and bubbly.
– At a temperature of 400°F (200°C), lasagna should be cooked covered for about 20-25 minutes, then uncovered and baked again.
– The article suggests letting the lasagna rest for 15-20 minutes before cutting to allow the flavors to meld and make it easier to cut and serve.
– The ideal temperature for serving lasagna is between 150°F (65°C) and 160°F (71°C).
– The internal temperature of frozen lasagna should reach at least 165°F (74°C) to ensure any harmful bacteria are destroyed.
– To reheat frozen lasagna, the article suggests oven heating at 350°F (175°C) for 25-30 minutes, medium power heating in the microwave for 5 minutes, or air frying at 350°F (175°C) for 15-20 minutes.
– The recommended internal temperature to reheat homemade lasagna is 165°F (74°C).
– Reheating can be done in the oven by preheating to 350°F (175°C), covering the lasagna with foil, and reheating for 25-30 minutes.
– It can also be reheated in the microwave using medium power for 2-3 minutes, followed by additional 1-minute increments if needed.
– Another option is to use an air fryer by preheating it to 350°F (175°C) and reheating the lasagna covered for 15-20 minutes.
– When microwaving lasagna, the internal temperature should reach 160-165 degrees Fahrenheit.
– Using a food thermometer is important to ensure the lasagna is cooked throughout and reaches a temperature of 165 degrees Fahrenheit.
– Pre-heating the oven for 20 minutes before baking helps ensure even cooking.
– The top layer of the lasagna should be golden brown.
– Check that the sauce is bubbling on the sides to verify that it is cooked.
– A toothpick or food thermometer can be used to check the temperature of the lasagna.
– Preheating the oven to the correct temperature is important to prevent uneven cooking.
– Reheating a large lasagna is not recommended as it may not reheat evenly.
– No-boil noodles and a layer of non-stick oil on foil can speed up cooking and trap moisture.
– Toothpicks can be used to hold the foil in place.
– Add the sauce to the bottom of the lasagna after placing the foil.

Continue Reading